“Are you sure these bell peppers can actually freeze well?” my sister asked skeptically as I spooned the last of the savory filling into each pepper. Honestly, I wasn’t entirely sure either the first time I made these easy freezer-friendly stuffed bell peppers with rice. I was juggling dinner chaos on a night when the fridge looked sad, and the idea of prepping a meal that I could stash away for later seemed like a dream. I grabbed a few bell peppers from the crisper, some leftover cooked rice, and a handful of pantry staples, thinking, “Well, let’s just see how this goes.”
The aroma of garlic and onions sizzling in the pan mixed with the sweet scent of bell peppers roasting was comforting in a way only home cooking can be. And when I took that first bite after reheating a frozen stuffed pepper a few days later, I was surprised—no, impressed. The rice was fluffy, the peppers tender but not mushy, and the filling packed with flavor. Turns out, this recipe wasn’t just a convenient fix; it quickly became a reliable go-to for those busy nights when cooking from scratch feels impossible.
What stuck with me is how this dish solves that common weeknight puzzle: fast food without fast-food guilt, and a meal that feels homemade even after days in the freezer. I’ve made these peppers multiple times a week since then, tweaking the seasoning and swapping ingredients to suit whatever I have on hand. It’s a simple, hearty comfort that somehow manages to feel special. I think you’ll find the same quiet joy in this recipe—it’s that kind of meal that quietly earns a permanent spot in your freezer and your rotation.
Why You’ll Love This Recipe
After many kitchen tests and a few “almost there” attempts, this easy freezer-friendly stuffed bell peppers with rice recipe finally hit the mark for me. Here’s why it’s become a trusted favorite:
- Quick & Easy: You can have the whole batch prepped and ready to freeze in about 45 minutes, perfect for hectic evenings or meal prep Sundays.
- Simple Ingredients: No need for fancy or hard-to-find items—just basic veggies, rice, and ground meat or plant-based protein if you prefer.
- Perfect for Make-Ahead Meals: Whether you’re planning weeknight dinners or want a reliable freezer stash, these peppers thaw and bake beautifully without losing flavor or texture.
- Crowd-Pleaser: Family, friends, or even picky eaters tend to go back for seconds. The balance of savory filling and sweet roasted pepper is just right.
- Unbelievably Delicious: The rice absorbs the tomato and seasoning juices perfectly, making every bite satisfyingly moist and flavor-packed.
What sets this recipe apart from others is the little trick of mixing cooked rice directly into the filling before stuffing, which keeps everything from drying out during freezing and reheating. Plus, I use just the right blend of spices to keep it cozy but not overwhelming—think garlic, onion, a hint of smoked paprika, and fresh herbs when available. This isn’t just another stuffed pepper; it’s the version you’ll trust to deliver on taste and convenience every single time.
It’s a recipe that’s as comforting as it is practical, perfect for anyone who wants homemade meals without the stress of daily cooking. Honestly, if you’ve ever had a hectic week and wished for a tasty, no-fuss dinner waiting in your freezer, this might just be your new best friend.
What Ingredients You Will Need
This recipe uses simple, wholesome ingredients to deliver bold flavor and satisfying texture without the fuss. Most of these are pantry staples, making it easy to throw together anytime. Here’s what you’ll want to gather:
- Bell Peppers: 4 to 6 large bell peppers (any color you like). Choose firm, fresh peppers with smooth skin for the best results.
- Ground Meat or Protein: 1 pound (450g) ground beef, turkey, chicken, or plant-based meat substitute. I often opt for lean ground turkey to keep it light.
- Cooked Rice: 1 ½ cups (about 300g) cooked white or brown rice. Leftover rice works great here, and using cooked rice keeps the filling moist.
- Onion: 1 medium onion, finely chopped. Yellow or white onion adds sweetness and depth.
- Garlic: 2 cloves, minced. Fresh garlic really makes the flavor pop.
- Tomato Sauce: 1 cup (240ml) tomato sauce or crushed tomatoes. I prefer a no-salt-added brand like Muir Glen for a clean, natural taste.
- Cheese: 1 cup (100g) shredded mozzarella or cheddar cheese, plus extra for topping. This adds gooey, melty goodness to the filling.
- Olive Oil: 1 tablespoon for sautéing.
- Seasonings:
- 1 teaspoon smoked paprika (adds warmth and a subtle smoky note)
- 1 teaspoon dried oregano or Italian seasoning
- Salt and pepper to taste
- Optional: pinch of crushed red pepper flakes for a mild kick
- Fresh Parsley or Basil: A handful, chopped, for garnish or stirring into filling (optional but freshens the dish).
If you want to swap ingredients, almond flour can be added to the filling to absorb moisture if the mixture feels too wet, and Greek yogurt can replace some cheese for a tangier twist. For a vegetarian take, try substituting ground meat with lentils or chopped mushrooms—both keep the texture hearty and filling. Using frozen cooked rice is fine, just thaw it before mixing to avoid clumping.
Equipment Needed
Making these stuffed bell peppers is straightforward and doesn’t require fancy tools. Here’s what I use most often:
- Baking Dish: A 9×13-inch (23x33cm) casserole dish works perfectly for arranging and baking the peppers.
- Skillet or Sauté Pan: For cooking the filling ingredients. A non-stick skillet helps reduce the need for extra oil, but stainless steel is fine too.
- Mixing Bowl: To combine rice, meat, and seasonings before stuffing.
- Sharp Knife and Cutting Board: For prepping peppers, onions, and herbs safely and efficiently.
- Spoon or Small Ladle: Useful for filling the peppers neatly without spilling.
If you don’t have a casserole dish, an oven-safe roasting pan or even a deep baking sheet with raised edges can substitute. For the skillet, a cast-iron pan can add a nice sear to your filling but isn’t necessary. Personally, I keep an old-school wooden spoon for stirring and a silicone spatula handy for scraping up every last bit from the pan. If you want to freeze, make sure to use freezer-safe containers or wrap the baking dish tightly in plastic wrap and aluminum foil to protect against freezer burn.
Preparation Method
- Prepare the Bell Peppers: Preheat your oven to 375°F (190°C). Slice the tops off the bell peppers and carefully remove the seeds and membranes. You want a hollow cavity but keep the peppers intact. Place them upright in your baking dish. If they don’t stand well, trim a tiny bit off the bottom to level them.
- Cook the Filling Base: Heat 1 tablespoon olive oil in a skillet over medium heat. Add the chopped onion and sauté for about 4-5 minutes until translucent and fragrant. Toss in the minced garlic and cook another 30 seconds to a minute—don’t let it burn!
- Brown the Meat: Add the ground meat (or meat substitute) to the skillet. Break it apart with a spatula and cook until no longer pink, about 6-8 minutes. Season with salt, pepper, smoked paprika, oregano, and optional red pepper flakes while cooking to build flavor.
- Mix in Tomato Sauce and Rice: Stir in the tomato sauce and cooked rice, combining everything evenly. Let it simmer gently for 3-4 minutes so the flavors meld and the mixture thickens slightly. Taste and adjust seasoning if needed.
- Add Cheese and Herbs: Remove the skillet from heat and stir in most of the shredded cheese and fresh parsley or basil, if using. This keeps the filling creamy and flavorful.
- Stuff the Peppers: Spoon the filling into each bell pepper cavity, packing firmly but not overly tight. Leave a little room at the top for extra cheese.
- Top and Bake: Sprinkle remaining cheese over the stuffed peppers. Cover the baking dish tightly with foil and bake for 30 minutes. Then, remove the foil and bake an additional 10-15 minutes until the cheese is bubbly and golden, and the peppers are tender but not mushy.
- Cool and Freeze (Optional): Let the peppers cool completely if freezing. Wrap the whole dish or individually wrap each pepper in plastic wrap and foil. Freeze for up to 3 months. To reheat, thaw overnight in the fridge and bake at 350°F (175°C) covered for 20-25 minutes until warmed through.
Pro tip: If your filling seems too wet before stuffing, stir in a tablespoon of almond flour or breadcrumbs to soak up excess moisture. Also, when roasting, check on the peppers after 25 minutes to prevent over-softening—they should be tender but still hold their shape.
Cooking Tips & Techniques
Stuffed bell peppers are forgiving, but a few insider tips make all the difference:
- Rice Texture: Use day-old or cooled cooked rice to avoid mushy filling. Freshly cooked rice can be too soft and clump together. I often cook extra rice the day before or use leftover rice from fried rice nights.
- Don’t Overstuff: It’s tempting to pack peppers full, but overstuffing can cause filling to spill and peppers to burst during baking. Leave a small gap at the top to allow for expansion.
- Cover While Baking: The foil trap keeps the steam in, cooking the peppers evenly without drying the filling out. Removing the foil at the end lets the cheese brown nicely.
- Season in Layers: Season the meat while cooking and double-check seasoning after mixing in rice and tomato sauce. This layers flavor instead of relying on salt at the end.
- Freezing Tricks: Cool peppers completely before freezing to avoid ice crystals. Wrap tightly to prevent freezer burn. Don’t thaw peppers at room temperature—go slow in the fridge for best texture.
- Adapt for Speed: Use precooked rotisserie chicken or canned beans for a no-cook protein option. It cuts prep time drastically.
I once skipped sautéing the onion and garlic, which saved time but left the filling flat and one-dimensional. Lesson learned: those little steps really pay off in flavor!
Variations & Adaptations
One of the best parts about this recipe is its flexibility. Here are some ways to switch it up:
- Vegetarian Version: Swap the meat for cooked lentils, black beans, or finely chopped mushrooms. Add extra spices like cumin and coriander for earthiness.
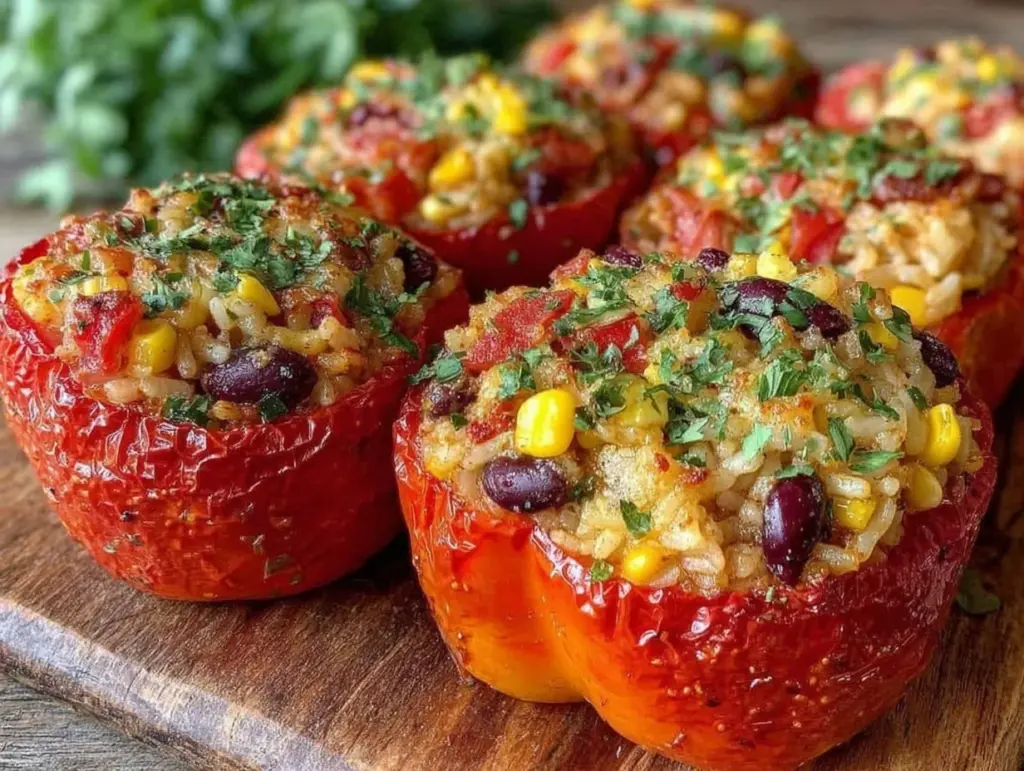
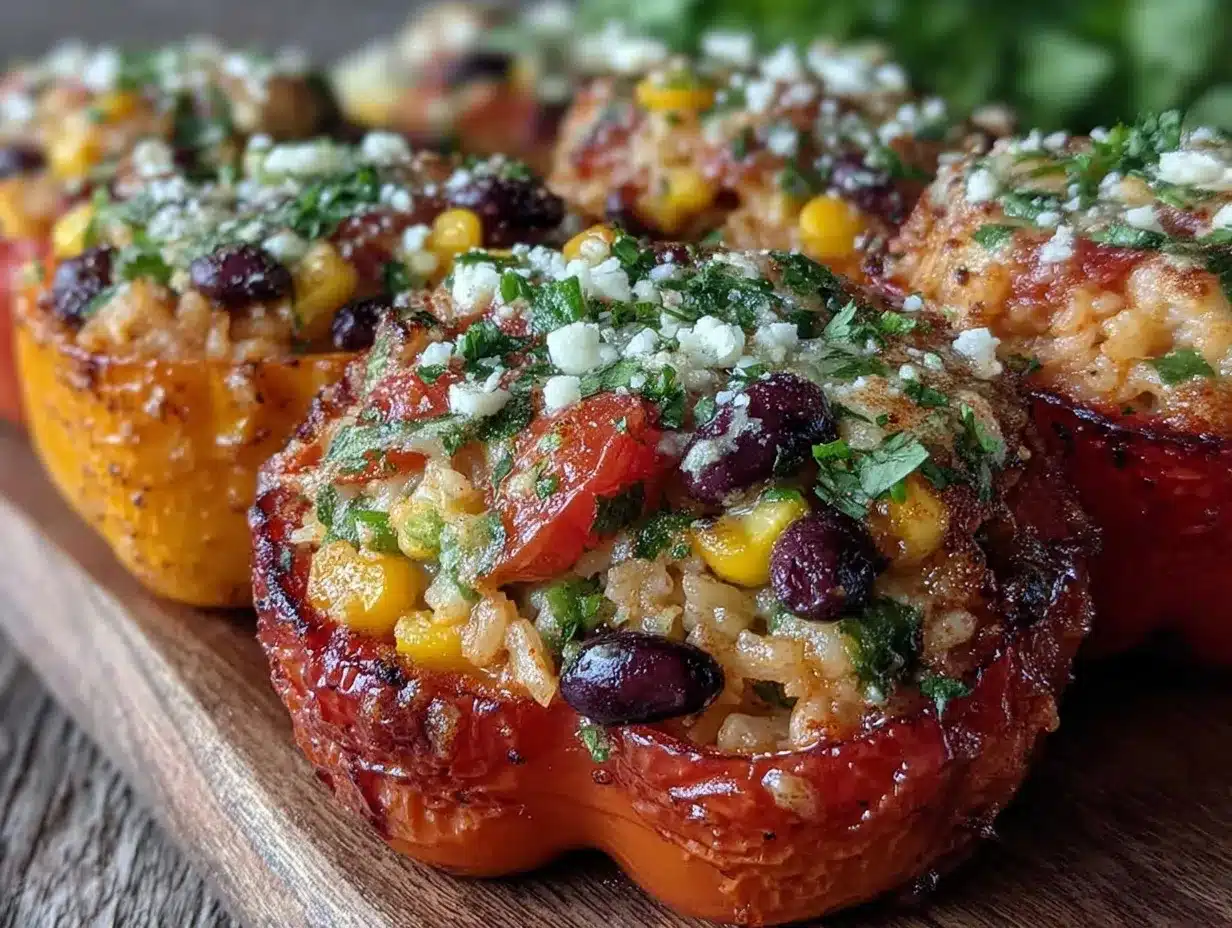
- Mexican-Style: Mix in taco seasoning, corn kernels, and black beans. Top with pepper jack cheese and serve with avocado and salsa.
- Low-Carb Option: Replace rice with cauliflower rice to cut carbs while keeping the texture light and fluffy.
- Seasonal Twist: In fall, try mixing in roasted butternut squash or pumpkin puree into the filling for a subtle sweetness.
- Cheese Variations: Swap mozzarella for feta or goat cheese for a tangy flavor profile. Or add a sprinkle of parmesan on top before baking.
Personally, I love turning these into a quick weeknight crowd-pleaser by using Italian sausage and peppers flavor profiles—just swap the meat to Italian sausage and add fresh basil and oregano. It’s a hit every time!
Serving & Storage Suggestions
Stuffed bell peppers are best served hot, fresh from the oven with melted cheese glistening on top. I like to plate them with a simple green salad or steamed veggies for color and crunch. A side of crusty bread or even some creamy mashed potatoes makes it a hearty, satisfying meal.
For leftovers, store any uneaten peppers in an airtight container in the fridge for up to 3 days. When reheating, cover with foil and warm in the oven at 350°F (175°C) until heated through to keep peppers moist.
If freezing, tightly wrap individual peppers or the whole baking dish with plastic wrap and foil. They keep well for up to 3 months. Thaw overnight in the fridge before baking again to avoid soggy peppers. Flavors actually deepen after freezing, making them taste even better the next day!
Nutritional Information & Benefits
Each stuffed bell pepper offers a balanced meal with protein, fiber, and vitamins. The bell peppers themselves are rich in vitamin C and antioxidants, supporting immune health. Using lean ground turkey or plant-based protein keeps calories moderate while packing in muscle-building nutrients.
Rice provides complex carbs for steady energy, and fresh herbs add flavor without extra sodium. This recipe fits well into gluten-free diets when using gluten-free tomato sauce and cheese. It’s also adaptable for low-carb or vegetarian lifestyles, making it a versatile choice for many.
From a wellness perspective, this dish is satisfying without feeling heavy or greasy. It’s a practical way to serve homemade comfort food that nourishes both body and soul, especially after a busy day.
Conclusion
These easy freezer-friendly stuffed bell peppers with rice are a real keeper. They solve the “what’s for dinner?” stress with simple ingredients and straightforward steps that pay off in cozy, flavorful meals you can enjoy anytime. The best part? You make a batch once and have ready-to-go dinners waiting in your freezer, perfect for busy weeks or unexpected guests.
Feel free to tweak the filling to your liking—swap meats, add veggies, or change the cheese. It’s your kitchen, your rules. I love how this recipe strikes a balance between homemade warmth and convenience, becoming a small daily comfort in my kitchen.
When you try it, I’d love to hear how it goes or what variations you create. Sharing your tweaks and stories makes cooking even more fun and connected. Here’s to many happy meals ahead!
Frequently Asked Questions
Can I use raw rice instead of cooked rice in the filling?
It’s best to use cooked rice because raw rice won’t have enough time to cook fully inside the pepper. Using cooked rice keeps the texture just right.
How long can I freeze stuffed bell peppers?
Wrapped tightly, they’ll keep well in the freezer for up to 3 months without losing flavor or texture.
Can I prepare these peppers ahead and bake them fresh later?
Absolutely! You can stuff the peppers and keep them in the fridge for up to 24 hours before baking. Just cover with foil during baking to keep them moist.
What’s the best way to reheat frozen stuffed peppers?
Thaw overnight in the refrigerator, then bake covered at 350°F (175°C) for 20-25 minutes until heated through. Avoid microwaving to prevent sogginess.
Can I make this recipe vegetarian or vegan?
Yes! Substitute ground meat with lentils, beans, or plant-based crumbles and use dairy-free cheese to make it vegan-friendly.
Pin This Recipe!
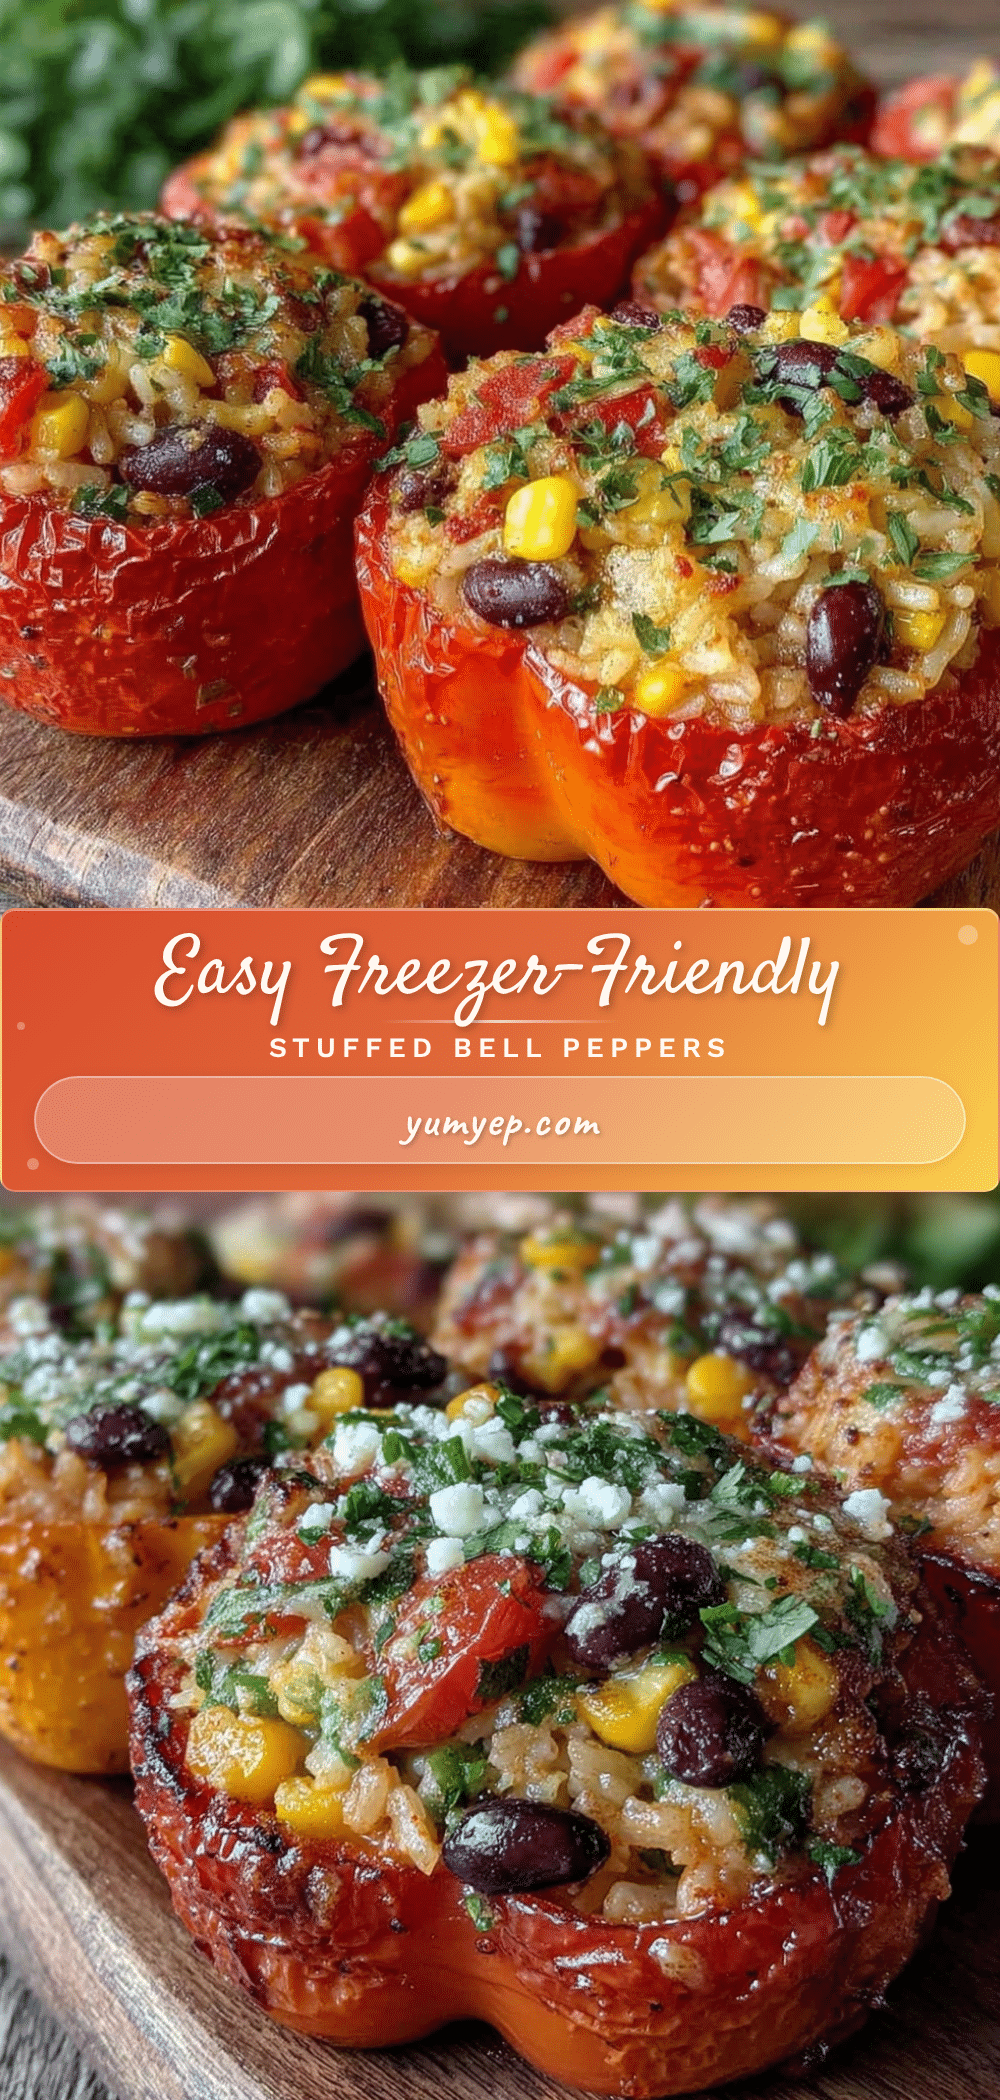
Easy Freezer-Friendly Stuffed Bell Peppers with Rice Recipe to Make Ahead

A simple, hearty recipe for stuffed bell peppers filled with a savory rice and meat mixture that freezes and reheats beautifully, perfect for make-ahead meals and busy nights.
- Prep Time: 15 minutes
- Cook Time: 45 minutes
- Total Time: 1 hour
- Yield: 4 to 6 servings 1x
- Category: Main Course
- Cuisine: American
Ingredients
- 4 to 6 large bell peppers (any color)
- 1 pound ground beef, turkey, chicken, or plant-based meat substitute
- 1 ½ cups cooked white or brown rice
- 1 medium onion, finely chopped
- 2 cloves garlic, minced
- 1 cup tomato sauce or crushed tomatoes
- 1 cup shredded mozzarella or cheddar cheese, plus extra for topping
- 1 tablespoon olive oil
- 1 teaspoon smoked paprika
- 1 teaspoon dried oregano or Italian seasoning
- Salt and pepper to taste
- Optional: pinch of crushed red pepper flakes
- A handful fresh parsley or basil, chopped (optional)
Instructions
- Preheat oven to 375°F (190°C). Slice tops off bell peppers and remove seeds and membranes. Place peppers upright in a baking dish, trimming bottoms if needed to level.
- Heat olive oil in a skillet over medium heat. Sauté chopped onion for 4-5 minutes until translucent. Add minced garlic and cook for 30 seconds to 1 minute.
- Add ground meat or meat substitute to skillet. Cook 6-8 minutes until no longer pink, breaking apart with a spatula. Season with salt, pepper, smoked paprika, oregano, and optional red pepper flakes.
- Stir in tomato sauce and cooked rice. Simmer gently for 3-4 minutes to meld flavors and thicken mixture. Adjust seasoning as needed.
- Remove skillet from heat and stir in most of the shredded cheese and fresh herbs if using.
- Spoon filling into each bell pepper cavity, packing firmly but not overly tight. Leave room at the top for extra cheese.
- Sprinkle remaining cheese over stuffed peppers. Cover baking dish tightly with foil and bake for 30 minutes.
- Remove foil and bake an additional 10-15 minutes until cheese is bubbly and golden and peppers are tender but not mushy.
- Cool completely if freezing. Wrap peppers individually or the whole dish tightly with plastic wrap and foil. Freeze up to 3 months.
- To reheat frozen peppers, thaw overnight in fridge and bake covered at 350°F (175°C) for 20-25 minutes until warmed through.
Notes
Use day-old or cooled cooked rice to avoid mushy filling. Do not overstuff peppers to prevent bursting. Cover with foil while baking to keep filling moist, remove foil at end to brown cheese. Cool completely before freezing to avoid ice crystals. Thaw overnight in fridge before reheating. Optional ingredient swaps include almond flour to absorb moisture, Greek yogurt for tang, and plant-based proteins for vegetarian or vegan versions.
Nutrition
- Serving Size: 1 stuffed bell peppe
- Calories: 350
- Sugar: 7
- Sodium: 450
- Fat: 15
- Saturated Fat: 6
- Carbohydrates: 30
- Fiber: 4
- Protein: 22
Keywords: stuffed bell peppers, freezer-friendly, make-ahead meals, rice stuffed peppers, easy dinner, meal prep, healthy comfort food


