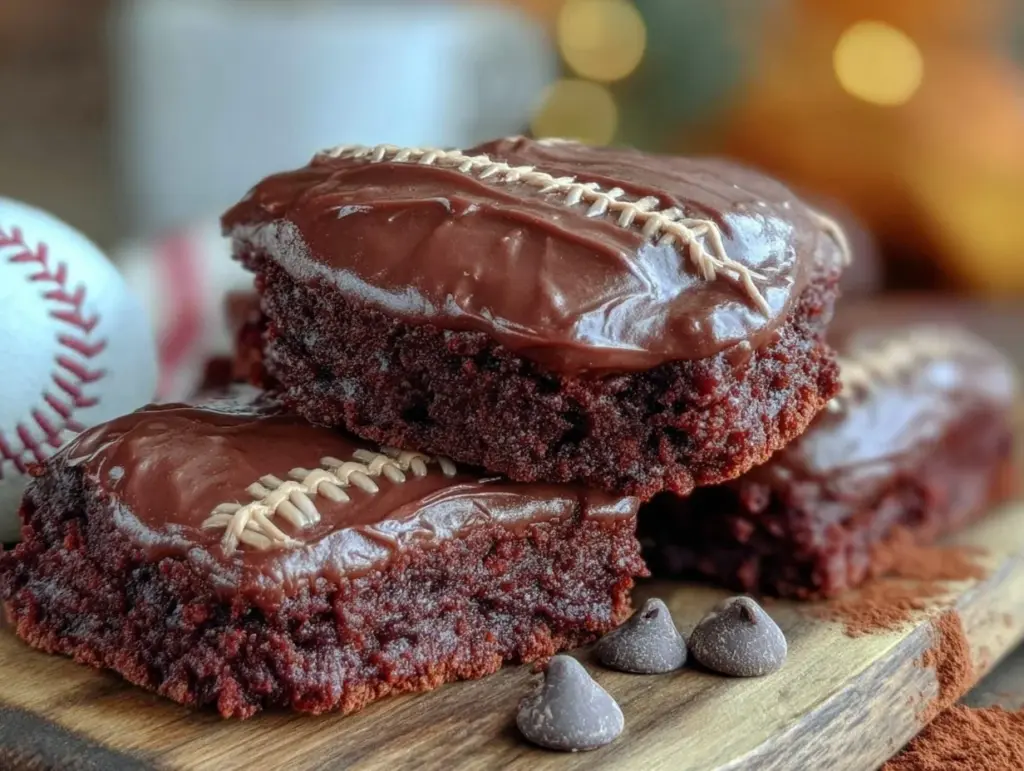
“Hey, you gotta see this!” my nephew shouted as he held up a brownie shaped like a baseball mitt. I was skeptical at first—brownies have always been my go-to comfort food, but a baseball mitt? Honestly, it sounded a little gimmicky. Yet, as I bit into that rich, fudgy treat crowned with thick, glossy chocolate frosting, all doubts melted away faster than the frosting on my fingers. That day, those Delicious Baseball Mitt Brownies with Rich Chocolate Frosting became an unexpected hero at our family barbecue, winning over picky eaters and dessert lovers alike.
What started as a fun baking experiment to celebrate little league season turned into a near obsession. I found myself making these brownies multiple times a week, tweaking the frosting here, adjusting the batter there—because you know how it goes when you’re chasing that perfect balance of fudginess and sweetness. They’re not just brownies; they carry a playful spirit, stirring up memories of summer games, cheering crowds, and the joy of a shared treat.
Now, every time I pull out the mitt-shaped pan and whip up that luscious chocolate frosting, it feels like a quiet nod to those carefree innings and the simple happiness of biting into a homemade dessert that’s both nostalgic and downright delicious. If you’ve ever wondered how to make brownies that bring a little extra fun to your baking routine, this recipe might just be the one that sticks with you.
Why You’ll Love This Recipe
After countless test batches and frosting spills (yes, I’m not proud of all of them), here’s why this recipe stands out as my favorite go-to for a chocolate fix with a twist:
- Quick & Easy: The batter comes together in under 15 minutes, so you’re not stuck in the kitchen all day—ideal for last-minute celebrations or a weekend treat.
- Simple Ingredients: You probably already have everything on hand—no need for specialty chocolate or fancy extracts.
- Perfect for Game Day & Parties: These mitt-shaped brownies are a real crowd-pleaser, perfect for baseball-themed events or casual family gatherings.
- Crowd-Pleaser: Kids and adults alike keep asking for seconds, which honestly makes the effort totally worth it.
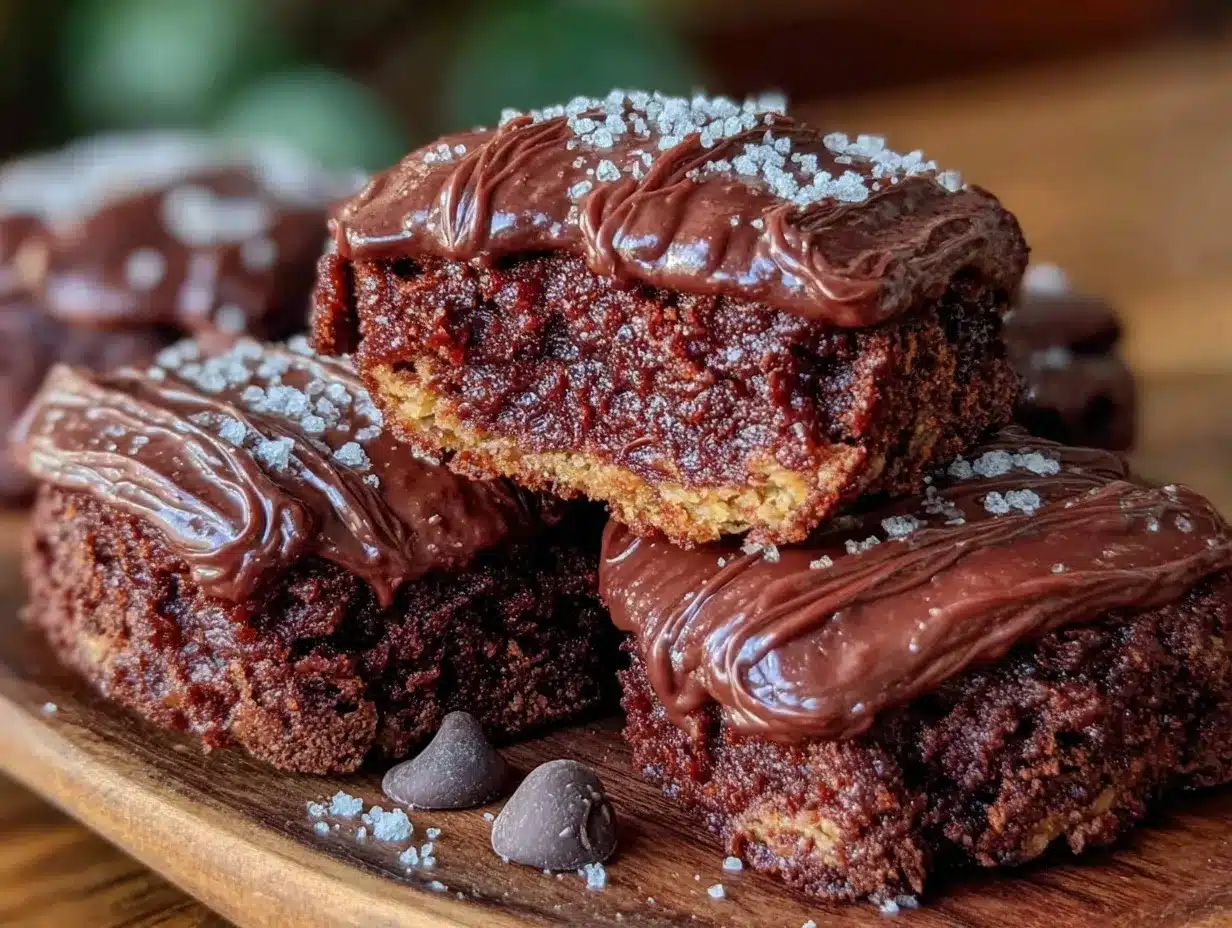
- Unbelievably Delicious: The fudgy texture paired with that rich chocolate frosting is like a hug in dessert form—comfort food that doesn’t disappoint.
This isn’t just your run-of-the-mill brownie recipe. What sets these apart is the attention to the frosting—blending cocoa powder and melted chocolate to get that perfect velvety finish. Plus, shaping them like a baseball mitt adds a fun visual punch that’s surprisingly easy to pull off, even if you’re “not really a baker.”
Honestly, it’s the kind of recipe that makes you pause mid-bite, close your eyes, and savor the moment. It’s simple, satisfying, and just a little bit playful—exactly what you want when you’re after a chocolate treat with personality.
What Ingredients You Will Need
This recipe uses simple, wholesome ingredients to deliver bold chocolate flavor and that fudgy, melt-in-your-mouth texture without fuss. Most are pantry staples, so you won’t have to run out for anything special.
- For the Brownie Batter:
- Unsalted butter, 1 cup (226g), melted (I like Kerrygold for richness)
- Granulated sugar, 2 cups (400g)
- Large eggs, 4, room temperature (helps with smooth mixing)
- Pure vanilla extract, 2 teaspoons
- All-purpose flour, 1 cup (125g), sifted
- Unsweetened cocoa powder, ¾ cup (75g), preferably Dutch-processed for deep flavor
- Salt, ½ teaspoon (balances sweetness)
- Baking powder, ½ teaspoon (for slight lift)
- For the Rich Chocolate Frosting:
- Unsalted butter, ½ cup (113g), softened
- Powdered sugar, 2 cups (240g), sifted to avoid lumps
- Unsweetened cocoa powder, ⅓ cup (35g)
- Heavy cream, 3 tablespoons (45ml), more if needed for texture
- Pure vanilla extract, 1 teaspoon
- Pinch of salt (to cut through the sweetness)
For substitutions, you can swap all-purpose flour with gluten-free flour blends if needed, and almond milk works fine instead of heavy cream for frosting, though it won’t be as rich. If you prefer a dairy-free option, use vegan butter and coconut cream—though the flavor will shift slightly.
In summer, I sometimes fold in fresh raspberries into the batter for a tart surprise, which pairs beautifully with the chocolate. And when I’m in a pinch, snowball cookies are my backup sweet treat, but these brownies have definitely stolen the show lately.
Equipment Needed
- Baseball mitt-shaped brownie pan (or a standard 9×13-inch pan if you want to cut shapes post-baking)
- Mixing bowls (large and medium size)
- Whisk and rubber spatula
- Electric hand mixer or stand mixer (for smooth frosting, but a sturdy whisk works too)
- Measuring cups and spoons (accurate measurement is key for brownies)
- Cooling rack (to let brownies rest before frosting)
- Offset spatula or butter knife (for spreading frosting evenly)
If you don’t have a mitt-shaped pan, you can easily use cookie cutters or just cut the brownies freehand after baking—though the pan definitely saves time and makes the presentation more authentic. For budget-friendly options, I’ve found that silicone pans are easier to clean and last longer without sticking.
Personally, I treasure my trusty KitchenAid stand mixer, but during late-night baking marathons, a handheld mixer does the trick just fine. Just be patient with the frosting—it needs to be silky smooth to get that rich chocolate shine.
Preparation Method
- Preheat and Prep: Heat your oven to 350°F (175°C). Grease your baseball mitt-shaped pan thoroughly or line a standard pan with parchment paper for easy removal. This usually takes about 10 minutes.
- Mix the Wet Ingredients: In a large bowl, whisk together the melted butter and granulated sugar until just combined—don’t overmix here! Add the eggs one at a time, beating well after each addition, then stir in the vanilla extract. This step takes about 5 minutes; the batter should be smooth and glossy.
- Combine Dry Ingredients: In a separate bowl, sift together the flour, cocoa powder, salt, and baking powder. Sifting helps prevent clumps and ensures a uniform texture.
- Fold Dry into Wet: Gradually add the dry ingredients to the wet mixture, folding gently with a spatula. Don’t overdo it—stop as soon as everything is just combined. The batter will be thick and fudgy.
- Pour and Bake: Spread the batter evenly into your prepared pan. Tap the pan gently on the counter to release any air bubbles. Bake for 25-30 minutes. Check with a toothpick inserted near the center; it should come out with a few moist crumbs but not wet batter.
- Cool Completely: Let the brownies cool in the pan on a wire rack for at least 45 minutes. Cooling is crucial before frosting, or you’ll end up with a melty mess.
- Make the Frosting: Beat the softened butter until creamy, about 2 minutes. Sift in the powdered sugar and cocoa powder, then add the vanilla, salt, and 2 tablespoons of heavy cream. Beat on medium speed until fluffy, adding more cream if needed to reach spreadable consistency.
- Frost the Brownies: Using an offset spatula or butter knife, spread the chocolate frosting evenly over the cooled brownies, paying extra attention to the “mitt” details to highlight the shape. For extra fun, you can pipe lines to mimic stitching.
- Serve and Enjoy: Slice carefully following the mitt shape or cut into squares if using a standard pan. These brownies are best at room temperature for that perfect fudgy texture.
Pro tip: If your frosting feels too stiff, a quick 5-second zap in the microwave can soften it—just don’t overdo it, or it’ll get runny. Also, if you don’t have a toothpick, a clean fork tine works just as well for testing doneness.
Cooking Tips & Techniques
When working with brownies, timing and texture are everything. Here are some pointers I’ve picked up after a few too many burnt edges and dry batches:
- Butter Temperature Matters: Melt the butter slowly; hot butter can cook the eggs prematurely, leading to a grainy texture.
- Don’t Overmix: Once you add the flour, fold gently. Overmixing develops gluten, making brownies cakey rather than fudgy.
- Use Quality Cocoa: Dutch-processed cocoa powder creates a richer, smoother flavor. Avoid natural cocoa for this recipe; it can be more acidic and alter the taste.
- Cooling Is Crucial: Frosting warm brownies is a rookie mistake I’ve made more than once. Let them cool completely or the frosting will melt and slide off.
- Frosting Consistency: For the frosting, start with less cream and add gradually. You want it spreadable, not runny.
- Multitasking: While the brownies bake, whip up the frosting and prep your pan—keeps things moving efficiently.
Honestly, these brownies have saved me on busy days when I needed a quick but impressive dessert. A little patience with the cooling and frosting makes all the difference between “meh” and “wow.”
Variations & Adaptations
This recipe is pretty flexible, so you can tweak it to suit your needs or mood:
- Nutty Twist: Fold in ½ cup chopped pecans or walnuts for crunch. I love pairing these with my crispy candied pecans for an extra layer of texture.
- Peanut Butter Swirl: Drop dollops of peanut butter into the batter and swirl gently before baking for a silky surprise.
- Dairy-Free: Use coconut oil instead of butter and substitute coconut cream for heavy cream in the frosting. The flavor shifts a bit but stays delicious.
- Seasonal Flair: Top with fresh raspberries or drizzle with raspberry sauce in spring and summer, or sprinkle a pinch of cinnamon and chili powder in fall for a subtle kick.
- Alternative Shapes: If you don’t have the mitt pan, try using a baseball-shaped cookie cutter on a square pan’s brownies for a similar effect.
Once, I made these with a dash of espresso powder in the batter—it deepened the chocolate flavor beautifully without making it taste like coffee. Give that a whirl if you want to impress your coffee-loving friends.
Serving & Storage Suggestions
These brownies are best served at room temperature, allowing the rich chocolate frosting to melt just slightly on your tongue. For parties, arrange them on a platter with a few fresh berries or mint leaves for a pop of color.
Pair them with a cold glass of milk or a cup of hot coffee—works perfectly for a cozy afternoon treat. If you’re feeling festive, try serving alongside warm cranberry-orange bread, which you can find in this easy glazed loaf recipe, to balance the deep chocolate with a citrusy zing.
Store the brownies in an airtight container at room temperature for up to 3 days, or refrigerate for up to a week. If refrigerated, bring them back to room temp before serving to restore that fudgy softness.
For longer storage, freeze unfrosted brownies in a sealed container for up to 3 months. Thaw overnight in the fridge and frost just before serving to keep that frosting fresh and luscious.
Fun fact: The flavors actually mellow and deepen after a day or two, so if you can resist, letting them rest overnight makes for an even more satisfying bite.
Nutritional Information & Benefits
These brownies pack a rich chocolate punch but also offer a few nutritional perks thanks to wholesome ingredients:
| Nutrient | Per Serving (1 brownie) |
|---|---|
| Calories | 280 |
| Fat | 16g |
| Saturated Fat | 9g |
| Carbohydrates | 32g |
| Sugar | 24g |
| Protein | 3g |
The cocoa powder provides antioxidants, and using real butter over substitutes gives a better fat profile. For those watching carbs, swapping sugar with erythritol or monk fruit sweetener can work, but expect a slight texture change.
Do note this recipe contains eggs, dairy, and gluten, so it’s not suitable for those with allergies to those ingredients unless you try the adaptations mentioned earlier.
From a wellness perspective, I appreciate that these brownies satisfy a chocolate craving without artificial additives or preservatives, making them a treat I can feel good about sharing with family.
Conclusion
These Delicious Baseball Mitt Brownies with Rich Chocolate Frosting are more than just a dessert—they’re a fun way to celebrate a favorite pastime with food that brings people together. Whether it’s for a summer game day, a birthday, or just because you love chocolate, this recipe is approachable and endlessly satisfying.
Feel free to customize the frosting, try the variations, or pair them with other homemade favorites like the cinnamon roll casserole for a breakfast twist. Personally, I love how these brownies can be both playful and indulgent, a rare combo that keeps me coming back to the kitchen.
If you give this recipe a try, I’d love to hear how you made it your own. Drop a comment below or share your photos—let’s keep this delicious tradition going!
FAQs
Can I use a regular brownie pan instead of a baseball mitt-shaped one?
Absolutely! You can bake the batter in any 9×13-inch pan and either cut out mitt shapes with a cookie cutter or simply slice into squares. The unique shape is fun but not necessary for the great taste.
How do I store leftover brownies with chocolate frosting?
Store them in an airtight container at room temperature for up to 3 days or in the fridge for up to a week. Bring to room temperature before serving for the best texture.
Can I make these brownies gluten-free?
Yes, by swapping the all-purpose flour with a 1-to-1 gluten-free baking flour blend, you can make these brownies gluten-free. Just be sure your cocoa powder and other ingredients are gluten-free as well.
Is there a way to make the frosting less sweet?
You can reduce the powdered sugar by ¼ cup or add an extra pinch of salt to balance sweetness. Using dark cocoa powder also helps create a richer, less sweet flavor.
Can I prepare the batter or frosting ahead of time?
You can prepare the batter and refrigerate it overnight; just let it come to room temperature before baking. The frosting is best made fresh but can be stored in the fridge for up to 2 days—re-whip before spreading.
Pin This Recipe!
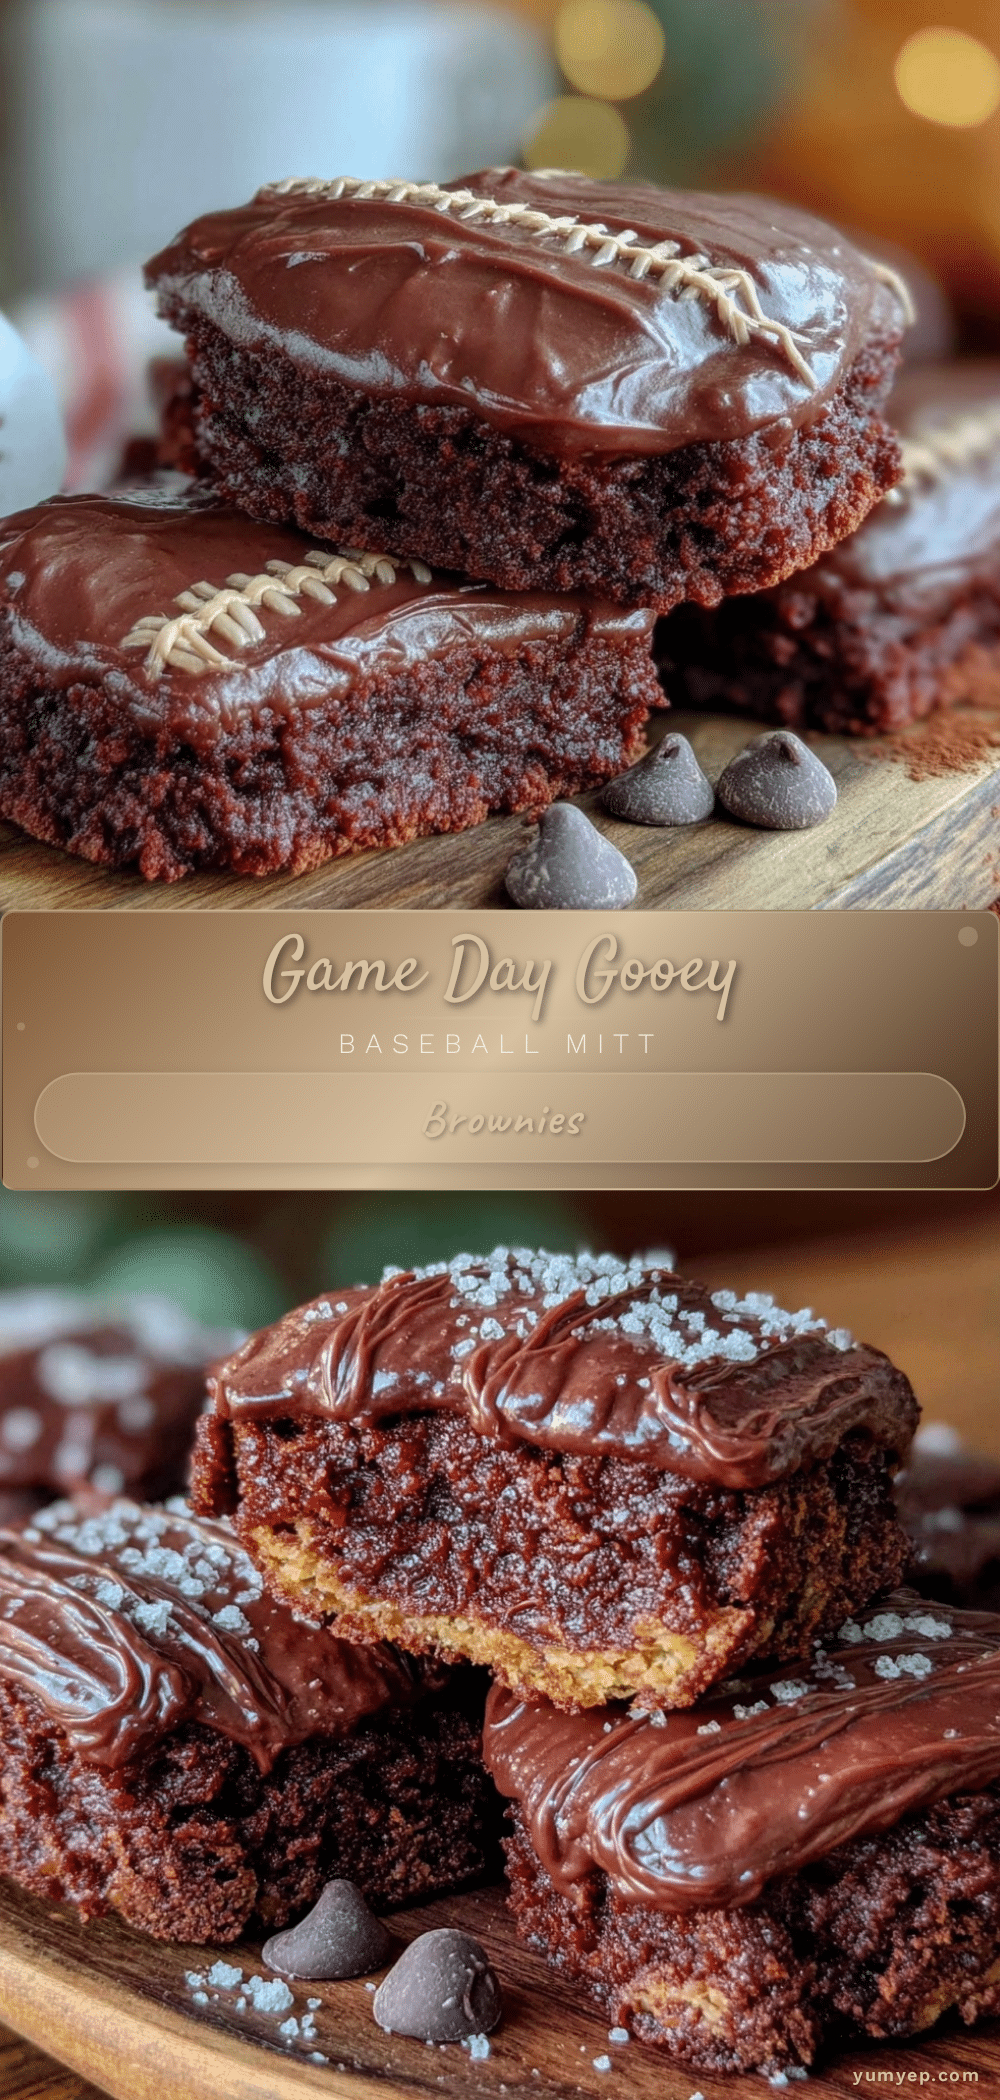
Baseball Mitt Brownies with Rich Chocolate Frosting

These fudgy brownies shaped like a baseball mitt are topped with a luscious, velvety chocolate frosting. Perfect for game day or any celebration, they combine rich chocolate flavor with a playful presentation.
- Prep Time: 15 minutes
- Cook Time: 30 minutes
- Total Time: 1 hour 30 minutes
- Yield: 16 servings 1x
- Category: Dessert
- Cuisine: American
Ingredients
- 1 cup (226g) unsalted butter, melted
- 2 cups (400g) granulated sugar
- 4 large eggs, room temperature
- 2 teaspoons pure vanilla extract
- 1 cup (125g) all-purpose flour, sifted
- 3/4 cup (75g) unsweetened Dutch-processed cocoa powder
- 1/2 teaspoon salt
- 1/2 teaspoon baking powder
- 1/2 cup (113g) unsalted butter, softened (for frosting)
- 2 cups (240g) powdered sugar, sifted
- 1/3 cup (35g) unsweetened cocoa powder (for frosting)
- 3 tablespoons (45ml) heavy cream, more if needed
- 1 teaspoon pure vanilla extract (for frosting)
- Pinch of salt (for frosting)
Instructions
- Preheat oven to 350°F (175°C). Grease a baseball mitt-shaped brownie pan or line a 9×13-inch pan with parchment paper.
- In a large bowl, whisk together melted butter and granulated sugar until just combined. Add eggs one at a time, beating well after each addition, then stir in vanilla extract.
- In a separate bowl, sift together flour, cocoa powder, salt, and baking powder.
- Gradually fold dry ingredients into wet mixture with a spatula until just combined. Batter will be thick and fudgy.
- Spread batter evenly into prepared pan. Tap pan gently to release air bubbles.
- Bake for 25-30 minutes. Test doneness with a toothpick; it should come out with a few moist crumbs.
- Cool brownies completely on a wire rack for at least 45 minutes before frosting.
- For frosting, beat softened butter until creamy. Sift in powdered sugar and cocoa powder. Add vanilla, salt, and 2 tablespoons heavy cream. Beat on medium speed until fluffy, adding more cream if needed for spreadable consistency.
- Spread frosting evenly over cooled brownies using an offset spatula or butter knife, emphasizing mitt details. Optionally pipe lines to mimic stitching.
- Slice brownies following mitt shape or into squares if using a standard pan. Serve at room temperature.
Notes
If frosting is too stiff, soften with a quick 5-second microwave zap. Do not overmix batter to avoid cakey brownies. Let brownies cool completely before frosting to prevent melting. Use Dutch-processed cocoa powder for best flavor. Variations include adding nuts, peanut butter swirl, or fresh raspberries. For dairy-free, substitute vegan butter and coconut cream.
Nutrition
- Serving Size: 1 brownie
- Calories: 280
- Sugar: 24
- Fat: 16
- Saturated Fat: 9
- Carbohydrates: 32
- Protein: 3
Keywords: brownies, chocolate frosting, baseball mitt brownies, fudgy brownies, game day dessert, easy brownies, homemade brownies


