“You really think tossing Caesar salad in a wrap works?” my friend said, eyeing the pile of grilled chicken and romaine I had stacked on the counter. Honestly, I wasn’t sure either when I first threw these together. It was one of those rushed weekday lunches where I wanted something tasty but didn’t have the time or energy to fuss with a full sit-down meal. The kitchen smelled like smoky grilled chicken, and I had a few tortillas left over, so I just went for it.
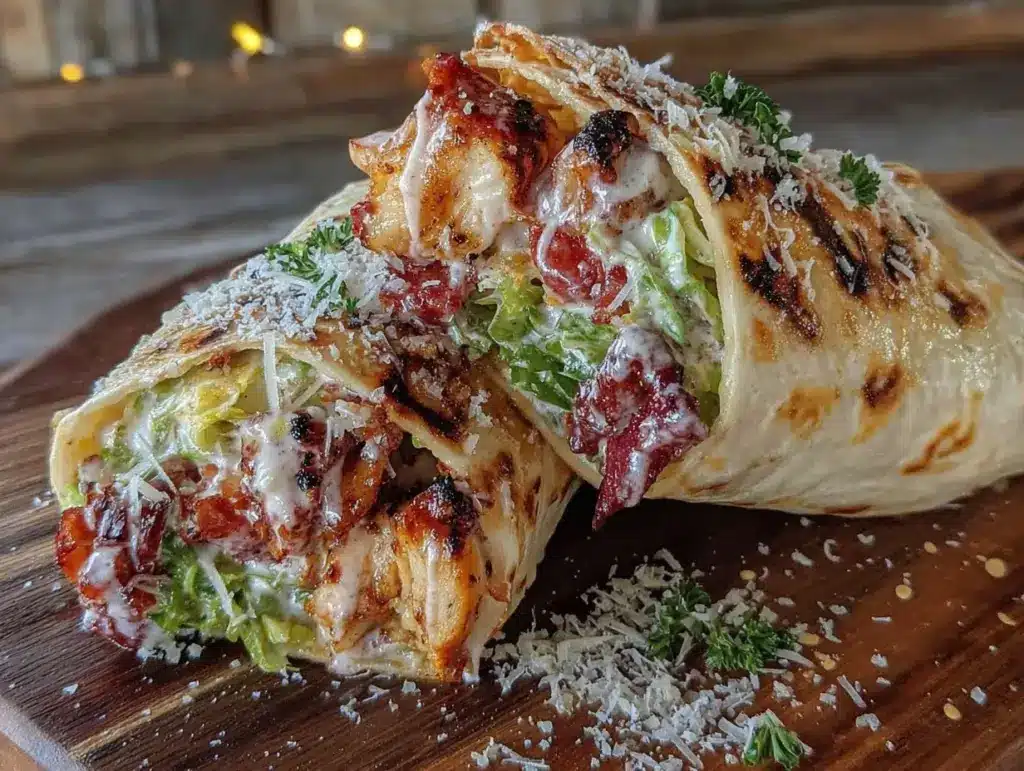
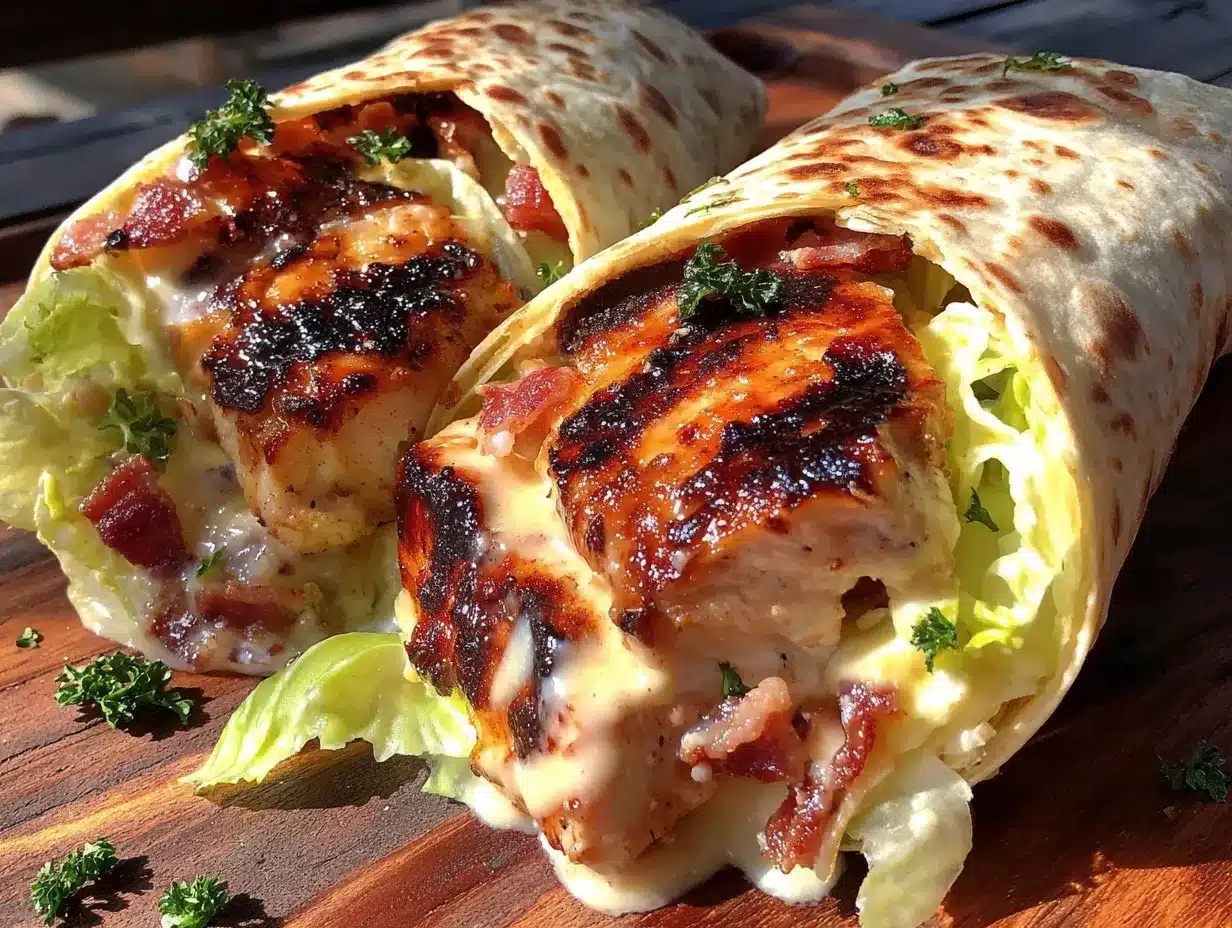
That first bite surprised me—the crisp romaine, tangy Caesar dressing, and juicy chicken wrapped up in a warm, slightly charred tortilla. The crunch of the lettuce combined with the crispy edges of the grilled chicken made it feel like I was indulging, even though it was quick and simple. I found myself making these wraps multiple times that week, tweaking the seasoning and swapping in little extras like shaved Parmesan or a squeeze of fresh lemon. They quickly became my go-to lunch when I needed something filling but fuss-free.
What stuck with me is how this recipe captures that balance of crispy texture and fresh flavor without any complicated steps or fancy ingredients. It’s just real food that feels a little special. Every time I make these Quick Crispy Grilled Chicken Caesar Wraps, I’m reminded that easy meals can still be memorable. It’s the kind of lunch that makes you pause for a second, close your eyes, and enjoy the simple pleasure of good, honest cooking.
Why You’ll Love This Recipe
After testing this recipe more times than I can count, I’m convinced it hits the sweet spot between convenience and flavor. Here’s why these chicken Caesar wraps have earned a permanent spot in my lunch rotation:
- Quick & Easy: Ready in about 20 minutes, which is perfect for busy weekdays or last-minute meal prep.
- Simple Ingredients: No trips to specialty stores required—just pantry staples and fresh produce you likely already have.
- Perfect for Lunch or Light Dinner: Whether you’re packing a work lunch or need a satisfying snack, these wraps fit the bill.
- Crowd-Pleaser: The grilled chicken’s crunch and the creamy Caesar dressing always get compliments from both kids and adults.
- Unbelievably Delicious: The crispy texture contrasts with the fresh, tangy flavors, making every bite exciting.
What sets this recipe apart is the little technique of grilling the chicken just right to get those crispy edges without drying it out, plus the homemade Caesar-style dressing that’s not too heavy but still rich in flavor. I’ve tried pre-made dressings, but the homemade version balances perfectly here, giving the wraps a fresh zing. Also, wrapping everything in warm tortillas instead of a salad bowl makes it portable and mess-free—a true game-changer for lunch on the go.
There’s something honestly comforting about these wraps. They’re not complicated, but they feel like a treat. Plus, they’re a great way to enjoy the classic Caesar salad flavors with a bit of a twist. Once you try them, I bet you’ll be making these wraps more often than you expect.
What Ingredients You Will Need
This recipe uses simple, wholesome ingredients that come together to deliver big flavor and satisfying texture without any fuss. Most of these are pantry staples or fresh items you can easily swap if needed.
- For the Chicken:
- 2 boneless, skinless chicken breasts (about 1 pound / 450g), pounded to even thickness
- 1 tablespoon olive oil (I like a good quality extra virgin like California Olive Ranch)
- 1 teaspoon garlic powder
- 1 teaspoon smoked paprika (adds a subtle smoky depth)
- Salt and freshly ground black pepper, to taste
- For the Caesar Dressing:
- 3 tablespoons mayonnaise (use a good brand like Hellmann’s for creaminess)
- 1 teaspoon Dijon mustard
- 1 clove garlic, finely minced
- 2 tablespoons grated Parmesan cheese (Parmigiano-Reggiano if you can get it)
- 1 tablespoon lemon juice (freshly squeezed)
- 1 teaspoon Worcestershire sauce
- Salt and pepper to taste
- Optional: 1 teaspoon anchovy paste for authentic Caesar flavor
- For the Wrap Assembly:
- 4 large flour tortillas (10-inch / 25cm size) – you can swap for whole wheat or gluten-free if needed
- 2 cups romaine lettuce, chopped and washed (crisp and fresh is key here)
- 1/4 cup shaved Parmesan cheese
- Freshly ground black pepper for garnish
For a seasonal twist, you could add some grilled peaches or roasted red peppers, but I find sticking to the basics lets each flavor shine. If you prefer a dairy-free version, swap the Parmesan with nutritional yeast and the mayo with a vegan alternative.
Equipment Needed
- Grill pan or outdoor grill – a cast iron grill pan works beautifully to get those crisp grill marks and smoky flavor.
- Mixing bowl – for whisking together the Caesar dressing.
- Sharp knife and cutting board – for prepping chicken and chopping lettuce.
- Tongs or spatula – to flip chicken without piercing it.
- Measuring spoons and cups – for accuracy in seasoning and dressing.
- Optional: Meat thermometer – helps ensure you don’t overcook the chicken (target internal temp: 165°F / 74°C).
If you don’t have a grill pan, a cast iron skillet or even a regular non-stick pan will do; you’ll just miss a bit of that smoky char. I once used a George Foreman grill for these when pressed for time, and it worked surprisingly well. Just clean your equipment well afterward, especially if using cast iron, to keep it seasoned and ready for next time.
Preparation Method
- Prep the Chicken: Pat the chicken breasts dry with paper towels, then pound them gently to an even thickness of about 1/2 inch (1.3cm). This helps them cook evenly and stay juicy. Brush both sides with olive oil and sprinkle garlic powder, smoked paprika, salt, and pepper evenly.
- Make the Caesar Dressing: In a small bowl, whisk together mayonnaise, Dijon mustard, minced garlic, Parmesan, lemon juice, Worcestershire sauce, and anchovy paste if using. Add salt and pepper to taste. Set aside in the fridge to let flavors meld while you cook.
- Grill the Chicken: Heat your grill pan over medium-high heat until hot but not smoking. Place the chicken on the pan and cook for about 5-6 minutes per side. You’re aiming for a crispy, caramelized exterior with juicy interior. Use tongs to flip gently. If unsure, check internal temperature with a meat thermometer — it should read 165°F (74°C).
- Rest and Slice: Transfer chicken to a cutting board and let it rest for 5 minutes. This locks in juices. Then slice into thin strips (about 1/4 inch / 0.6 cm thick), which makes wrapping easier and bites perfect.
- Warm the Tortillas: Quickly warm tortillas in a dry skillet over medium heat for about 20 seconds each side or wrap in foil and heat in a 350°F (175°C) oven for 5 minutes. Warm tortillas are more pliable and taste better.
- Assemble the Wraps: Lay each tortilla flat. Spread about 1 tablespoon of Caesar dressing down the center. Layer with chopped romaine lettuce, sliced grilled chicken, and shaved Parmesan. Add a crack of fresh black pepper. Fold the sides over and roll tightly from one end to the other.
- Optional Crisping: If you want extra crunch, place wrapped tortillas seam-side down on the grill pan for 1-2 minutes per side until the outside is golden and slightly crispy. This step is a personal favorite – it adds a wonderful texture contrast.
- Serve: Cut wraps in half on the diagonal and serve immediately.
Some days, I toss in a few crispy candied pecans for a sweet crunch—this unexpected addition is inspired by the recipe for crispy candied pecans I stumbled upon recently. It’s a fun way to switch things up.
Cooking Tips & Techniques
When making these Quick Crispy Grilled Chicken Caesar Wraps, a few tricks make all the difference:
- Don’t skip the chicken pounding: Even thickness prevents dry edges and undercooked centers.
- Pat dry your chicken: Moisture is the enemy of crispiness. Dry chicken sears better and gets those golden edges faster.
- Rest your chicken: I’ve learned the hard way that slicing too soon leads to dry meat. Always rest for juicy results.
- Homemade dressing beats store-bought: It’s fresher and you control the tang and salt balance. Plus, it clings better to the lettuce and chicken.
- Warm your tortillas: Cold tortillas crack and break when wrapping. Warm them just enough to be flexible, but don’t overheat.
- Grill pan vs. skillet: A grill pan gives those classic grill marks and a smoky flavor, but a cast iron skillet can still get a nice sear if you keep it hot.
- Multitasking tip: Whip up the dressing while the chicken grills to save time. It’s all about working smart when lunch calls.
One silly mistake I made early on was overcrowding the grill pan. The chicken steamed instead of searing, and the wraps came out soggy. Lesson learned: give your chicken space for that crisp crust.
Variations & Adaptations
This recipe is flexible, so you can easily tweak it to suit different tastes or dietary needs:
- Low-Carb Option: Swap tortillas for large lettuce leaves or collard greens for a fresh, crunchy wrap without the carbs.
- Vegetarian Version: Use grilled portobello mushrooms or crispy tofu strips instead of chicken, and add extra Parmesan or a sprinkle of nutritional yeast for cheesy flavor.
- Spicy Kick: Add a dash of hot sauce or mix some chipotle powder into the grilled chicken seasoning for a smoky heat.
- Seasonal Twist: Try adding slices of ripe avocado or cherry tomatoes in summer for extra freshness.
- Dairy-Free: Use a dairy-free mayo and skip the Parmesan or replace it with a vegan cheese alternative.
Personally, I once made a batch with leftover grilled chicken from creamy lemon chicken piccata and it added a nice citrus twist to these wraps. It was a happy accident that turned into a new favorite.
Serving & Storage Suggestions
These wraps are best enjoyed fresh and warm, but they still hold up surprisingly well if you need to pack them for lunch or serve later:
- Serving Temperature: Serve immediately after assembly or after a quick crisping on the grill pan for that perfect crunch.
- Presentation: Slice on the diagonal and place on a plate with a few lemon wedges for squeezing—brightens the flavors beautifully.
- Complementary Sides: Pair with a light salad, crunchy vegetable sticks, or even a side of fresh apple pecan salad for a nice texture balance.
- Storage: Wrap tightly in plastic wrap or foil and refrigerate for up to 24 hours. Avoid making too far ahead, as the lettuce can get soggy.
- Reheating: Reheat in a hot skillet for a couple of minutes per side to refresh that crisp texture. Avoid microwaving as it tends to make the wrap soggy.
- Flavor Development: The dressing’s tang intensifies after sitting a bit, so letting the wraps rest wrapped for 10 minutes before eating can deepen the flavor without sacrificing crunch.
Nutritional Information & Benefits
Each wrap provides a balanced meal with protein, fiber, and healthy fats. Here’s an estimate per wrap:
| Calories | ~350 kcal |
|---|---|
| Protein | 30g |
| Carbohydrates | 25g |
| Fat | 12g |
| Fiber | 3g |
The grilled chicken is a lean protein source, while the romaine provides vitamins A and K and a satisfying crunch. The homemade Caesar dressing adds healthy fats from olive oil and mayonnaise. For those watching carbs, swapping the tortilla for leafy greens lowers carbohydrate content significantly.
Be mindful if you have allergies to dairy or eggs, as the dressing and Parmesan contain both. For a healthier twist, you can lighten the mayo portion or replace it with Greek yogurt, which also boosts protein.
Conclusion
These Quick Crispy Grilled Chicken Caesar Wraps are a simple way to make a classic favorite into a handheld, flavorful meal that fits perfectly into busy days. They’re flexible, satisfying, and come together quickly without sacrificing taste or texture. I love how they bring just the right balance of crisp, creamy, and smoky in every bite.
Feel free to tweak the ingredients or add your own spin—cooking should be fun, after all. Whether you’re packing lunch for work, feeding the kids, or just treating yourself, these wraps hit the spot every time. Don’t be shy about experimenting with different greens or sauces, and let me know how you make them your own.
If you enjoy recipes that combine ease with flavor, you might appreciate trying the easy sheet pan chicken fajitas next—another favorite for quick dinners that don’t skimp on taste.
FAQs About Quick Crispy Grilled Chicken Caesar Wraps
Can I use pre-cooked chicken for these wraps?
Absolutely! Just warm the chicken slices and assemble the wrap. You might want to crisp the tortilla a bit more to add texture.
What’s the best way to keep the lettuce from getting soggy?
Use fresh, crisp romaine and add it right before serving or packing. Avoid mixing lettuce directly with the dressing too early.
Can I make the Caesar dressing ahead of time?
Yes, the dressing keeps well in the fridge for up to 3 days. Just give it a good whisk before using.
Are there gluten-free options for this recipe?
Yes, swap the flour tortillas for gluten-free wraps or large lettuce leaves for a naturally gluten-free wrap.
How do I store leftovers?
Wrap leftovers tightly and refrigerate for up to 24 hours. Reheat in a skillet to refresh the crispness before eating.
Pin This Recipe!
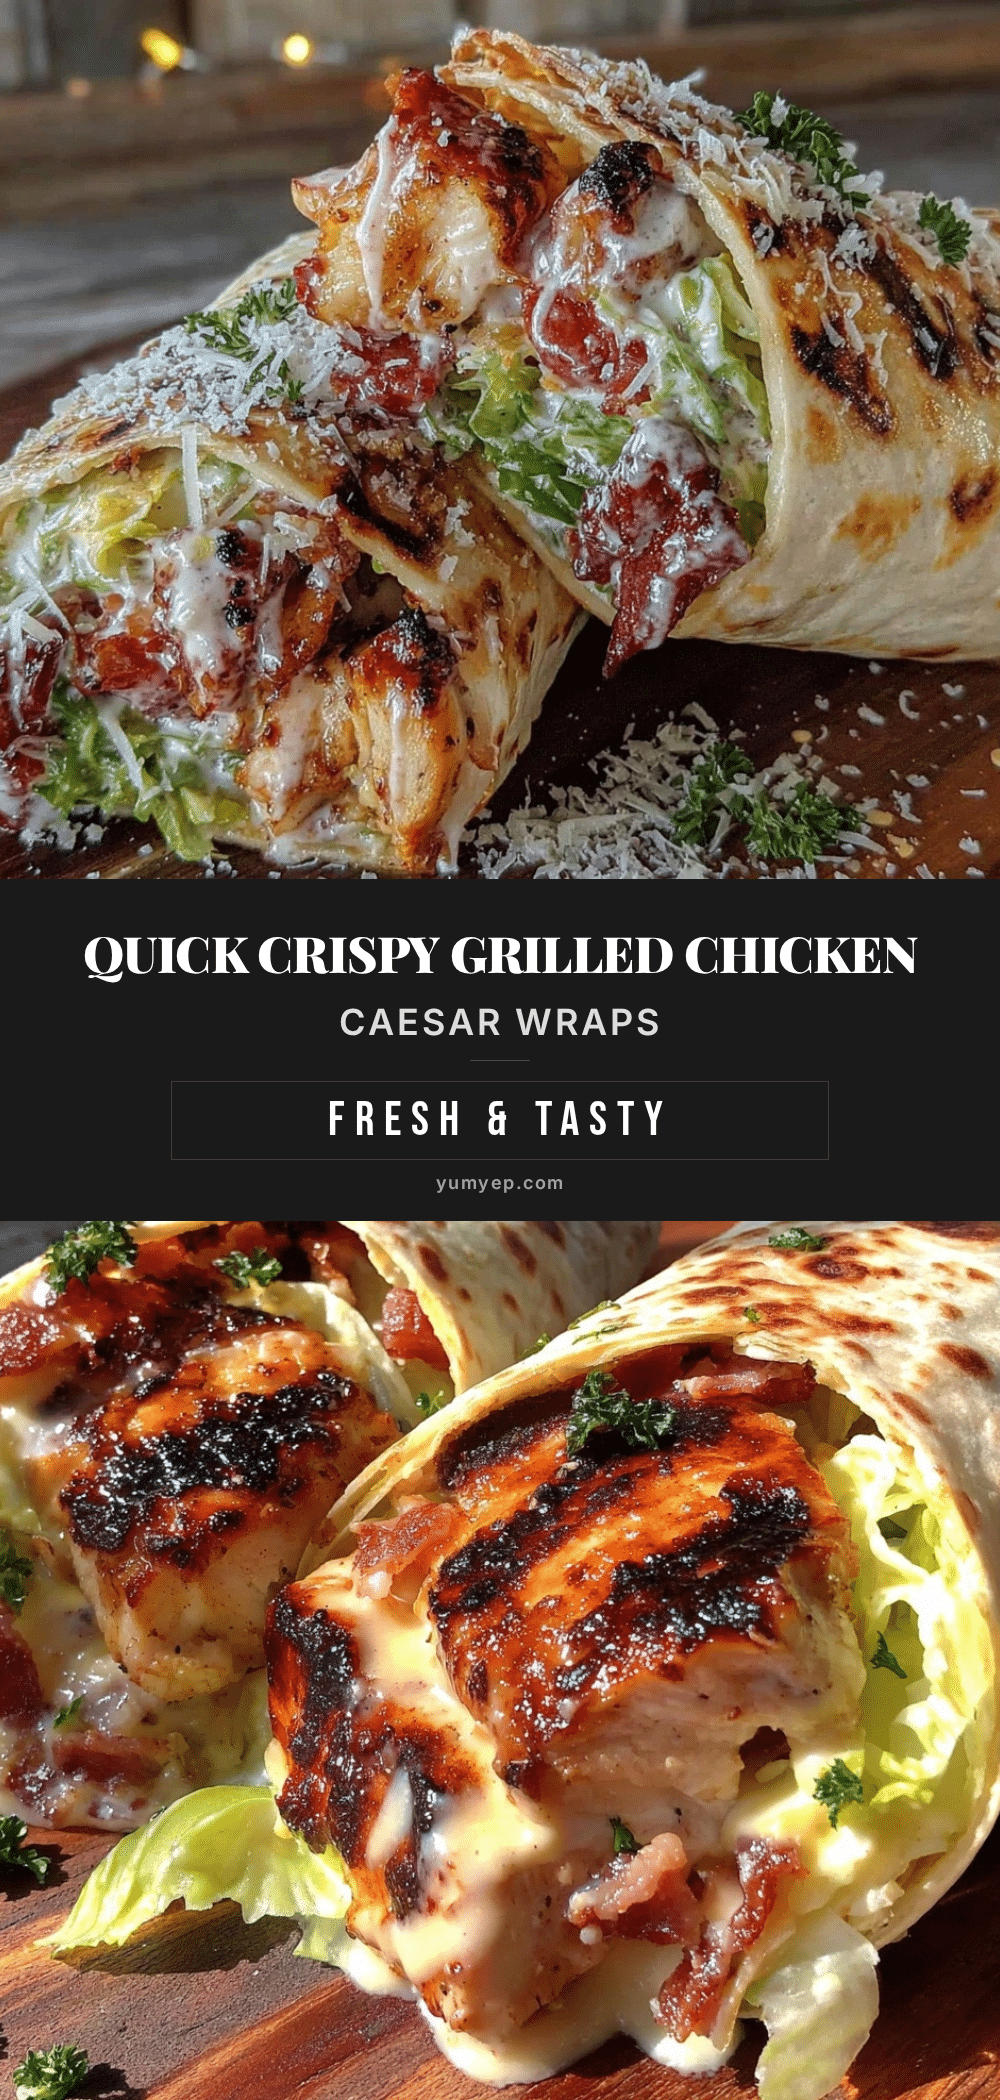
Quick Crispy Grilled Chicken Caesar Wraps

These wraps combine crispy grilled chicken, fresh romaine, and tangy homemade Caesar dressing wrapped in warm tortillas for a quick, flavorful lunch or light dinner.
- Prep Time: 10 minutes
- Cook Time: 10 minutes
- Total Time: 20 minutes
- Yield: 4 servings 1x
- Category: Main Course
- Cuisine: American
Ingredients
- 2 boneless, skinless chicken breasts (about 1 pound / 450g), pounded to even thickness
- 1 tablespoon olive oil
- 1 teaspoon garlic powder
- 1 teaspoon smoked paprika
- Salt and freshly ground black pepper, to taste
- 3 tablespoons mayonnaise
- 1 teaspoon Dijon mustard
- 1 clove garlic, finely minced
- 2 tablespoons grated Parmesan cheese
- 1 tablespoon lemon juice (freshly squeezed)
- 1 teaspoon Worcestershire sauce
- Salt and pepper to taste
- Optional: 1 teaspoon anchovy paste
- 4 large flour tortillas (10-inch / 25cm size)
- 2 cups romaine lettuce, chopped and washed
- 1/4 cup shaved Parmesan cheese
- Freshly ground black pepper for garnish
Instructions
- Pat the chicken breasts dry with paper towels, then pound them gently to an even thickness of about 1/2 inch (1.3 cm). Brush both sides with olive oil and sprinkle garlic powder, smoked paprika, salt, and pepper evenly.
- In a small bowl, whisk together mayonnaise, Dijon mustard, minced garlic, Parmesan, lemon juice, Worcestershire sauce, and anchovy paste if using. Add salt and pepper to taste. Set aside in the fridge to let flavors meld while you cook.
- Heat your grill pan over medium-high heat until hot but not smoking. Place the chicken on the pan and cook for about 5-6 minutes per side until crispy and caramelized on the outside and cooked through (internal temperature 165°F / 74°C). Use tongs to flip gently.
- Transfer chicken to a cutting board and let it rest for 5 minutes. Then slice into thin strips about 1/4 inch (0.6 cm) thick.
- Quickly warm tortillas in a dry skillet over medium heat for about 20 seconds each side or wrap in foil and heat in a 350°F (175°C) oven for 5 minutes.
- Lay each tortilla flat. Spread about 1 tablespoon of Caesar dressing down the center. Layer with chopped romaine lettuce, sliced grilled chicken, and shaved Parmesan. Add a crack of fresh black pepper. Fold the sides over and roll tightly from one end to the other.
- Optional: Place wrapped tortillas seam-side down on the grill pan for 1-2 minutes per side until the outside is golden and slightly crispy.
- Cut wraps in half on the diagonal and serve immediately.
Notes
Pat chicken dry before seasoning for better crispiness. Rest chicken before slicing to keep it juicy. Warm tortillas to prevent cracking. Homemade Caesar dressing clings better and tastes fresher than store-bought. Avoid overcrowding the grill pan to ensure a crispy crust. For extra crunch, crisp the wrapped tortillas on the grill pan before serving. Store wraps tightly wrapped in the fridge for up to 24 hours and reheat in a skillet to maintain crispness.
Nutrition
- Serving Size: 1 wrap
- Calories: 350
- Fat: 12
- Carbohydrates: 25
- Fiber: 3
- Protein: 30
Keywords: grilled chicken wrap, Caesar wrap, quick lunch, easy chicken recipe, homemade Caesar dressing, grilled chicken Caesar wrap


