“You should totally make this for the party,” my friend said, tossing me a casual glance during our last-minute chat. I was skeptical—red velvet cakes often felt like fuss and fancy, not something even I could pull off with a toddler running circles around the kitchen. But honestly, that suggestion stuck with me. A few tries later, after a couple of messy attempts and one cake that looked more like a modern art project, this Perfect Red Velvet Flag Cake with Cream Cheese Frosting was born.
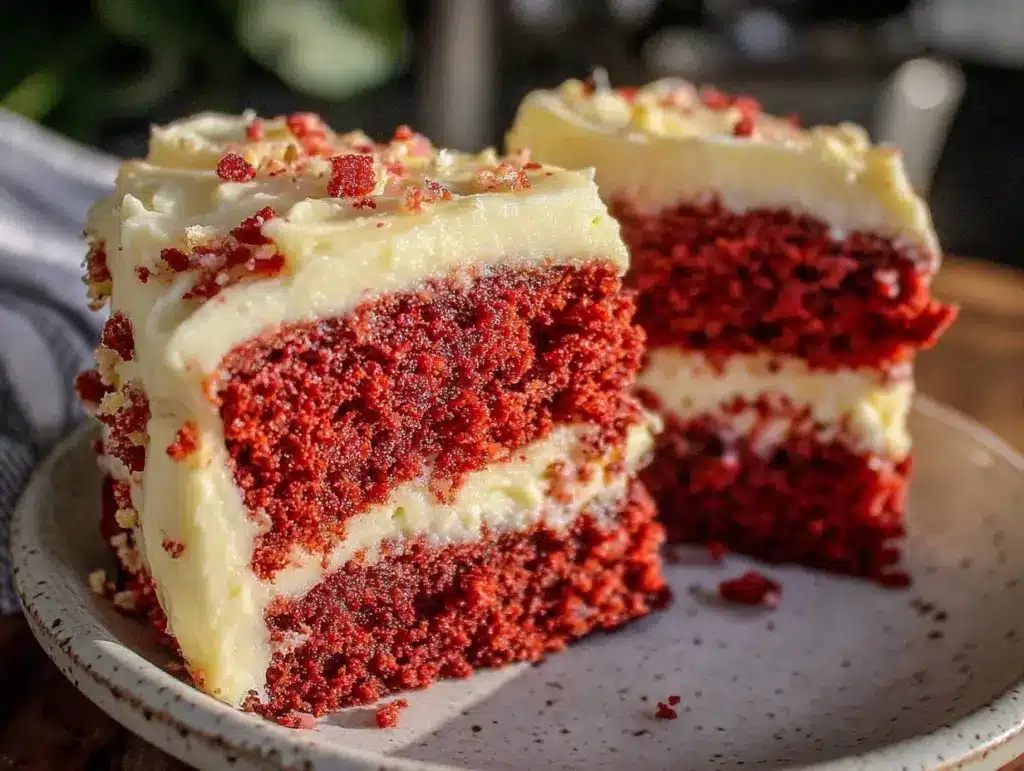
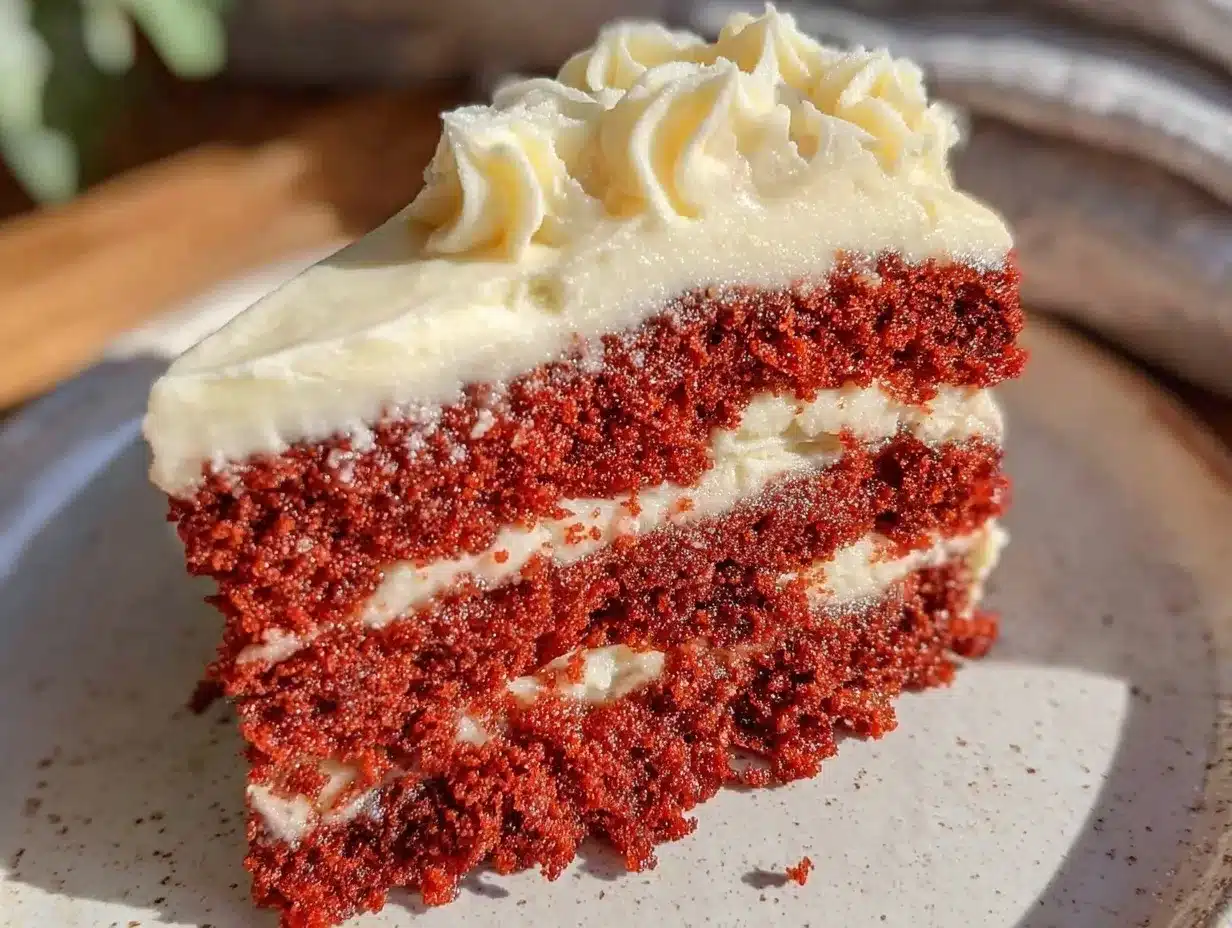
It’s not just any red velvet cake, though. This one’s layered with three vibrant red velvet stripes and fluffy cream cheese frosting that feels like a cloud hugging every bite. The flag design? Pure fun, and honestly, a crowd-pleaser at every gathering, whether it’s a casual barbecue or a holiday table centerpiece. I remember the afternoon I baked this—while juggling emails and a cranky toddler—when the cake came out looking so good that I almost forgot how chaotic the day was.
What makes this cake linger in my mind isn’t just the look or the taste but the simplicity behind it. No need for complicated piping skills or tricky ingredients—just a few pantry staples and a little patience. If you’ve ever felt a bit intimidated by layered cakes, trust me, this recipe will change your mind. It’s the kind of dessert that invites a quiet smile after slicing into that first velvety piece. And that, I think, is why it’s stayed in my rotation, popping up for birthdays, patriotic holidays, or whenever I want to treat the family to something special without total kitchen chaos.
Why You’ll Love This Perfect Red Velvet Flag Cake Recipe with Cream Cheese Frosting
This Perfect Red Velvet Flag Cake with Cream Cheese Frosting is honestly one of those recipes that feels just right from the first bite. After testing countless versions, I can say this one nails the texture and flavor balance like a pro. Here’s what makes it stand out:
- Quick & Easy: The layered flag design sounds fancy but comes together in under 90 minutes total, making it perfect for busy weekends or last-minute celebrations.
- Simple Ingredients: No hunting down specialty items here—you probably have everything in your pantry, from cocoa powder to cream cheese.
- Perfect for Patriotic Occasions: Ideal for July 4th, Memorial Day, or any red-white-and-blue themed party, but honestly, it’s good any time you want a bit of festive flair.
- Crowd-Pleaser: Kids love the fun stripes, and adults appreciate the rich, moist crumb paired with tangy cream cheese frosting.
- Unbelievably Delicious: The subtle cocoa flavor and the cream cheese frosting create a velvety smooth combo that’s classic yet feels a little special.
What sets this apart is the layering technique I figured out after a few trials — it’s straightforward but gives the cake that wow factor. The cream cheese frosting is whipped just right, not too sweet, so it complements the cake without overpowering it. I’ve served this alongside some crisp, homemade crispy candied pecans for a nice crunch contrast, and it’s always a hit.
This recipe isn’t just a dessert; it’s a little moment of joy you bake for the people you care about. It’s the kind of cake that gets requested again and again, quietly proving that sometimes, the simplest recipes make the most memorable celebrations.
What Ingredients You Will Need
This recipe uses simple, wholesome ingredients to deliver bold flavor and satisfying texture without the fuss. Most are pantry staples, and I’ve included options to swap where needed.
- For the Red Velvet Cake Layers:
- All-purpose flour – 2 ½ cups (310 g), sifted for a tender crumb
- Sugar – 1 ½ cups (300 g), granulated
- Cocoa powder – 2 tablespoons (unsweetened, good quality like Hershey’s)
- Baking soda – 1 teaspoon
- Salt – ½ teaspoon
- Buttermilk – 1 cup (240 ml), room temperature (substitute with milk + vinegar if needed)
- Vegetable oil – 1 cup (240 ml), for moistness
- Large eggs – 2, room temperature
- Vanilla extract – 1 teaspoon (pure vanilla adds the best flavor)
- Red food coloring – 2 tablespoons (liquid or gel, depending on preference)
- White vinegar – 1 teaspoon (helps the cake rise and keeps it tender)
- For the Cream Cheese Frosting:
- Cream cheese – 16 oz (450 g), softened (I prefer Philadelphia for consistency)
- Unsalted butter – ½ cup (115 g), softened (adds richness)
- Powdered sugar – 4 cups (480 g), sifted to avoid lumps
- Vanilla extract – 1 teaspoon
- Pinch of salt (balances the sweetness)
For a gluten-free version, swapping the all-purpose flour with a gluten-free flour blend works well, just make sure it includes xanthan gum for texture. If you prefer a dairy-free frosting, try replacing cream cheese and butter with plant-based alternatives—just note the flavor will shift slightly.
Equipment Needed
- Two 9-inch (23 cm) round cake pans – non-stick or greased and lined with parchment paper makes releasing a breeze
- Mixing bowls – medium and large sizes for wet and dry ingredients
- Electric mixer or stand mixer – for smooth batter and creamy frosting; hand mixing works if you’re patient
- Measuring cups and spoons – precise measurements help keep the layers even
- Rubber spatula – perfect for scraping bowls and folding batter
- Cooling racks – for letting cakes cool evenly without sogginess
- Offset spatula or butter knife – for spreading frosting smoothly
- Toothpicks or skewer – to test cake doneness
Don’t have two cake pans? No worries — you can bake the layers one at a time, just add a bit more time and patience. For frosting, a stand mixer gives the best whipped texture, but an electric hand mixer works just fine. I’ve used a simple offset spatula I picked up for just a few dollars, and it’s lasted through dozens of cakes.
Preparation Method
- Preheat your oven to 350°F (175°C). Grease and line two 9-inch round pans with parchment paper to prevent sticking. This little step saved me more than once from a messy cake rescue.
- Mix the dry ingredients: In a large bowl, sift together 2 ½ cups flour, 1 ½ cups sugar, 2 tablespoons cocoa powder, 1 teaspoon baking soda, and ½ teaspoon salt. Whisk them for even distribution.
- Combine the wet ingredients: In another bowl, whisk 1 cup buttermilk, 1 cup vegetable oil, 2 large eggs, 1 teaspoon vanilla extract, 2 tablespoons red food coloring, and 1 teaspoon white vinegar until smooth and vibrant in color. The red hue at this stage always feels a bit like magic.
- Slowly add the wet to the dry: Pour the wet ingredients into the dry and gently fold using a spatula. Mix just until combined—overmixing can make the cake dense. The batter should be smooth and pourable but not runny.
- Divide the batter evenly: Pour half the batter into each prepared pan, smoothing the tops with a spatula. Tap the pans gently to release air bubbles.
- Bake: Place pans in the oven and bake for 25-30 minutes, or until a toothpick inserted into the center comes out clean. Ovens vary, so start checking around 23 minutes to avoid overbaking.
- Cool: Let the cakes cool in the pans for 10 minutes, then invert onto cooling racks to cool completely. This step is crucial; frosting warm cake leads to melting and sliding layers.
- Prepare the cream cheese frosting: Using an electric mixer, beat 16 oz softened cream cheese and ½ cup softened butter until smooth and creamy. Gradually add 4 cups powdered sugar, mixing on low speed to avoid sugar clouds. Add 1 teaspoon vanilla and a pinch of salt, then beat on medium-high for 2-3 minutes until fluffy and spreadable.
- Assemble the flag cake: Once cakes are fully cooled, cut each cake horizontally into three even layers (six layers total). Alternate stacking the red velvet layers with generous spreads of cream cheese frosting between each. For the flag effect, frost the entire outside of the cake smoothly, then add white star-shaped sprinkles or edible decorations on one corner to mimic a flag’s star field.
- Chill before serving: Refrigerate the assembled cake for at least 30 minutes to set the frosting and make slicing cleaner and easier.
If the batter feels too thick, a splash of milk helps loosen it without changing texture. And don’t rush cooling—trust me, that’s where patience pays off big time.
Cooking Tips & Techniques
One trick I learned the hard way: don’t skimp on sifting the dry ingredients. It really helps keep the crumb tender and prevents lumps. Also, room temperature eggs and buttermilk make mixing easier and help the cake rise evenly.
When folding batter, use gentle strokes and avoid overmixing—this keeps the cake fluffy, not tough. For the cream cheese frosting, beat the cream cheese and butter until silky smooth before adding sugar; this prevents grainy texture.
Cutting cake layers can feel intimidating, but I use a serrated knife and a steady hand, slicing slowly to keep layers even. If you want to speed things up, chilling the cake layers in the fridge for 15 minutes makes them firmer and easier to cut.
Multitasking tip: While cakes bake, whip up the frosting and prep your decorating tools. This way, you won’t feel rushed when it’s time to assemble.
Finally, when frosting, a crumb coat (a thin layer of frosting applied first) traps loose crumbs and gives you a smooth finish. Chill the cake after the crumb coat before the final layer for best results.
Variations & Adaptations
- Berry Burst: Add fresh blueberries or raspberries between layers for a juicy pop that pairs beautifully with cream cheese frosting.
- Chocolate Lovers: Mix mini chocolate chips into the batter or add a drizzle of melted dark chocolate over the frosting for extra indulgence.
- Gluten-Free: Use a gluten-free flour blend with xanthan gum to maintain texture. The cake won’t be quite as tender but still delicious.
- Dairy-Free: Swap cream cheese and butter for plant-based options like vegan cream cheese and margarine. Use coconut milk instead of buttermilk.
- Patriotic Twist: For a full red-white-blue flag effect, add blueberries on the frosting’s star field area, or tint some frosting blue for decorating stripes.
Personally, I once made a mini version of this cake layered in jars for a birthday party — same flavors, but perfect for individual servings and less mess!
Serving & Storage Suggestions
This cake tastes best chilled but served at room temperature. Take it out of the fridge about 30 minutes before slicing to let the frosting soften slightly for that melt-in-your-mouth feel.
Pair it with a glass of cold milk, a cup of coffee, or for a special occasion, a nice red wine like Pinot Noir balances the cocoa notes nicely. It also stands up well alongside lighter desserts such as snowball cookies for a dessert spread.
Store leftovers covered in the refrigerator for up to 4 days. For longer storage, freeze individual slices wrapped tightly in plastic wrap and foil; thaw in the fridge overnight before serving. Flavors actually deepen after a day, making it even more indulgent.
Nutritional Information & Benefits
Estimated per slice (1/12 of cake): 350 calories, 18g fat, 45g carbs, 3g protein.
Key ingredients like cocoa powder bring antioxidants, while cream cheese provides calcium and protein. Using oil instead of butter keeps the cake moist without excess saturated fat.
This recipe can be adjusted for dietary needs, especially with gluten-free or dairy-free substitutions, making it accessible for many.
I’ve found that enjoying a slice of this cake is less about guilt and more about sharing a joyful moment — which, to me, is the best kind of nourishment.
Conclusion
This Perfect Red Velvet Flag Cake with Cream Cheese Frosting has become one of those recipes I turn to when I want something festive yet fuss-free. It’s versatile enough to suit many occasions and forgiving enough for home bakers at any level.
Whether you’re layering it up for a holiday bash or slicing it for a cozy family night, feel free to tweak the frosting sweetness or try some of the variations to make it your own. I love how this cake brings a little extra delight to my table, especially when shared with friends who appreciate a good story behind their dessert.
Give this recipe a try and let me know how your version turns out — I’m always excited to hear about tweaks and treats from fellow bakers!
Frequently Asked Questions About Perfect Red Velvet Flag Cake
How do I get the red color so vibrant?
Use a good quality gel or liquid red food coloring, and add it to the wet ingredients. For the brightest color, don’t overmix the batter once combined.
Can I make this cake ahead of time?
Yes! Bake the layers a day ahead, wrap them tightly, and refrigerate. Assemble and frost the next day for best freshness.
What’s the best way to store leftover cake?
Store covered in the fridge for up to four days or freeze slices individually wrapped for longer storage.
Can I substitute buttermilk?
Absolutely. Mix 1 cup milk with 1 tablespoon white vinegar or lemon juice, let it sit 5 minutes before using.
How do I make the star decoration for the flag effect?
You can use star-shaped sprinkles, edible sugar stars, or pipe small stars with leftover frosting. Adding blueberries in the star area also creates a nice touch.
Pin This Recipe!
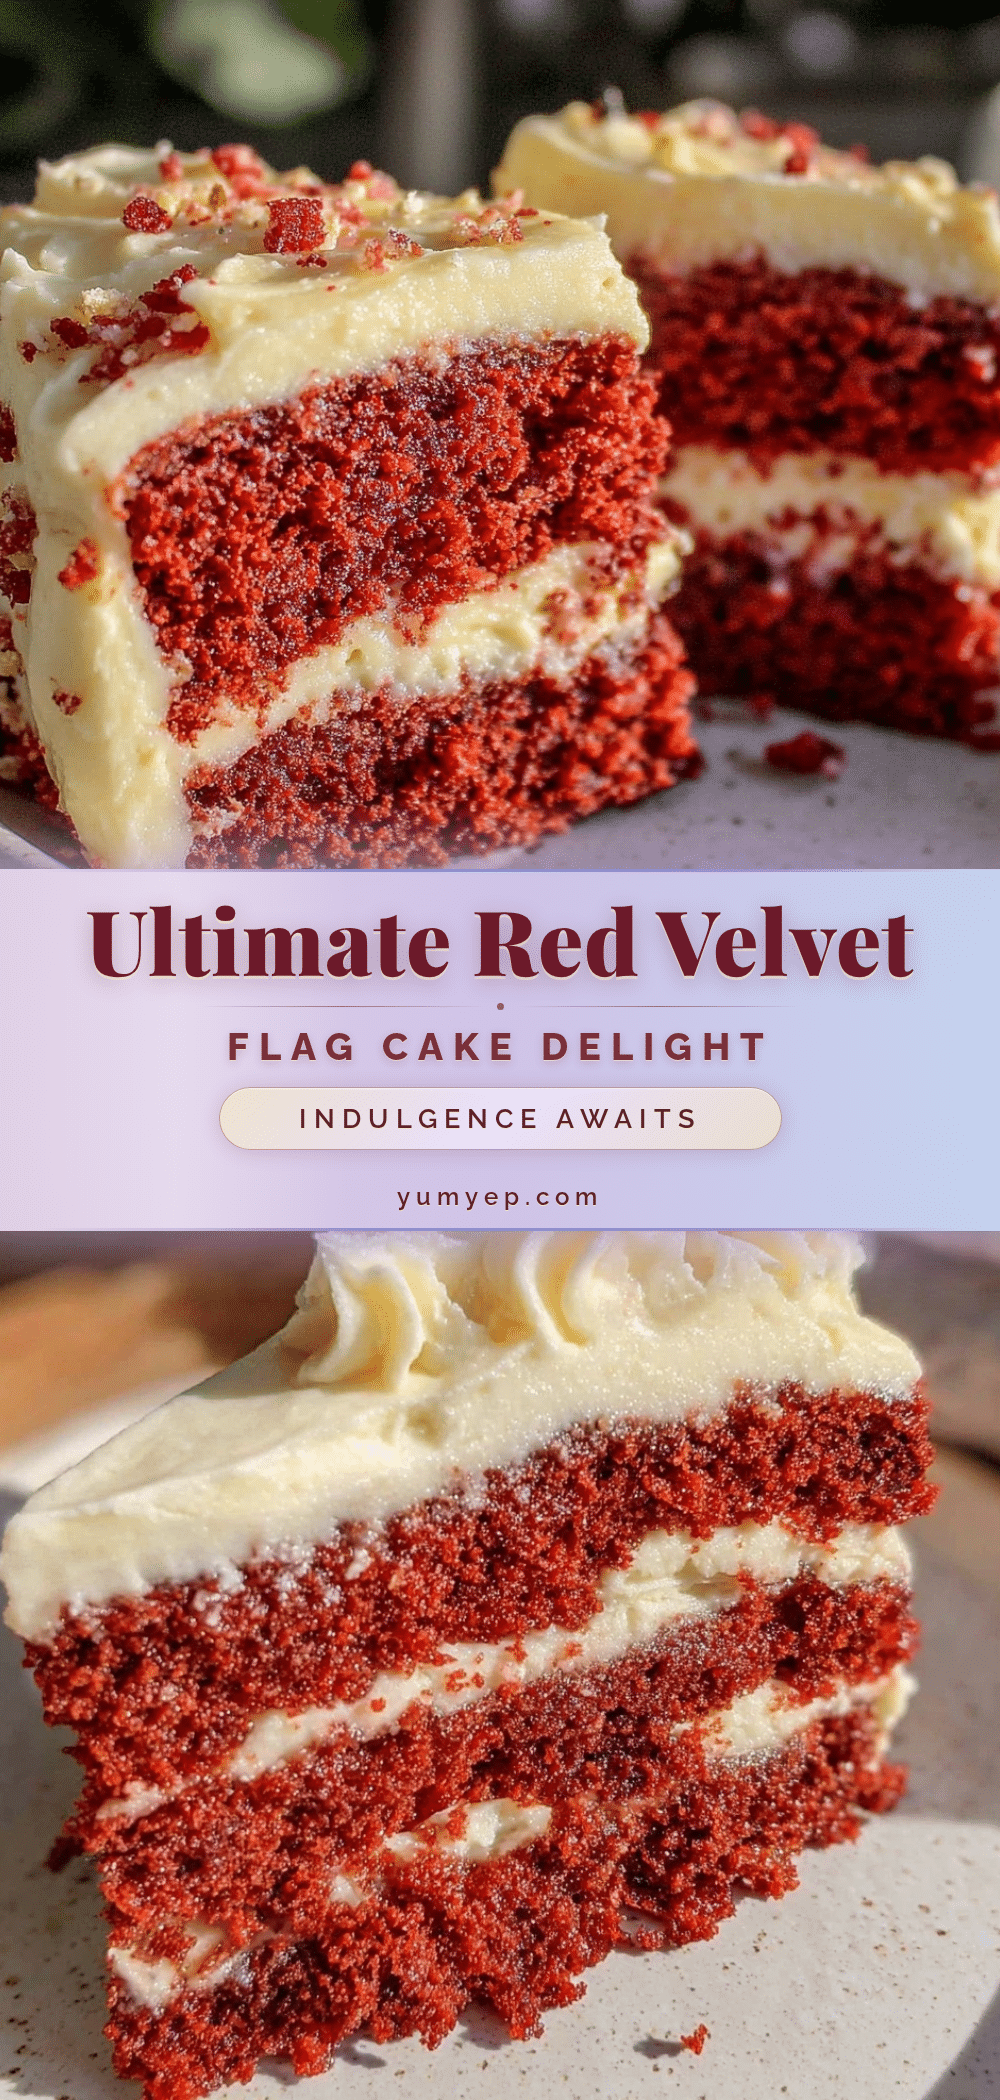
Perfect Red Velvet Flag Cake Recipe with Cream Cheese Frosting

A festive and easy-to-make red velvet cake layered with cream cheese frosting, featuring a fun flag design perfect for patriotic occasions or any celebration.
- Prep Time: 20 minutes
- Cook Time: 30 minutes
- Total Time: 50 minutes
- Yield: 12 servings 1x
- Category: Dessert
- Cuisine: American
Ingredients
- 2 ½ cups all-purpose flour (310 g), sifted
- 1 ½ cups granulated sugar (300 g)
- 2 tablespoons unsweetened cocoa powder
- 1 teaspoon baking soda
- ½ teaspoon salt
- 1 cup buttermilk (240 ml), room temperature (or milk + vinegar substitute)
- 1 cup vegetable oil (240 ml)
- 2 large eggs, room temperature
- 1 teaspoon vanilla extract
- 2 tablespoons red food coloring (liquid or gel)
- 1 teaspoon white vinegar
- 16 oz cream cheese (450 g), softened
- ½ cup unsalted butter (115 g), softened
- 4 cups powdered sugar (480 g), sifted
- 1 teaspoon vanilla extract
- Pinch of salt
Instructions
- Preheat oven to 350°F (175°C). Grease and line two 9-inch round pans with parchment paper.
- In a large bowl, sift together flour, sugar, cocoa powder, baking soda, and salt. Whisk to combine.
- In another bowl, whisk buttermilk, vegetable oil, eggs, vanilla extract, red food coloring, and white vinegar until smooth.
- Pour wet ingredients into dry ingredients and gently fold with a spatula until just combined.
- Divide batter evenly between the two pans and smooth tops. Tap pans to release air bubbles.
- Bake for 25-30 minutes or until a toothpick inserted in the center comes out clean.
- Cool cakes in pans for 10 minutes, then invert onto cooling racks to cool completely.
- Beat cream cheese and butter with an electric mixer until smooth. Gradually add powdered sugar, then vanilla and salt. Beat until fluffy.
- Cut each cake horizontally into three layers (six layers total). Alternate layers with cream cheese frosting.
- Frost the entire outside of the cake smoothly. Decorate one corner with white star-shaped sprinkles or edible decorations to mimic a flag’s star field.
- Refrigerate the assembled cake for at least 30 minutes before serving.
Notes
Use room temperature eggs and buttermilk for better mixing and cake rise. Avoid overmixing batter to keep cake fluffy. Chill cake layers before cutting for easier slicing. A crumb coat helps trap crumbs and smooth frosting application. For gluten-free, use a gluten-free flour blend with xanthan gum. For dairy-free, substitute cream cheese and butter with plant-based alternatives.
Nutrition
- Serving Size: 1 slice (1/12 of cak
- Calories: 350
- Fat: 18
- Carbohydrates: 45
- Protein: 3
Keywords: red velvet cake, cream cheese frosting, flag cake, patriotic dessert, layered cake, easy red velvet, holiday cake


