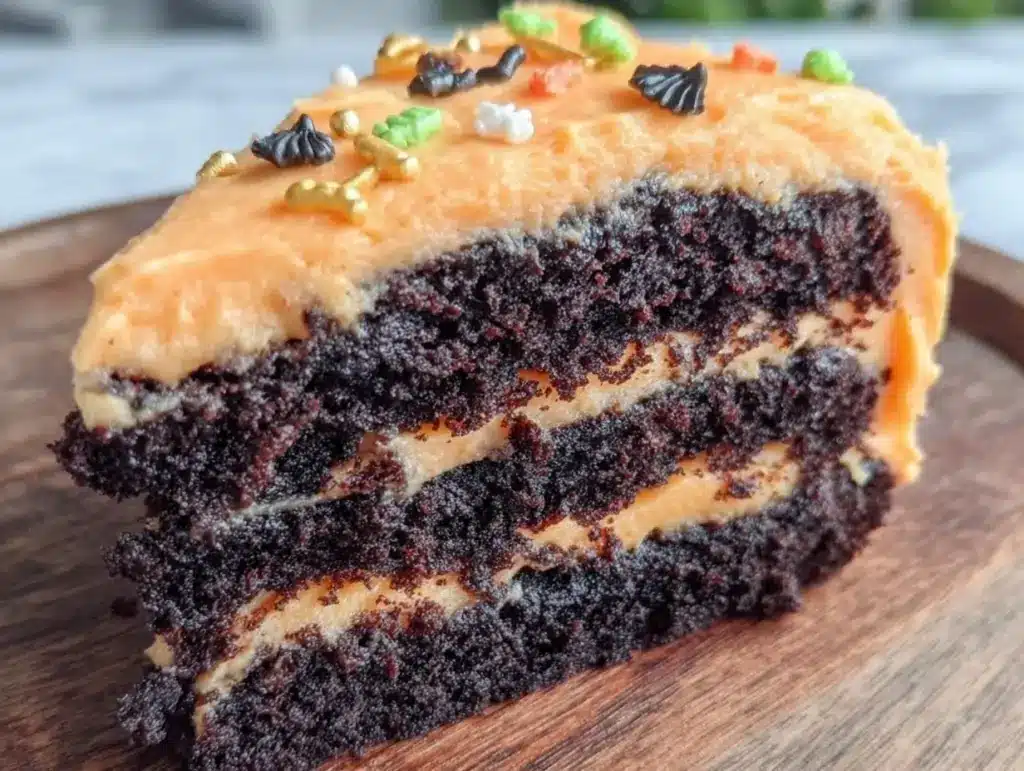
The sharp zing of orange zest mingled with the faint hint of cocoa dust — that’s what hits you first when you slice into the Decadent Black Velvet Halloween Layer Cake with Orange Frosting. I remember this exact moment from a chilly October evening a few years back, the kind where the air feels crisp enough to bite, and the porch lights flicker orange against the dusk. The kitchen was humming softly as I mixed the batter, half-distracted by the glow of jack-o’-lanterns outside. It wasn’t just any cake—it felt like a secret recipe passed down from some mysterious Halloween spirit, all velvety, dark, and daring with that bright, tangy frosting that looked like a sunset trapped on the plate.
Making this cake always pulls me back to that slow, unhurried night, when the anticipation of trick-or-treaters was thick in the air and the warm aroma of spices and cocoa wrapped around the house like a cozy blanket. The rich black velvet layers, almost hypnotic in their deep color, seemed to promise a little indulgence, a small rebellion against the ordinary. And honestly, the orange frosting? It’s the kind of thing that makes you pause, smile, and savor with a quiet satisfaction.
There’s something about this cake that feels both festive and timeless, a little bit spooky but mostly just delicious enough to make you want to keep the party going long after the last candy bag is unpacked. It’s not flashy or complicated, but it’s got that layered personality — dark and mysterious, yet bright and inviting. That’s why this recipe stuck with me: it’s a sweet reminder that sometimes, the simplest flavors can create the most memorable moments.
Why You’ll Love This Recipe
After countless trials in my own kitchen, tweaking and tasting, this Decadent Black Velvet Halloween Layer Cake with Orange Frosting has become my go-to for spooky season—and here’s why you’ll want it on your table too:
- Quick & Easy: The batter comes together in about 20 minutes, and the whole cake is ready to impress in under an hour. Perfect for last-minute Halloween gatherings or a sweet treat after a long day.
- Simple Ingredients: No need for obscure baking supplies. Most of these ingredients are pantry staples you probably have on hand—like cocoa powder, buttermilk, and fresh oranges.
- Perfect for Halloween Parties: Its striking black layers and vibrant orange frosting make it an eye-catching centerpiece for any spooky celebration or autumnal get-together.
- Crowd-Pleaser: Kids and adults alike rave about the moist, tender crumb and that bright citrus frosting that cuts through the richness.
- Unbelievably Delicious: The cocoa’s depth paired with the fresh orange zest creates a flavor combo that feels indulgent yet balanced—comfort food with a twist.
This isn’t just another chocolate cake with a seasonal color swap. I’ve blended just the right amount of cocoa and oil to keep the layers super moist without being heavy, and the frosting uses fresh orange juice and zest for a zing that feels authentic—not artificial. I even tested it alongside a few other Halloween treats, like the red velvet crinkle cookies, and this cake always wins for that perfect balance of flavor and festivity.
Honestly, this cake is the kind of recipe that makes you want to close your eyes after the first bite and just smile quietly to yourself, knowing you nailed it. It’s both impressive and comforting, with a little dose of Halloween magic in every slice.
What Ingredients You Will Need
This Decadent Black Velvet Halloween Layer Cake with Orange Frosting uses straightforward ingredients that come together to create a rich and flavorful dessert without fuss. Most are pantry staples, and I’ve included options to make substitutions easy if needed.
- For the Cake Batter:
- All-purpose flour, 2 ½ cups (310g) – sifted for lightness
- Granulated sugar, 2 cups (400g) – regular white sugar works best
- Unsweetened cocoa powder, ¾ cup (75g) – use Dutch-processed for deeper color and flavor
- Baking soda, 1 ½ teaspoons – the leavening agent for rise
- Baking powder, 1 teaspoon
- Salt, ½ teaspoon – balances sweetness
- Buttermilk, 1 ½ cups (360ml) – room temperature (substitute with milk + lemon juice if needed)
- Vegetable oil, 1 cup (240ml) – keeps the cake moist (I prefer neutral oils like canola)
- Large eggs, 3 – room temperature for better mixing
- Vanilla extract, 2 teaspoons – pure extract adds depth
- Black food coloring gel, 1 tablespoon – optional but enhances the black velvet look
- For the Orange Frosting:
- Unsalted butter, 1 cup (226g) – softened to room temperature
- Powdered sugar, 4 cups (480g) – sifted for smooth frosting
- Fresh orange juice, 3 tablespoons – freshly squeezed for bright flavor
- Orange zest, 1 tablespoon – finely grated from an unwaxed orange
- Vanilla extract, 1 teaspoon
- Pinch of salt – balances sweetness
For the best results, I recommend using a trusted brand of Dutch-processed cocoa powder like Valrhona or Ghirardelli if you can find it. It really makes the black velvet layers stand out both in color and taste. If you’re aiming for a gluten-free version, swapping the all-purpose flour for a 1-to-1 gluten-free baking blend works well, but keep an eye on the texture as it might be slightly different.
Seasonally, if you want to swap the orange zest for something else, fresh cranberries or pumpkin puree could be fun alternatives, though the classic orange remains my favorite for that festive pop. If dairy is a concern, try coconut yogurt instead of buttermilk, which keeps the cake moist but dairy-free.
Equipment Needed
- Two 9-inch (23 cm) round cake pans – greased and lined with parchment paper for easy release
- Electric mixer or stand mixer – for smooth batter and creamy frosting
- Mixing bowls – at least two, one for dry and one for wet ingredients
- Measuring cups and spoons – for precise measurements (I prefer glass for liquids and metal for dry ingredients)
- Rubber spatula – great for scraping down the sides of bowls
- Cooling racks – to let cakes cool evenly and prevent sogginess
- Offset spatula or butter knife – perfect for spreading frosting evenly
- Microplane zester – for finely grating fresh orange zest
If you don’t have a stand mixer, a good hand mixer works just fine—just make sure to mix long enough to get a smooth, lump-free batter. For budget-friendly cake pans, simple aluminum pans with non-stick spray and parchment paper do the trick without breaking the bank. I’ve also found that letting the cake layers cool completely on racks before frosting is key to keeping that frosting smooth and not melting.
Preparation Method
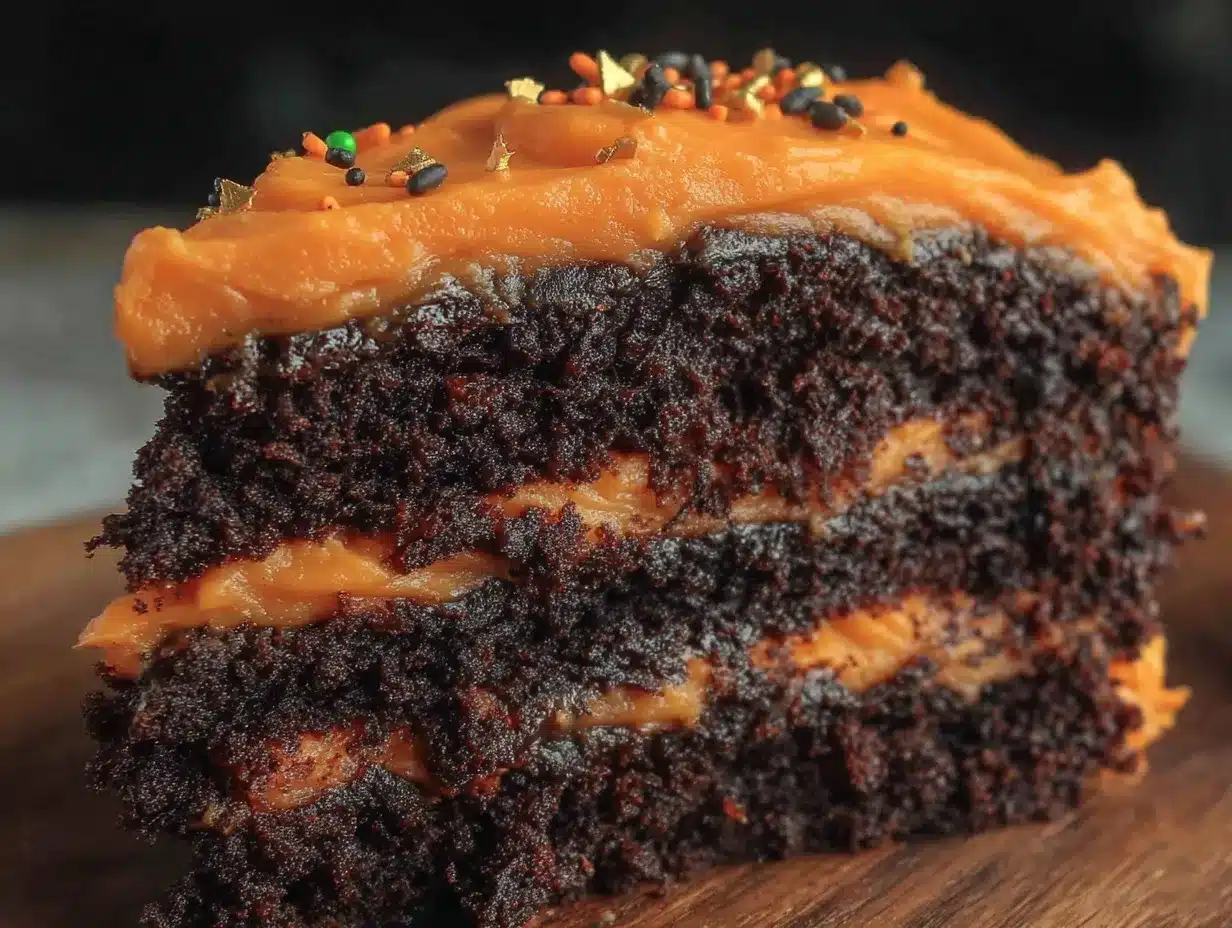
- Preheat and prep pans: Set your oven to 350°F (175°C). Grease two 9-inch round cake pans with butter or non-stick spray and line the bottoms with parchment paper. This helps the cake layers release easily after baking. (Prep time: 10 minutes)
- Mix dry ingredients: In a large bowl, sift together 2 ½ cups (310g) flour, ¾ cup (75g) cocoa powder, 2 cups (400g) sugar, 1 ½ teaspoons baking soda, 1 teaspoon baking powder, and ½ teaspoon salt. Whisk everything until evenly combined. This step ensures your cake will have a uniform texture and rise evenly.
- Mix wet ingredients: In another bowl, whisk 1 ½ cups (360ml) buttermilk, 1 cup (240ml) vegetable oil, 3 large eggs, 2 teaspoons vanilla extract, and 1 tablespoon black food coloring gel until smooth. The food coloring is optional but it really gives that signature black velvet look.
- Combine wet and dry: Pour the wet ingredients into the dry ingredients bowl. Using a hand or stand mixer on low speed, mix until just combined—about 30 seconds. Don’t overmix; you want to keep the batter light. Stop when no dry flour remains.
- Divide and bake: Pour the batter evenly into the two prepared pans. Tap them gently on the counter to release air bubbles. Bake in the preheated oven for 30-35 minutes, or until a toothpick inserted in the center comes out clean. The cake should spring back lightly when pressed.
- Cool completely: Remove the cakes from the oven and let them cool in the pans for 10 minutes. Then run a knife around the edges, invert onto cooling racks, and peel off parchment paper. Let the layers cool fully before frosting—this prevents the frosting from melting.
- Make the orange frosting: Beat 1 cup (226g) softened unsalted butter with 4 cups (480g) powdered sugar on medium speed until fluffy, about 3-4 minutes. Add 3 tablespoons fresh orange juice, 1 tablespoon orange zest, 1 teaspoon vanilla extract, and a pinch of salt. Beat on high speed for another 2 minutes until light and creamy. Taste and adjust orange juice or zest if you like more tang.
- Assemble the cake: Place one cake layer on your serving plate. Spread about one-third of the frosting evenly over the top with an offset spatula. Place the second cake layer on top and spread the remaining frosting on top and around the sides. For a neat finish, chill the cake for 15 minutes and smooth the frosting again if needed.
- Optional decoration: For a festive touch, pipe extra frosting into swirls or add Halloween sprinkles or edible decorations. I sometimes use thin strips of candied orange peel for a rustic twist.
Tip: If your frosting feels too thick, add a teaspoon of orange juice at a time to loosen it. Too thin? Add a little more powdered sugar. Also, if you’re pressed for time, baking the layers the day before and frosting them the next day can make the process less stressful.
Cooking Tips & Techniques
When it comes to making the Decadent Black Velvet Halloween Layer Cake with Orange Frosting, a few tricks can make all the difference between good and unforgettable:
- Room temperature ingredients: Eggs and buttermilk blend better and create a more cohesive batter when not straight from the fridge. Cold ingredients can cause the batter to curdle or bake unevenly.
- Don’t skip sifting: Cocoa powder tends to clump, and sifting it with the flour and other dry ingredients ensures a smooth, uniform crumb.
- Measuring flour carefully: Too much flour can dry out the cake. I spoon the flour into the measuring cup and level it off with a knife rather than scooping directly with the cup.
- Mix gently: Overmixing develops gluten, making the cake tough. A few lumps in the batter are okay; they’ll bake out.
- Check for doneness early: Ovens vary. Start checking at 30 minutes with a toothpick to avoid drying out the cake.
- Use fresh orange zest and juice: It makes a huge difference in the frosting’s flavor. Bottled juice just doesn’t compare.
- Frost only when cakes are fully cool: Warm cake melts the frosting and creates a mess. Patience here pays off.
I learned some of these the hard way during my first tries—like mixing too fast or frosting a warm cake. But now, this cake consistently turns out moist, rich, and with that perfect orange zing to balance the cocoa’s bitterness. Plus, it’s a fun recipe to make ahead when you’re prepping for Halloween night.
Variations & Adaptations
Want to make this Decadent Black Velvet Halloween Layer Cake with Orange Frosting your own? Here are some ideas to tweak it based on your mood, diet, or pantry:
- Spiced Version: Add 1 teaspoon cinnamon and ½ teaspoon ground cloves to the dry ingredients for a warm, autumnal twist that complements the orange perfectly.
- Vegan Adaptation: Replace eggs with flax eggs (3 tablespoons ground flax + 9 tablespoons water, chilled) and use a plant-based buttermilk substitute (almond milk + apple cider vinegar). Use vegan butter for frosting.
- Gluten-Free Option: Swap all-purpose flour for a 1-to-1 gluten-free baking blend. Expect a slightly denser crumb but the flavor stays spot on.
- Chocolate Orange Swirl: Reserve ½ cup of batter, mix in extra cocoa powder without food coloring, and swirl it into the batter in the pans for a marbled effect.
- Frosting Twist: Try cream cheese frosting with orange zest for a tangier, creamier finish that’s also delicious. Or, mix in a tablespoon of finely chopped candied ginger for a spicy surprise.
One time, I swapped the orange frosting for a pumpkin cream cheese frosting when hosting a fall brunch, and it was a hit—especially alongside flaky cinnamon roll casserole. It’s nice to know this cake can be that versatile base for lots of festive flavors.
Serving & Storage Suggestions
This cake is best served at room temperature, where the frosting is soft and the cake layers are tender and moist. Slice it with a sharp serrated knife for clean edges, especially if you want to impress guests with those dramatic black and orange layers.
Pair it with a warm cup of spiced tea or a rich coffee to balance the citrus notes and enhance the cocoa depth. For a party, it’s a standout next to savory bites like the Christmas tree spinach dip breadsticks, which offer a nice contrast.
To store, wrap leftover cake tightly in plastic wrap or keep it in an airtight container in the refrigerator for up to 4 days. Before serving again, let it sit at room temperature for about 30 minutes to bring back that soft texture. You can also freeze the uncut cake wrapped well for up to 2 months—thaw overnight in the fridge.
Interestingly, the flavors deepen a bit after a day or two, with the orange frosting mellowing and the cocoa becoming even richer. If you want that fresh zest kick, add a little extra orange zest on top just before serving.
Nutritional Information & Benefits
This Decadent Black Velvet Halloween Layer Cake with Orange Frosting offers about 350-400 calories per generous slice (1/12th of the cake), depending on portion size. It provides moderate amounts of fat and sugar, typical of celebratory desserts, so it’s best enjoyed in moderation.
Key ingredients like fresh orange juice and zest deliver a small vitamin C boost, adding a touch of freshness. The cocoa powder contains antioxidants, which can be a nice bonus in a dessert. Using vegetable oil instead of butter in the cake keeps the texture moist while slightly reducing saturated fat.
This recipe is naturally gluten-free adaptable and can be veganized, making it flexible to dietary needs. It contains dairy and eggs by default, so keep in mind allergies accordingly. For a healthier twist, you might try using less sugar or substituting with natural sweeteners, but the original recipe’s flavor balance is hard to beat.
Personally, I see this cake as a festive treat that brings joy and warmth, perfect for sharing with loved ones during fall gatherings without overthinking health worries—it’s about savoring the season.
Conclusion
This Decadent Black Velvet Halloween Layer Cake with Orange Frosting is more than just a dessert; it’s a celebration of rich, comforting cocoa and bright, lively citrus that fits Halloween’s playful spirit perfectly. Whether you’re baking it for a spooky party or a cozy night in, it’s a recipe that rewards patience with every luscious bite.
Feel free to adjust the frosting’s tang or the cake’s spice to your taste—it’s a recipe that invites your personal touch. For me, it’s the combination of dark, velvety cake and that fresh orange frosting that makes it a seasonal favorite year after year.
If you try this recipe, I’d love to hear how you made it your own or what festive pairings you enjoyed it with. Sharing those stories is part of what makes cooking so special. Here’s to many delicious Halloween moments ahead!
Frequently Asked Questions
- Can I make this cake ahead of time? Yes! Bake the layers up to 2 days in advance and keep them wrapped tightly. Frost the cake the day you plan to serve for best freshness.
- What if I don’t have buttermilk? You can make a quick substitute by adding 1 ½ tablespoons lemon juice or white vinegar to 1 ½ cups milk. Let it sit for 5 minutes before using.
- How do I get the cake layers so black? Using Dutch-processed cocoa powder with black food coloring gel helps achieve that deep black velvet look. Without food coloring, the cake will be dark chocolate brown but still delicious.
- Can I freeze the cake? Absolutely. Wrap the unfrosted layers tightly in plastic wrap and foil, then freeze for up to 2 months. Thaw overnight in the fridge before frosting.
- Is there a gluten-free option? Yes, substitute with a gluten-free flour blend that measures 1:1 for all-purpose flour. The texture may be slightly different but the flavor stays wonderful.
Pin This Recipe!
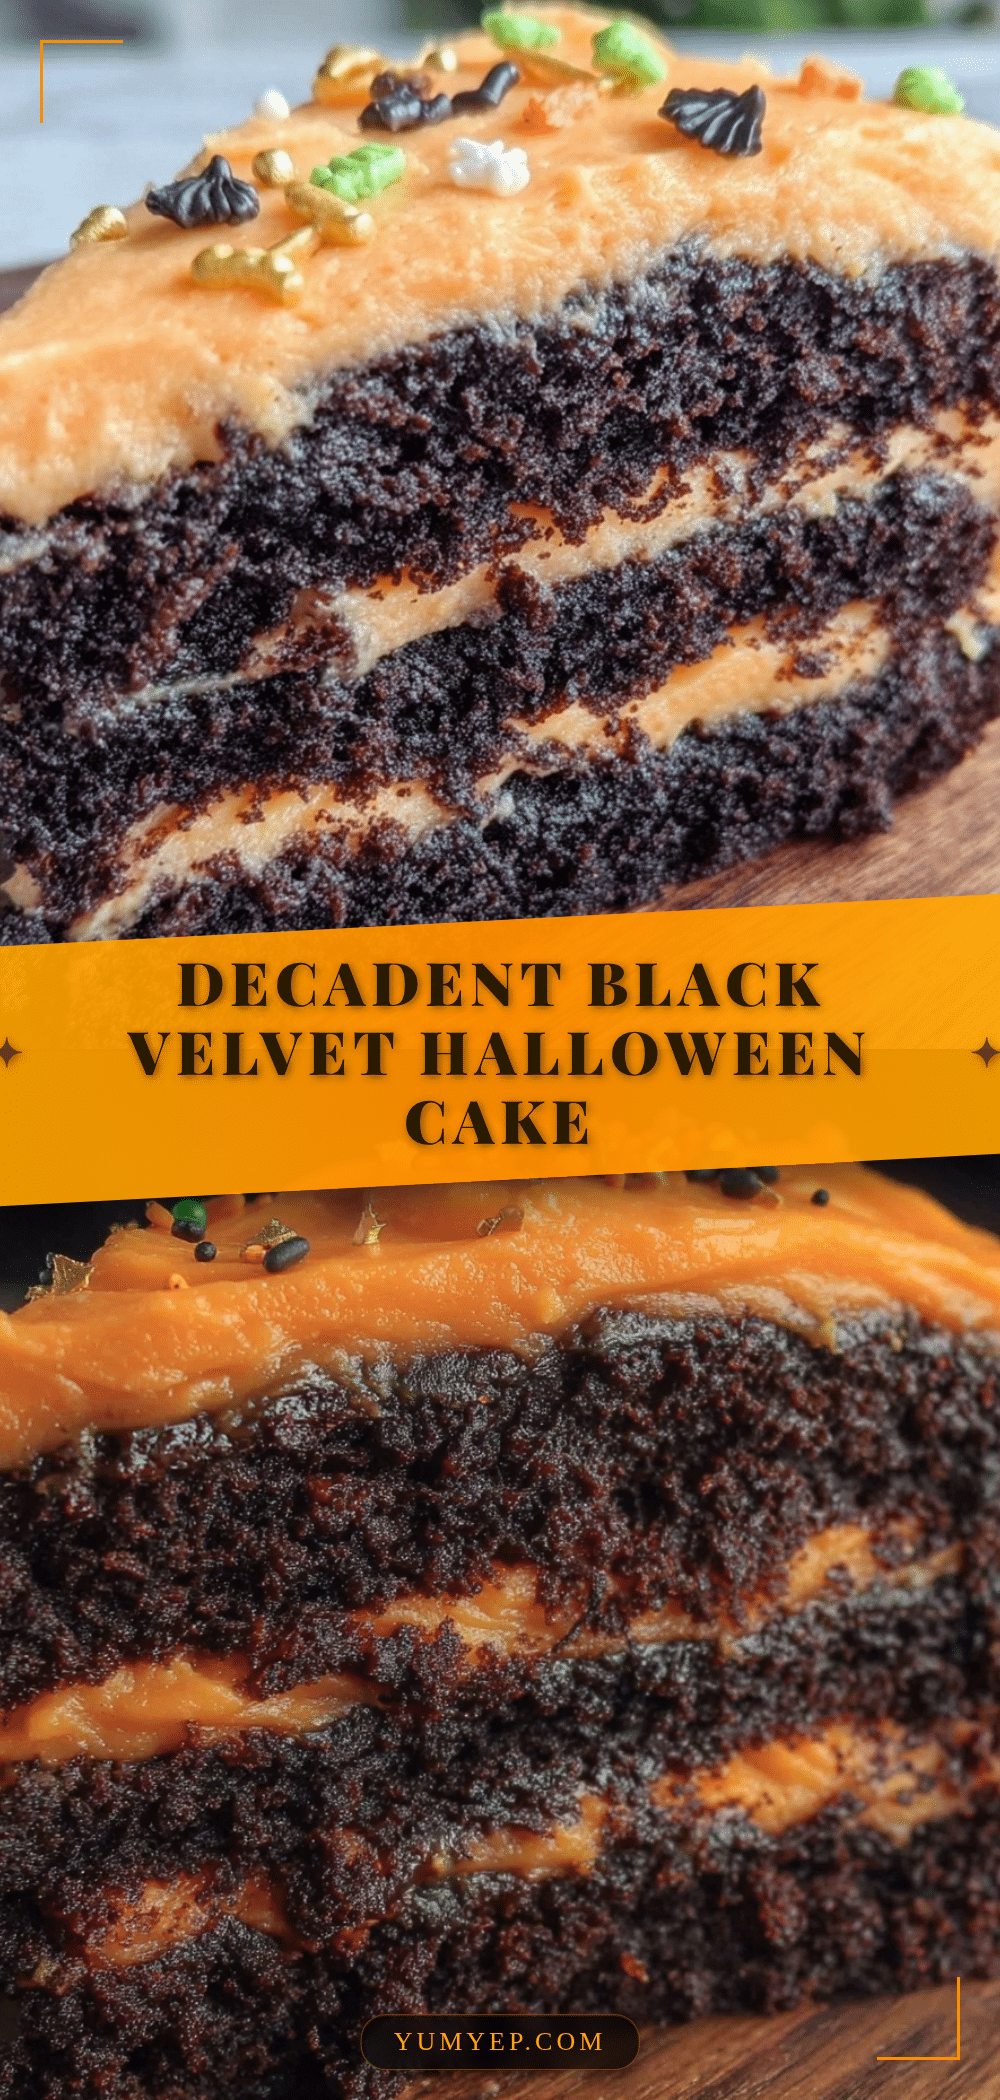
Decadent Black Velvet Halloween Layer Cake Easy Recipe with Orange Frosting
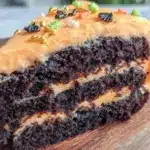
A rich and moist black velvet layer cake with a bright, tangy orange frosting, perfect for Halloween celebrations. The cake combines deep cocoa flavor with fresh orange zest for a festive and indulgent treat.
- Prep Time: 20 minutes
- Cook Time: 35 minutes
- Total Time: 55 minutes
- Yield: 12 servings 1x
- Category: Dessert
- Cuisine: American
Ingredients
- 2 ½ cups (310g) all-purpose flour, sifted
- 2 cups (400g) granulated sugar
- ¾ cup (75g) unsweetened Dutch-processed cocoa powder
- 1 ½ teaspoons baking soda
- 1 teaspoon baking powder
- ½ teaspoon salt
- 1 ½ cups (360ml) buttermilk, room temperature (or milk + 1 ½ tablespoons lemon juice/vinegar)
- 1 cup (240ml) vegetable oil (neutral oil like canola preferred)
- 3 large eggs, room temperature
- 2 teaspoons vanilla extract
- 1 tablespoon black food coloring gel (optional)
- 1 cup (226g) unsalted butter, softened
- 4 cups (480g) powdered sugar, sifted
- 3 tablespoons fresh orange juice
- 1 tablespoon orange zest, finely grated
- 1 teaspoon vanilla extract
- Pinch of salt
Instructions
- Preheat oven to 350°F (175°C). Grease two 9-inch round cake pans and line bottoms with parchment paper.
- In a large bowl, sift together flour, cocoa powder, sugar, baking soda, baking powder, and salt. Whisk to combine.
- In another bowl, whisk buttermilk, vegetable oil, eggs, vanilla extract, and black food coloring gel until smooth.
- Pour wet ingredients into dry ingredients. Mix on low speed with a mixer until just combined, about 30 seconds. Do not overmix.
- Divide batter evenly between prepared pans. Tap pans gently to release air bubbles.
- Bake for 30-35 minutes or until a toothpick inserted in the center comes out clean and cake springs back lightly when pressed.
- Cool cakes in pans for 10 minutes. Run a knife around edges, invert onto cooling racks, and remove parchment paper. Cool completely before frosting.
- To make frosting, beat softened butter on medium speed until creamy, about 3-4 minutes. Gradually add powdered sugar and beat until fluffy.
- Add fresh orange juice, orange zest, vanilla extract, and pinch of salt. Beat on high speed for 2 minutes until light and creamy. Adjust orange juice or powdered sugar to desired consistency.
- Place one cake layer on serving plate. Spread one-third of frosting evenly on top.
- Place second cake layer on top and spread remaining frosting on top and around sides.
- Chill cake for 15 minutes and smooth frosting again if desired.
- Optional: Decorate with piped frosting swirls, Halloween sprinkles, edible decorations, or candied orange peel strips.
Notes
Use room temperature ingredients for best results. Sift dry ingredients to avoid clumps. Do not overmix batter to keep cake tender. Cool cakes completely before frosting to prevent melting. Adjust frosting consistency with orange juice or powdered sugar as needed. Cake layers can be baked up to 2 days ahead and frozen up to 2 months.
Nutrition
- Serving Size: 1 slice (1/12th of c
- Calories: 375
- Sugar: 38
- Sodium: 280
- Fat: 18
- Saturated Fat: 7
- Carbohydrates: 52
- Fiber: 3
- Protein: 4
Keywords: Halloween cake, black velvet cake, orange frosting, layered cake, cocoa cake, festive dessert, easy cake recipe