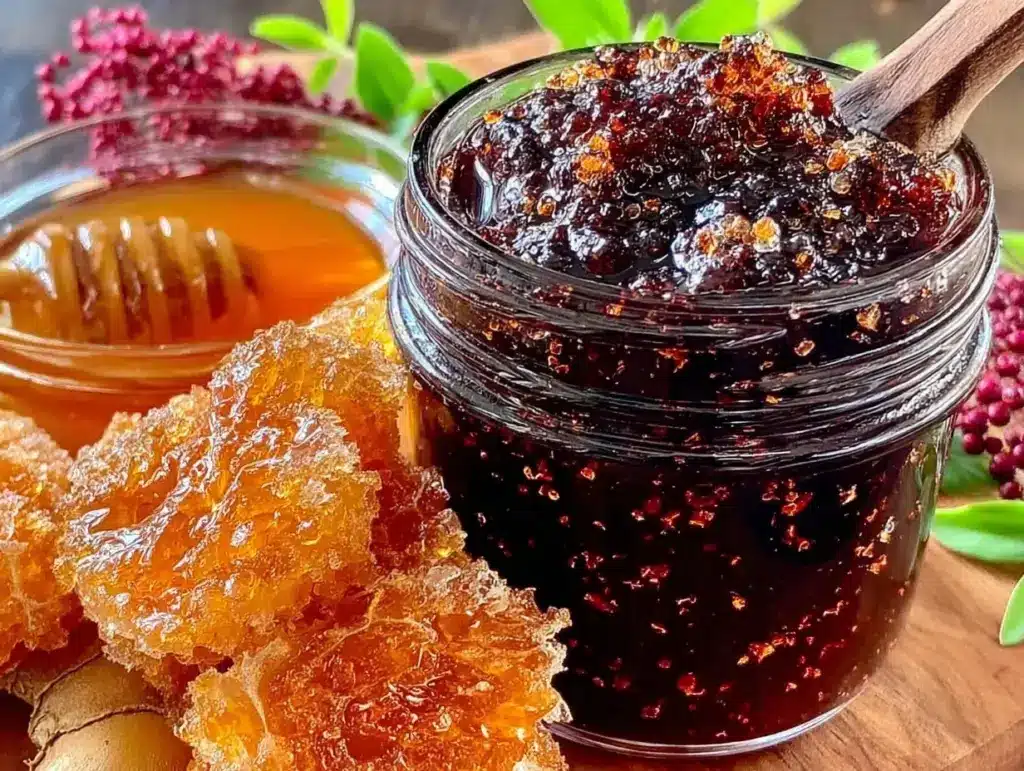
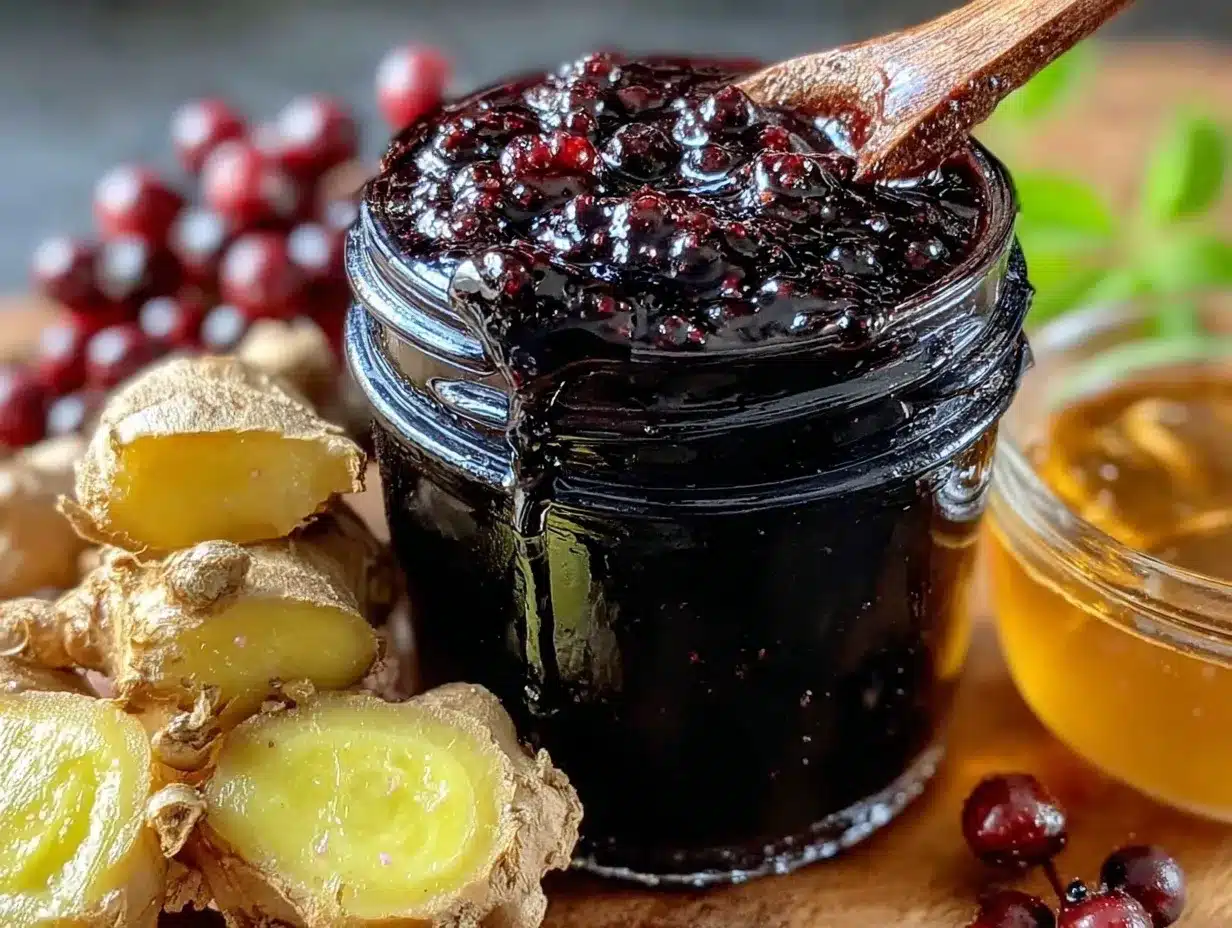
Thick, jewel-toned syrup clinging to the wooden spoon, flecked with tiny strands of fresh ginger — and that’s the whole point. The texture is what made me keep coming back to this elderberry syrup recipe, long before I even tasted its sweet-tart magic. It’s that luscious, sticky pour that feels like a warm hug in a bottle, promising a little natural boost whenever you need it. I remember stirring a big pot of simmering elderberries on a chilly afternoon, hands warm from the steam, the sharp zest of ginger teasing the air, and honey swirling in like golden silk. There’s something about the way the syrup thickens slowly, almost patiently, that makes you trust it’ll do its work inside your body as gently as it does on your fingertips.
Honestly, the syrup’s texture tells you everything you need to know—it’s rich but smooth, thick but pourable, and just sticky enough to coat the back of your spoon perfectly. I wasn’t chasing a fancy concoction when I started making this; it was the sheer tactile joy of crafting something wholesome with my own two hands. As the syrup cooled, the deep, almost grape-like color reminded me of old-fashioned remedies from my grandmother’s kitchen, but with a fresh ginger kick that felt lively and modern. I’ve tried store-bought versions, but nothing matches the way homemade feels so alive—the tiny bits of fruit, the raw honey’s natural grain, the slight fibrous bite of fresh ginger.
This recipe stuck around because of that — not just for the immunity boost everyone talks about, but because it feels good to make and even better to drink. It’s a little ritual in a bottle, something I trust to help me through the sniffles or just to brighten a day with its natural sweetness. If you want something that’s as satisfying to make as it is to consume, this healthy homemade elderberry syrup with fresh ginger and raw honey might just become your go-to too.
Why You’ll Love This Recipe
Making elderberry syrup at home isn’t just about the end product—it’s about the process, the ingredients, and the comfort that comes with knowing exactly what’s in your bottle. After testing several versions in my kitchen (and a few minor disasters involving too much heat or not enough stirring), I landed on this one as the perfect balance of flavor, texture, and health benefits. Here’s why this recipe stands out from the rest:
- Quick & Easy: This elderberry syrup comes together in under 45 minutes, making it perfect for those busy days when you want a natural remedy without a fuss.
- Simple Ingredients: No exotic or hard-to-find items here—just fresh elderberries, zesty ginger, raw honey, and a few pantry staples you likely already have.
- Perfect for Immunity Boosting: Whether it’s cold season or you just want to keep your wellness game strong, this syrup is a delicious way to support your health.
- Crowd-Pleaser: Kids and adults alike love the sweet-tart flavor, and it mixes well with tea, sparkling water, or just a spoonful straight up.
- Unbelievably Delicious: The fresh ginger adds a warm spiciness that cuts through the sweetness, creating a well-rounded flavor profile that’s anything but boring.
- Better Than Store-Bought: This isn’t just another elderberry syrup. The fresh ginger and raw honey make it taste homemade in the best way possible.
What makes this recipe different is the fresh ginger’s zing and the raw honey’s subtle floral notes. The technique of simmering the berries gently preserves the natural antioxidants, while the honey stirred in at the end maintains its beneficial enzymes. Honestly, this syrup feels like a tiny act of self-care that fits into your routine without drama. It’s the kind of recipe you come back to every winter, and the one that makes you trust homemade remedies a little more. And if you’re curious about other cozy homemade treats, you might find inspiration in my cinnamon roll casserole or the easy cranberry orange bread, both perfect for chilly mornings.
Ingredients You Will Need
This recipe uses simple, wholesome ingredients to deliver bold flavor and satisfying texture without the fuss. Almost everything is a pantry staple, with the fresh elderberries and ginger giving it that special homemade touch. Here’s what you’ll need:
- Fresh or dried elderberries (1 cup fresh or ½ cup dried) – Fresh elderberries give the best flavor, but dried work well if fresh aren’t available.
- Fresh ginger root (2 tablespoons, peeled and thinly sliced) – Adds a zesty warmth that brightens the syrup.
- Raw honey (½ cup) – For sweetness and natural enzymes; I recommend local or organic raw honey for best flavor and health benefits.
- Water (2 cups) – The base for simmering the berries and ginger.
- Fresh lemon juice (2 tablespoons) – Adds brightness and helps preserve the syrup.
- Cinnamon stick (1 small stick, optional) – For a subtle spicy note that complements the ginger.
Look for firm, ripe elderberries free of stems to avoid bitterness. If you’re using dried elderberries, you can find them at health food stores or online. The fresh ginger should be firm and fragrant – avoid pieces that look shriveled or dry. If you can’t find raw honey, you can substitute with organic maple syrup, though it will change the flavor slightly. For a gluten-free version, this recipe is naturally safe, and if you want a vegan option, swap the honey with maple syrup or agave nectar. In summer, you might try adding fresh berries along with elderberries for a fruitier twist.
Equipment Needed
- Medium saucepan or pot – A heavy-bottomed pot works best to prevent scorching.
- Wooden spoon or heatproof spatula – For stirring the syrup gently.
- Fine mesh strainer or cheesecloth – To strain out the elderberries and ginger bits for a smooth syrup.
- Measuring cups and spoons – For accurate ingredient amounts.
- Glass jar or bottle with tight lid – For storing the syrup safely in the fridge.
If you don’t have a fine mesh strainer, cheesecloth folded several times works well to catch tiny bits. I’ve found that using a wooden spoon helps me feel the syrup’s thickness as it cooks — you know, that little moment when it’s just right. For budget-friendly options, any medium pot you own will do; just watch the heat carefully. When it comes to storage containers, a clean mason jar is perfect, but any glass bottle with a secure lid will keep your syrup fresh for weeks.
Preparation Method
- Prepare the ingredients: Rinse fresh elderberries thoroughly to remove any debris or stems. Peel and slice the fresh ginger thinly for maximum flavor extraction. Measure out your water, honey, and lemon juice. (5 minutes)
- Simmer the berries and ginger: In a medium saucepan, combine elderberries, sliced ginger, water, and the optional cinnamon stick. Bring the mixture to a boil over medium-high heat, then reduce to a gentle simmer. Let it cook uncovered for about 45 minutes, stirring occasionally. You’ll notice the liquid reducing and turning a deep purple-red color — that’s the magic happening. (45 minutes)
- Strain the syrup: Remove the pot from heat. Using a fine mesh strainer or cheesecloth placed over a bowl, carefully strain the mixture to separate the solids from the liquid. Press the berries gently with the back of a spoon to extract as much juice as possible without forcing pulp through. (10 minutes)
- Add honey and lemon: While the liquid is still warm (not boiling), stir in the raw honey and fresh lemon juice until fully incorporated. This step preserves the honey’s natural enzymes and adds brightness to the syrup. (5 minutes)
- Cool and store: Let the syrup cool to room temperature before transferring it into a glass jar or bottle. Seal tightly and store in the refrigerator. The syrup will thicken slightly as it cools. (15 minutes cooling)
Note: Avoid boiling the syrup after adding honey to preserve its health benefits. If the syrup feels too thin after cooling, it will still taste great and can be gently heated later before use. If it’s too thick, stirring in a little warm water before serving helps loosen the texture. If you notice any mold or off smells after storage, discard the syrup immediately.
Cooking Tips & Techniques
When making elderberry syrup, patience is key. I’ve learned that rushing the simmering step or turning the heat too high results in bitter flavors that no amount of honey can fix. Keep the simmer slow and steady, and you’ll get a sweeter, richer syrup every time. Also, stirring occasionally prevents the berries from sticking to the bottom.
Another tip is to slice the ginger thinly. Thick chunks don’t release as much flavor and can make the syrup overly spicy in spots. A thin slice distributes the zing evenly. If you’re worried about the fibrous bits, straining well with cheesecloth ensures a smooth pourable syrup.
Raw honey is best added after the syrup has cooled slightly — hot temperatures can destroy its natural enzymes and reduce its health benefits. I’ve burned a batch before by adding honey too early, so trust me on this one!
Lastly, use a wooden spoon to test the syrup’s thickness during cooking. When it coats the back of the spoon with a nice, sticky layer, you’re just about there. This visual cue beats any timer or thermometer, especially when you’re balancing the simmer with other kitchen tasks.
Variations & Adaptations
- Spiced Elderberry Syrup: Add a star anise or a few cloves during simmering for a warming, aromatic twist.
- Vegan Version: Replace raw honey with maple syrup or agave nectar to keep it plant-based while maintaining sweetness.
- Extra Boost Syrup: Stir in a pinch of cayenne pepper or turmeric powder after straining for added anti-inflammatory benefits and a subtle kick.
- Fruit-Enhanced: Mix fresh blackberries or blueberries with elderberries during simmering for a more complex berry flavor.
For a personal twist, I once tried adding a splash of fresh orange juice at the end instead of lemon, which gave the syrup a bright citrus pop that my family loved. You can also adjust the ginger amount to your taste—less if you prefer milder warmth, more for a spicy punch. If you want to preserve the syrup longer, consider freezing small portions in ice cube trays for easy use.
Serving & Storage Suggestions
This elderberry syrup is best served chilled or at room temperature. A spoonful stirred into hot tea is a classic way to enjoy it, especially if you’re feeling under the weather. It pairs well with herbal teas like chamomile or green tea. You can also mix it into sparkling water for a refreshing homemade soda. For a little morning ritual, try drizzling it over yogurt or oatmeal.
Store the syrup in the refrigerator in a sealed glass container, and it will keep for up to 3 weeks. If you want to extend its life, freezing is a great option—just thaw what you need. Flavors tend to deepen over time, so you might find it tastes even better after a day or two in the fridge.
When reheating, warm gently in a small saucepan or microwave, avoiding boiling to protect the honey’s natural goodness. I often keep a jar handy during cold season and reach for it like a trusted little helper.
Nutritional Information & Benefits
This elderberry syrup packs a nutritious punch with antioxidants, vitamins, and immune-supporting compounds. Elderberries are rich in vitamin C and flavonoids that may help reduce the severity and duration of colds. Fresh ginger adds anti-inflammatory benefits and can ease digestion. Raw honey not only sweetens naturally but also contains enzymes and antioxidants beneficial for overall health.
Estimated per tablespoon (15ml): approximately 50 calories, mostly from natural sugars in honey and elderberries. The syrup is gluten-free, dairy-free, and can easily be made vegan if you swap honey for a plant-based sweetener.
As someone who prioritizes natural wellness, I appreciate how this syrup combines real food ingredients without additives or preservatives. It fits well into a balanced diet and supports the body’s defenses in a gentle, tasty way.
Conclusion
If you’re looking for a natural, homemade remedy that tastes as good as it feels, this healthy homemade elderberry syrup with fresh ginger and raw honey is a recipe worth trying. It’s simple, wholesome, and flexible enough to fit your personal taste and lifestyle. What I love most is how it turns a handful of ingredients into a sticky, sweet, and slightly spicy syrup that feels like a little comfort in a bottle.
Give it a go and tweak it to your liking—you might find it becomes a staple in your kitchen when cold season rolls around, or just a sweet way to boost your day. I’d love to hear how you make it your own, so don’t hesitate to share your tweaks and stories in the comments below. Here’s to good health and homemade goodness!
Frequently Asked Questions
Can I use frozen elderberries for this syrup?
Yes, frozen elderberries work well. Just thaw them first and use the same quantity as fresh elderberries. The flavor and nutrients remain intact.
How long does homemade elderberry syrup last?
Stored properly in the refrigerator, it lasts about 3 weeks. Freezing in small portions can extend its shelf life to several months.
Can I skip the ginger if I don’t like spicy flavors?
Absolutely! Ginger adds warmth and zing, but the syrup will still be delicious without it. You can also try mild spices like cinnamon instead.
Is this syrup safe for children?
Generally, yes, but avoid giving honey to children under one year old due to the risk of botulism. Always consult your pediatrician if unsure.
How do I take elderberry syrup for immune support?
Commonly, 1 tablespoon daily for adults and 1 teaspoon for children during cold and flu season is recommended. However, follow any specific advice from your healthcare provider.
Pin This Recipe!
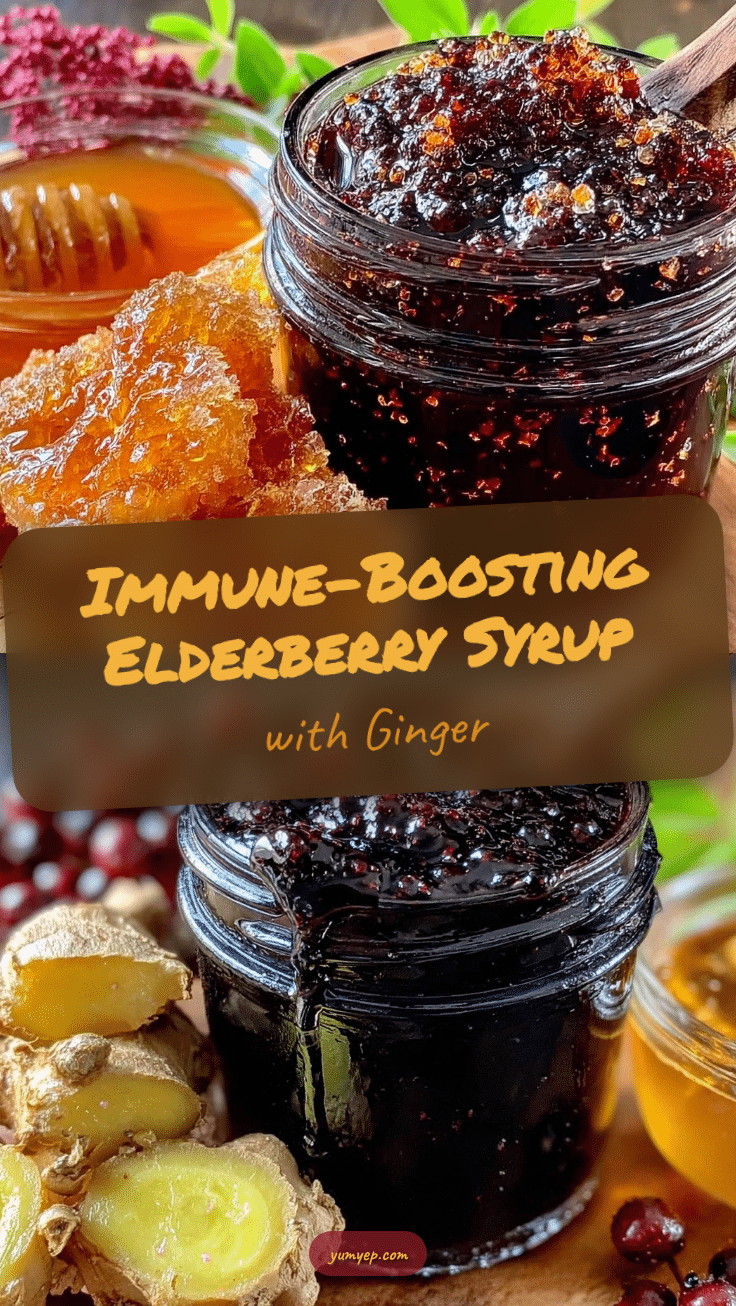
Healthy Homemade Elderberry Syrup Recipe with Fresh Ginger and Raw Honey for Immunity Boost

A luscious, thick elderberry syrup infused with fresh ginger and raw honey, perfect for boosting immunity and enjoying a natural, homemade remedy.
- Prep Time: 10 minutes
- Cook Time: 45 minutes
- Total Time: 1 hour 10 minutes
- Yield: About 1 cup syrup (approximately 8 servings) 1x
- Category: Health Remedy
- Cuisine: American
Ingredients
- 1 cup fresh elderberries or ½ cup dried elderberries
- 2 tablespoons fresh ginger root, peeled and thinly sliced
- ½ cup raw honey
- 2 cups water
- 2 tablespoons fresh lemon juice
- 1 small cinnamon stick (optional)
Instructions
- Rinse fresh elderberries thoroughly to remove any debris or stems. Peel and slice the fresh ginger thinly. Measure out water, honey, and lemon juice. (5 minutes)
- In a medium saucepan, combine elderberries, sliced ginger, water, and optional cinnamon stick. Bring to a boil over medium-high heat, then reduce to a gentle simmer. Cook uncovered for about 45 minutes, stirring occasionally.
- Remove from heat and strain the mixture through a fine mesh strainer or cheesecloth into a bowl. Press berries gently to extract juice without forcing pulp through. (10 minutes)
- While the liquid is still warm (not boiling), stir in raw honey and fresh lemon juice until fully incorporated. (5 minutes)
- Let the syrup cool to room temperature before transferring to a glass jar or bottle. Seal tightly and store in the refrigerator. The syrup will thicken slightly as it cools. (15 minutes cooling)
Notes
Avoid boiling the syrup after adding honey to preserve its natural enzymes. Stir occasionally during simmering to prevent sticking. Thinly slice ginger for even flavor distribution. Store syrup in the refrigerator for up to 3 weeks or freeze for longer storage. If syrup is too thick after cooling, stir in warm water before serving.
Nutrition
- Serving Size: 1 tablespoon (15 ml)
- Calories: 50
- Sugar: 12
- Sodium: 1
- Carbohydrates: 13
- Fiber: 1
Keywords: elderberry syrup, homemade elderberry syrup, immunity boost, fresh ginger syrup, raw honey syrup, natural remedy, elderberry recipe, cold and flu remedy