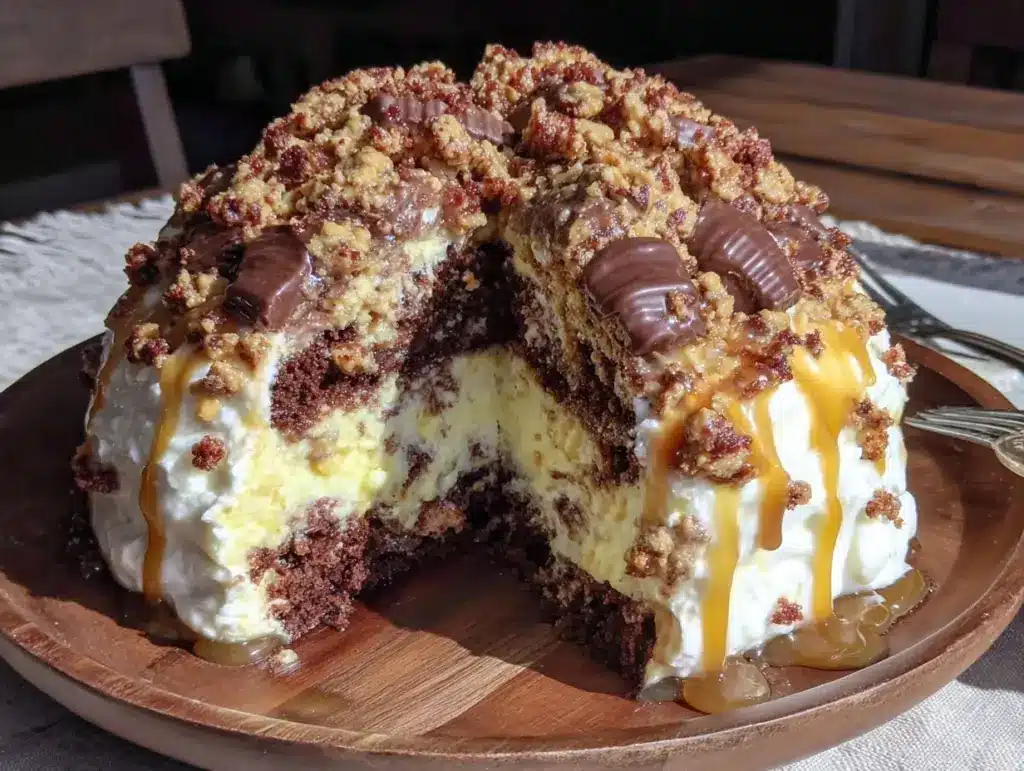
Imagine the aroma of melted chocolate and caramel mingling with the sweet crunch of Butterfinger candy bars. It’s the kind of heavenly scent that fills your home and makes neighbors peek over the fence, wondering what magic you’re cooking up. The first time I made this Butterfinger Bomb Cake, I knew I had stumbled upon something extraordinary. It was one of those moments where I had to pause, take in the perfection, and smile. The combination of layers, textures, and flavors in this cake is pure bliss and, honestly, dangerously addictive.
This recipe came to life during a Friday night baking spree when I was craving something indulgent yet playful. Butterfinger candy bars were always a favorite growing up (you know, the ones you sneak from your kid’s Halloween stash), and I thought, “Why not make them the star of the show?” I tested, tweaked, and perfected the recipe, and now it’s become a family favorite at birthdays, potlucks, and holiday gatherings. Trust me, if you’re looking for a dessert that will have everyone asking for seconds—and the recipe—then this Butterfinger Bomb Cake is it.
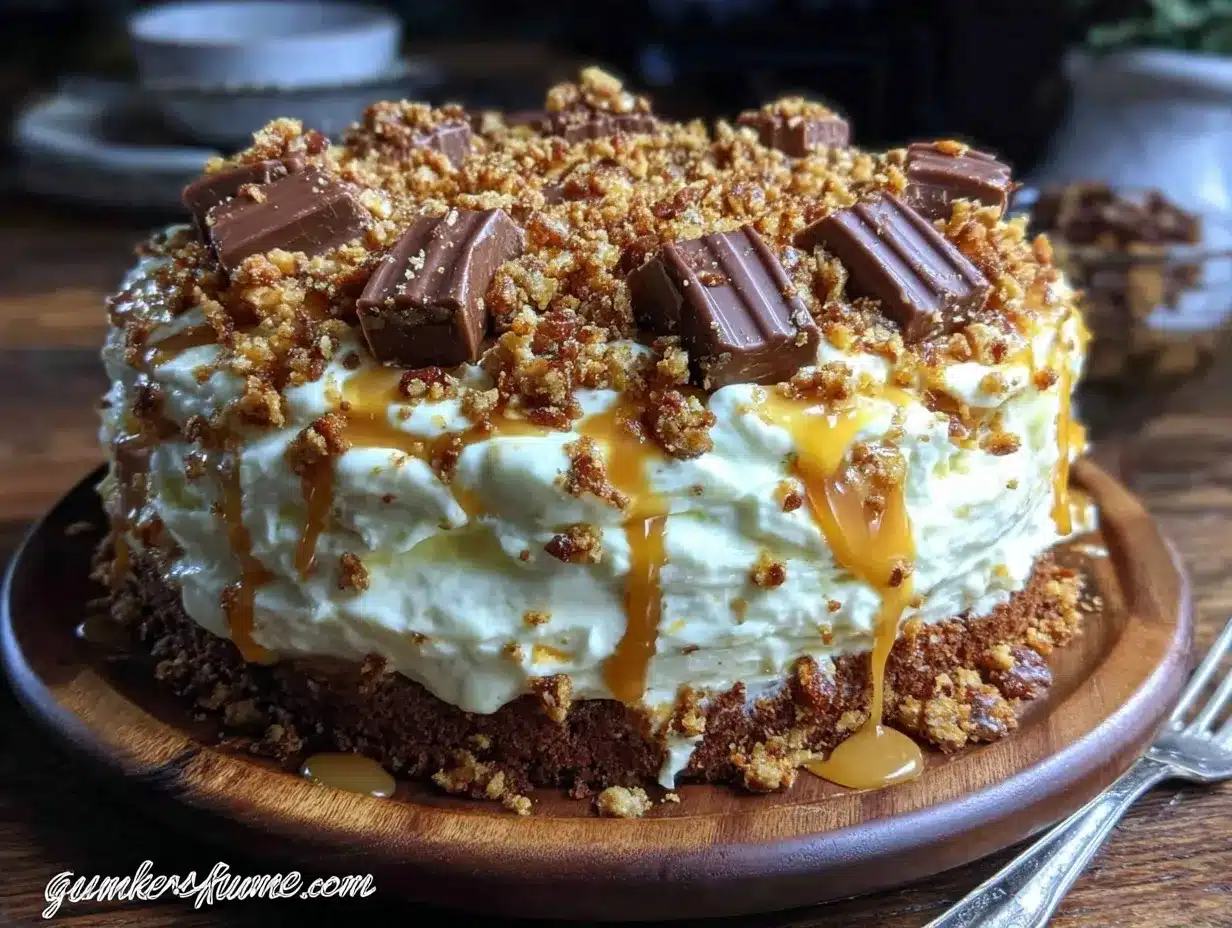
Your friends and family will rave about this sweet and salty dessert masterpiece. The chewy cake paired with creamy layers and crispy candy bits feels like a warm hug wrapped in chocolatey goodness. Bookmark this one because you’ll want to make it again and again!
Why You’ll Love This Recipe
- Quick & Easy: It comes together in less than an hour, making it perfect for last-minute party prep.
- Simple Ingredients: No need for fancy or hard-to-find items—you likely already have most of the ingredients in your pantry or fridge.
- Party-Perfect: This dessert is an absolute showstopper and will steal the spotlight at any celebration.
- Crowd-Pleaser: Kids, adults, and everyone in between will love the mix of flavors and textures.
- Unbelievably Delicious: The combination of gooey cake, creamy pudding, and crunchy Butterfinger pieces is pure comfort food heaven.
What makes this recipe special is the way it layers flavors and textures. The moist chocolate cake creates a rich base, the pudding adds creaminess, and the Butterfinger candy bars bring irresistible crunch and sweetness. Every bite is a party for your taste buds. It’s indulgent, fun, and guaranteed to make you smile.
Whether you’re hosting a big gathering or just want to treat yourself to something extraordinary, this Butterfinger Bomb Cake will never disappoint. It’s a dessert that sparks joy and brings people together around the table.
What Ingredients You Will Need
This recipe uses simple, crowd-favorite ingredients to create a dessert that’s out-of-this-world delicious. You don’t need a trip to a specialty store—most of these are pantry and grocery staples!
- For the Cake:
- 1 box chocolate cake mix (your favorite brand—any works wonderfully!)
- 3 large eggs (room temperature)
- 1/2 cup vegetable oil
- 1 cup water
- For the Filling:
- 1 box instant vanilla pudding mix (3.4 oz)
- 2 cups cold milk (whole milk preferred for creaminess)
- For the Topping:
- 1 tub whipped topping (8 oz, thawed)
- 4 Butterfinger candy bars (crushed—use a rolling pin or a food processor)
- Chocolate syrup (optional, for drizzling)
Pro tip: If you’re in a pinch, you can use store-bought chocolate cake instead of baking from scratch. For a dairy-free option, swap whole milk with almond or oat milk and use dairy-free whipped topping.
Equipment Needed
- Mixing bowls (at least two)
- Electric hand mixer or stand mixer (to make mixing the batter and pudding a breeze)
- 9×13-inch baking dish
- Spatula (for spreading layers evenly)
- Rolling pin or food processor (for crushing Butterfinger candy bars)
If you don’t have an electric mixer, don’t worry—a whisk and a little elbow grease will do the trick. Just make sure to mix thoroughly for a smooth batter and pudding. As for the rolling pin, a sturdy can or bottle works in a pinch to crush those candy bars.
Preparation Method
- Preheat your oven to 350°F (175°C).
- Prepare the chocolate cake mix according to the instructions on the box. Combine the cake mix, eggs, vegetable oil, and water in a large mixing bowl. Beat with an electric mixer on medium speed for 2 minutes until smooth.
- Pour the batter into a greased 9×13-inch baking dish, spreading it evenly. Tap the dish gently on the counter to get rid of any air bubbles.
- Bake the cake for 30-35 minutes or until a toothpick inserted in the center comes out clean. Let the cake cool completely before moving on to the next step.
- While the cake cools, prepare the pudding. In a mixing bowl, whisk together the vanilla pudding mix and cold milk until thickened, about 2 minutes. Place in the refrigerator to set.
- Once the cake is cool, use the end of a wooden spoon to poke holes all over the surface of the cake, spacing them evenly.
- Spread the pudding mixture over the cake, making sure it seeps into the holes. Smooth out the top with a spatula.
- Next, spread the whipped topping over the pudding layer. Be gentle to avoid mixing the layers.
- Sprinkle the crushed Butterfinger candy bars generously over the whipped topping. Don’t skimp—this is where the magic happens!
- Drizzle chocolate syrup over the cake if you want an extra touch of indulgence.
- Cover the cake and refrigerate for at least 2 hours to let all the flavors meld together.
Cooking Tips & Techniques
- Use room temperature ingredients: Eggs and milk mix better into the batter when they’re not straight out of the fridge.
- Crush candy bars evenly: If using a rolling pin, place the Butterfinger bars in a zip-top bag to avoid a mess. Give them a few good taps until they’re in small, crunchy pieces.
- Don’t skip the poking step: The holes allow the pudding to soak into the cake, making it extra moist and delicious.
- Refrigerate before serving: This step is key for letting the flavors blend and the pudding set. Don’t rush it!
- Make it ahead: This cake tastes even better the next day, so it’s perfect for prepping in advance.
Variations & Adaptations
- Dietary-Friendly: Use gluten-free cake mix and dairy-free alternatives for the pudding and whipped topping.
- Seasonal Twist: Swap Butterfinger bars for crushed peppermint candies during the holidays, or use Reese’s Pieces for a peanut butter spin.
- Flavor Customization: Experiment with different pudding flavors like chocolate or caramel for a fun twist.
- Healthier Option: Use Greek yogurt instead of pudding for a tangy and protein-packed version.
- Personal Favorite: Add a layer of crushed Oreos between the pudding and whipped topping for extra crunch and flavor.
Serving & Storage Suggestions
This Butterfinger Bomb Cake is best served cold, straight from the refrigerator. To make it extra special, garnish individual slices with a dollop of whipped cream and a sprinkle of crushed candy bars. Pair it with a glass of cold milk or a cup of strong coffee for a perfect flavor balance.
If you have leftovers (unlikely!), store the cake tightly covered in the refrigerator for up to 3 days. For longer storage, freeze individual portions in airtight containers for up to 2 months. When reheating, let the cake thaw in the fridge overnight before serving.
Nutritional Information & Benefits
While this Butterfinger Bomb Cake is all about indulgence, it does offer some nutritional perks:
- Estimated Calories: 320 per slice
- Key Ingredients: Butterfinger candy bars provide a sweet crunch, while the pudding adds calcium and creaminess.
- Dietary Notes: Easily adaptable for gluten-free and dairy-free diets.
- Potential Allergens: Contains nuts (in Butterfinger candy bars), dairy, and gluten.
Enjoy this dessert mindfully, knowing it’s meant to be a fun treat for celebrations!
Conclusion
If you’re looking for a dessert that’s guaranteed to impress, this Butterfinger Bomb Cake is the one. The combination of flavors and textures will have you hooked after one bite, and it’s so easy to customize to your liking. Whether you stick with the classic Butterfinger topping or try one of the variations, this cake is pure joy.
Now, it’s your turn! Give this recipe a try, and let me know how it turns out in the comments below. Don’t forget to share your own creative adaptations—I’d love to hear them. Happy baking!
FAQs
Can I make this cake ahead of time?
Absolutely! This cake actually tastes better when made a day in advance. Just keep it refrigerated until you’re ready to serve.
What can I use instead of Butterfinger candy bars?
Feel free to substitute with your favorite candy bars—Reese’s, Snickers, or even Heath Bars work great!
Can I use homemade pudding instead of instant?
Yes, homemade pudding works beautifully and can add a richer flavor to your cake.
How do I crush the Butterfinger bars?
Place them in a zip-top bag and use a rolling pin or heavy bottle to crush them into small pieces. A food processor works well too!
Can I freeze this cake?
Definitely! Store individual portions in airtight containers and freeze for up to 2 months. Thaw in the fridge overnight before enjoying.
Pin This Recipe!
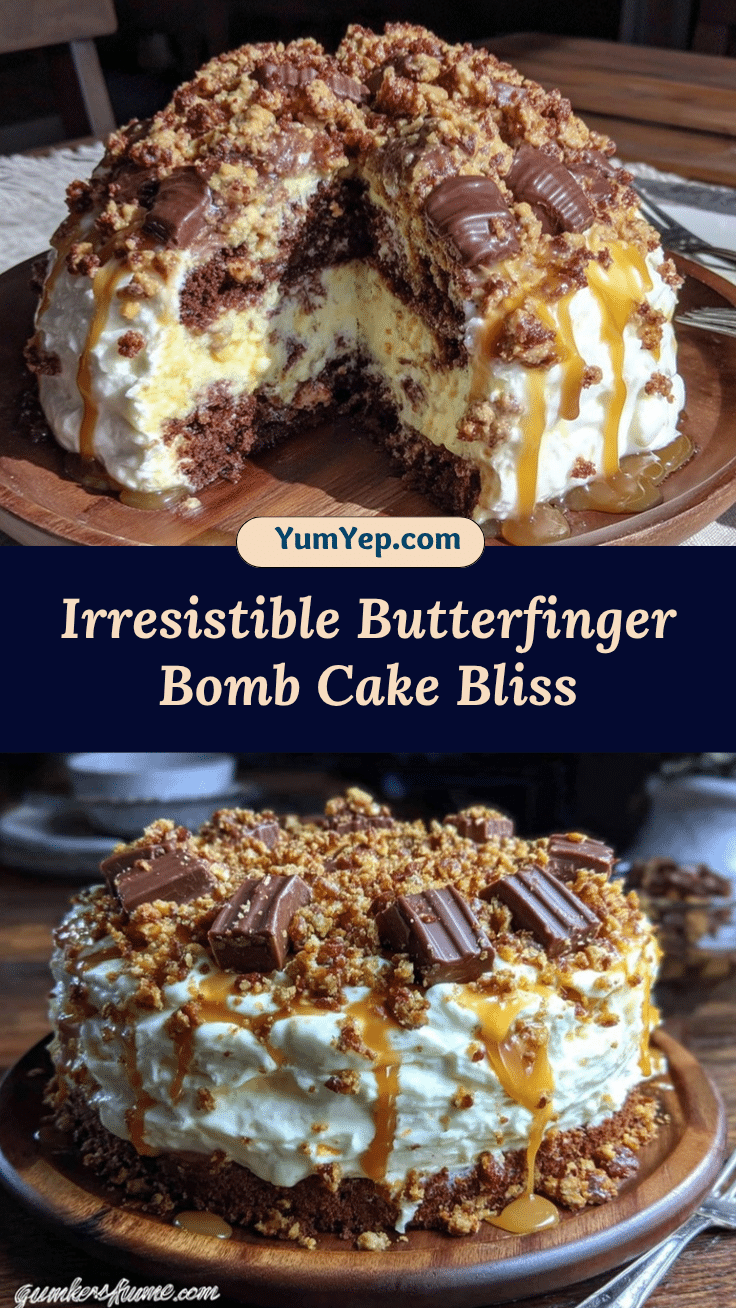
Butterfinger Bomb Cake Recipe Perfect for Parties

A decadent dessert featuring layers of moist chocolate cake, creamy pudding, whipped topping, and crunchy Butterfinger candy bars, perfect for celebrations.
- Prep Time: 15 minutes
- Cook Time: 35 minutes
- Total Time: 50 minutes
- Yield: 12 servings 1x
- Category: Dessert
- Cuisine: American
Ingredients
- 1 box chocolate cake mix
- 3 large eggs
- 1/2 cup vegetable oil
- 1 cup water
- 1 box instant vanilla pudding mix (3.4 oz)
- 2 cups cold milk
- 1 tub whipped topping (8 oz, thawed)
- 4 Butterfinger candy bars (crushed)
- Chocolate syrup (optional, for drizzling)
Instructions
- Preheat your oven to 350°F (175°C).
- Prepare the chocolate cake mix according to the instructions on the box. Combine the cake mix, eggs, vegetable oil, and water in a large mixing bowl. Beat with an electric mixer on medium speed for 2 minutes until smooth.
- Pour the batter into a greased 9×13-inch baking dish, spreading it evenly. Tap the dish gently on the counter to get rid of any air bubbles.
- Bake the cake for 30-35 minutes or until a toothpick inserted in the center comes out clean. Let the cake cool completely before moving on to the next step.
- While the cake cools, prepare the pudding. In a mixing bowl, whisk together the vanilla pudding mix and cold milk until thickened, about 2 minutes. Place in the refrigerator to set.
- Once the cake is cool, use the end of a wooden spoon to poke holes all over the surface of the cake, spacing them evenly.
- Spread the pudding mixture over the cake, making sure it seeps into the holes. Smooth out the top with a spatula.
- Next, spread the whipped topping over the pudding layer. Be gentle to avoid mixing the layers.
- Sprinkle the crushed Butterfinger candy bars generously over the whipped topping.
- Drizzle chocolate syrup over the cake if desired.
- Cover the cake and refrigerate for at least 2 hours to let all the flavors meld together.
Notes
Use room temperature ingredients for better mixing. Crush Butterfinger bars evenly using a zip-top bag and rolling pin. Refrigerate the cake before serving to let the flavors meld together.
Nutrition
- Serving Size: 1 slice
- Calories: 320
- Sugar: 30
- Sodium: 300
- Fat: 12
- Saturated Fat: 6
- Carbohydrates: 45
- Fiber: 1
- Protein: 4
Keywords: Butterfinger Bomb Cake, chocolate cake, dessert, party dessert, easy cake recipe


