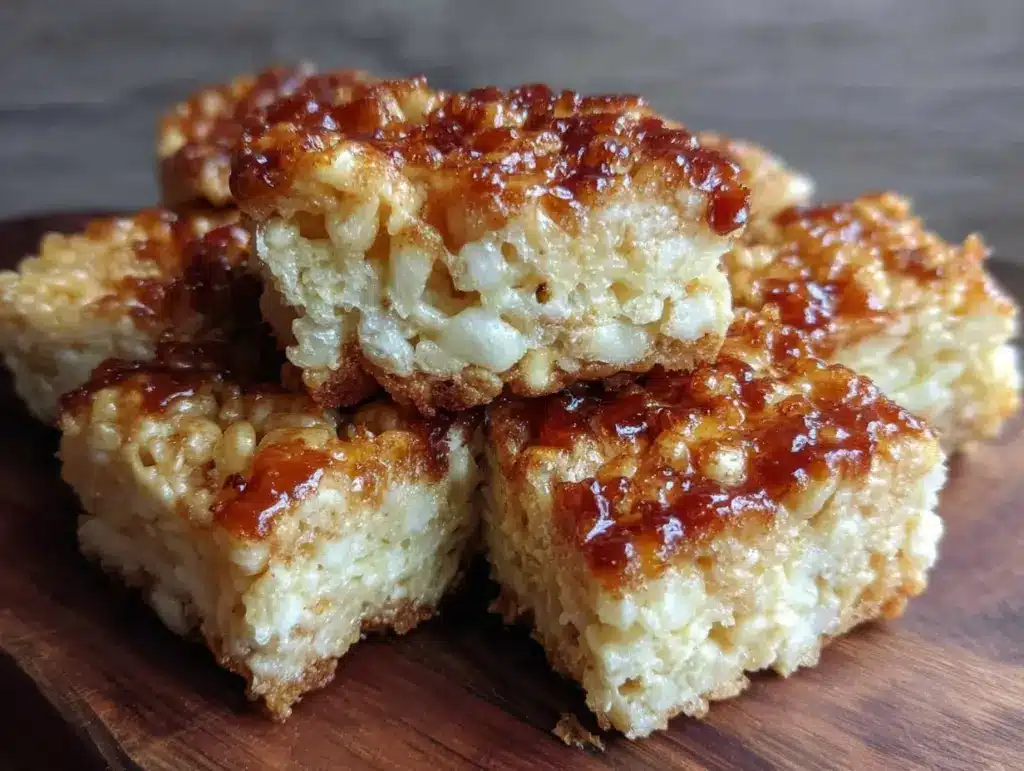
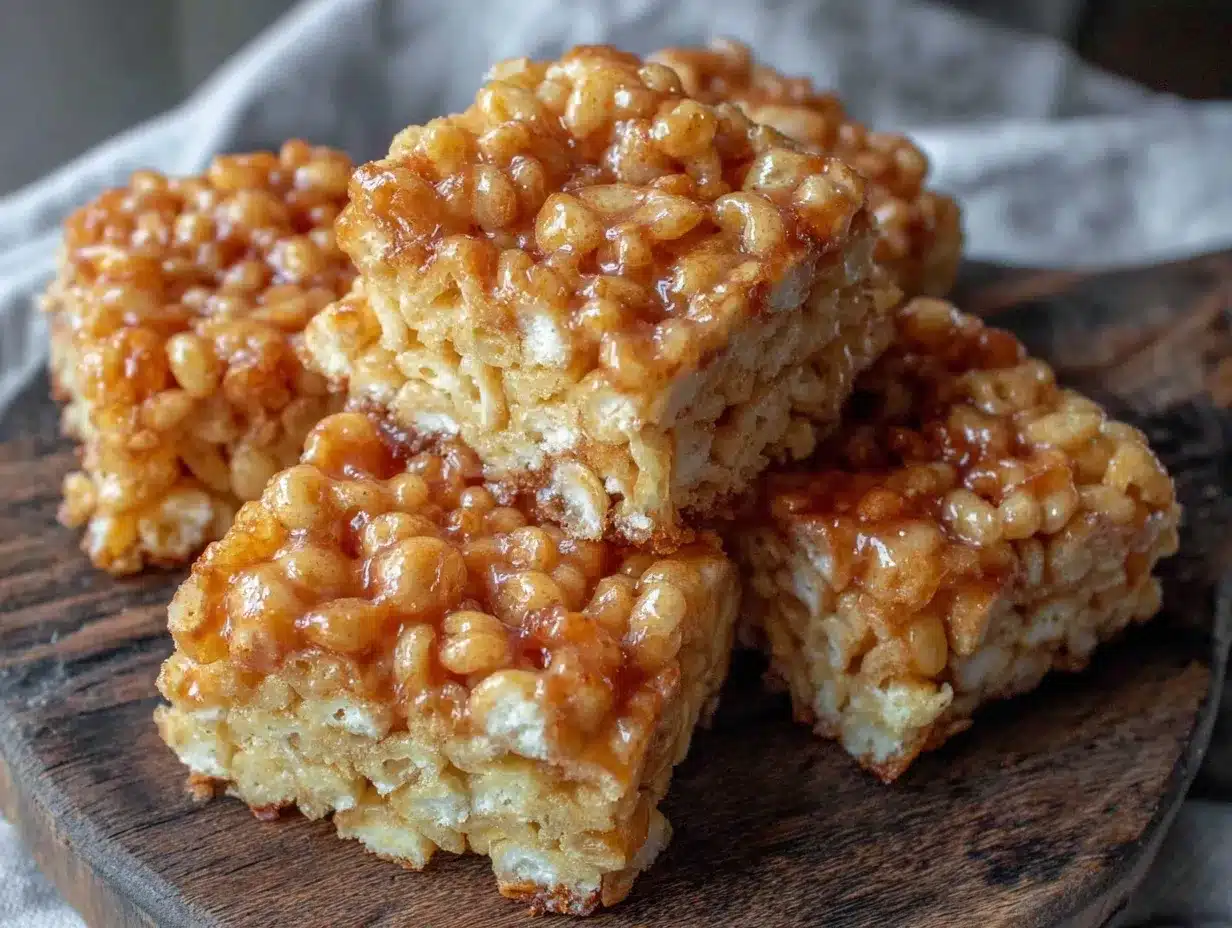
“You’re seriously making those without any nuts? No peanuts, no almonds, nothing?” My friend’s eyebrow raised as she eyed the gooey pan in my hands. Honestly, I get it — rice crispy treats often feel like a playground for nutty add-ins or drizzles, but sometimes you just want that classic, sweet, crunchy comfort without worrying about allergies. This recipe for Easy Nut-Free Rice Crispy Treats for Allergy-Safe Snacking almost happened by accident, when I was scrambling to bring a safe snack to a birthday party for a kiddo with a serious nut allergy. The usual peanut butter swirl was out (bummer!), and store-bought treats felt too risky.
So, I took a deep breath, ditched the usual mix-ins, and focused on the basics — marshmallows, butter, and good ol’ crispy rice cereal. What surprised me was how simple tweaks created a texture and flavor that felt just as indulgent without a hint of nuts. Plus, no complicated or hard-to-find ingredients meant I could whip these up in less than 15 minutes, even after a long day of running around.
That sticky-sweet aroma wafting through the kitchen? It immediately put me at ease, like a small moment of calm after chaos. And the best part — these treats vanished almost as fast as I cut them, with requests for seconds from both kids and adults alike. So yeah, this recipe stuck around in my rotation, especially when I need something quick, safe, and utterly satisfying. There’s something quietly comforting about a treat you can share without a second thought, you know?
These nut-free rice crispy treats have become my go-to for allergy-friendly gatherings and casual snacking alike — a small but reliable reminder that sometimes simple is just right.
Why You’ll Love This Recipe
After making this recipe countless times, I can confidently say it checks all the boxes for allergy-safe snacking without sacrificing fun or flavor. Here’s why it’s a winner:
- Quick & Easy: Ready in under 15 minutes, perfect for those last-minute snack emergencies or when you’re juggling a million things.
- Simple Ingredients: No fancy or questionable items here — just pantry staples you probably already have on hand.
- Perfect for Allergy-Safe Occasions: Whether it’s a classroom party, playdate, or family get-together, these treats keep nut allergies at bay without feeling limiting.
- Crowd-Pleaser: Kids love the chewy crunch, and adults keep sneaking bites (don’t worry, I won’t tell).
- Unbelievably Delicious: The perfect balance of sweet marshmallow and crispy cereal that melts in your mouth while still holding together nicely.
- Unique Twist: Using a touch of vanilla extract and a pinch of salt really brings out the flavor without any nuts or extras.
This isn’t your run-of-the-mill rice crispy treat. The method is tested to give you a soft, pliable texture that doesn’t crumble or get too hard the next day. It’s allergy-safe but still feels like a little indulgence. Honestly, after trying this, I rarely reach for the boxed variety anymore — it just feels better knowing exactly what’s inside.
What Ingredients You Will Need
This recipe uses simple, wholesome ingredients to deliver bold flavor and satisfying texture without the fuss. Everything is easy to find, and most are pantry staples. Here’s what you’ll gather:
- Marshmallows: 10 oz (about 283 g) mini marshmallows or regular, chopped (I prefer Jet-Puffed for consistent sweetness)
- Unsalted Butter: 3 tbsp (42 g), for that creamy richness
- Crispy Rice Cereal: 6 cups (about 180 g), check to make sure it’s nut-free (most plain cereals are safe)
- Vanilla Extract: 1 tsp, adds a subtle warm flavor (pure vanilla really makes a difference)
- Salt: A pinch, to balance the sweetness and enhance flavor
Optional but helpful additions:
- Non-stick cooking spray or parchment paper: for lining your pan to make cleanup easier
- Food coloring or allergy-safe sprinkles: if you want to add a little festive flair
Substitution tips:
- Use vegan marshmallows for a dairy-free option (brands like Dandies are great and allergy-friendly).
- If you need gluten-free, swap the crispy rice cereal for a certified gluten-free version.
- For a slightly chewier texture, try adding a tablespoon of honey or corn syrup to the melted marshmallow mixture.
Equipment Needed
- Large saucepan: for melting butter and marshmallows. A heavy-bottomed pan works best to prevent scorching.
- Large mixing bowl: to combine cereal and marshmallow mixture.
- Rubber spatula or wooden spoon: to stir the sticky marshmallow mixture without scratching your pan.
- 9×13 inch baking pan: to press and set the treats. You can also use an 8×8 inch pan for thicker squares.
- Parchment paper or non-stick spray: helps with easy removal and cleanup.
- Measuring cups and spoons: for precise ingredient amounts.
If you don’t have a large saucepan, a microwave-safe bowl can work for melting the butter and marshmallows — just melt in short bursts and stir frequently. Personally, I find the stovetop method gives better control and prevents burning.
Preparation Method
- Prepare your pan: Line a 9×13 inch baking pan with parchment paper or lightly spray it with non-stick cooking spray. This makes it way easier to remove the treats later. Set aside.
- Melt the butter: In a large saucepan over low heat, melt 3 tablespoons (42 g) of unsalted butter. Keep an eye on it so it doesn’t brown or burn — you want it just melted and smooth. This should take about 2-3 minutes.
- Add marshmallows: Immediately add 10 oz (283 g) of mini marshmallows to the melted butter. Stir continuously with a rubber spatula or wooden spoon until the marshmallows are completely melted and smooth. This takes roughly 4-5 minutes. If the mixture looks grainy or starts to stick, lower the heat — patience is key here.
- Flavor it: Remove the pan from heat and stir in 1 teaspoon of pure vanilla extract and a pinch of salt. These little touches make a big flavor difference — trust me on this.
- Combine with cereal: Pour 6 cups (180 g) of crispy rice cereal into the marshmallow mixture. Quickly but gently fold the cereal in until every piece is coated. Work fast because the mixture will start to set as it cools.
- Press into pan: Transfer the sticky mixture into your prepared pan. Use a piece of parchment paper or a buttered spatula to press it evenly into the corners without squishing it too hard (you want to keep some airiness). Aim for about a 1-inch (2.5 cm) thickness.
- Cool and set: Let the treats cool at room temperature for at least 1 hour to firm up. Resist the urge to cut too soon — if you do, they’ll crumble. For faster setting, you can pop the pan in the fridge for 30 minutes.
- Cut and serve: Once set, lift the treats out of the pan using the parchment. Place on a cutting board and slice into squares with a sharp knife. You might want to wipe the knife with a warm, damp cloth between cuts for cleaner edges.
If you run into marshmallows sticking too much to the spatula or pan, lightly oil your tools before working. And if you want a little extra flair, folding in allergy-safe sprinkles before pressing into the pan adds a fun pop of color.
Cooking Tips & Techniques
Making the perfect batch of Easy Nut-Free Rice Crispy Treats is about timing and care — here’s what I’ve learned the hard way:
- Low and slow melting: Never rush melting butter and marshmallows on high heat. Quick melting burns the sugars and makes the mixture gritty and tough.
- Stir constantly: Keep stirring the marshmallows so they melt evenly. A lumpy or grainy texture usually means the mixture overheated or wasn’t stirred enough.
- Work fast with cereal: Once marshmallows are melted, the mixture sets quickly. Have your cereal ready and fold it in promptly to avoid dry clumps.
- Press gently: Use a parchment paper sheet to press the treats evenly — pressing too hard compacts the treats and makes them dense instead of light and chewy.
- Cut after cooling: Cutting too early leads to messy, crumbly squares. Let them set fully for neat edges and the right texture.
- Multitasking tip: While the treats cool, clean your utensils and pan right away — marshmallow residue can be stubborn if left to harden.
One time, I forgot the vanilla extract, and honestly, the treats tasted a little flat. That tiny addition really lifts the flavor. Also, if you’re feeling adventurous, folding in mini chocolate chips (nut-free!) just before pressing can be a game changer.
Variations & Adaptations
While this recipe shines in its simplicity, it’s also a great base for different twists. Here are some ideas I’ve tried and loved:
- Chocolate Drizzle: Melt allergy-safe chocolate chips and drizzle over the cooled treats for a sweet finish. I sometimes use dairy-free chocolate for a vegan-friendly option.
- Fruit Boost: Stir in dried cranberries or chopped freeze-dried strawberries before pressing for a touch of tartness and color — just make sure they’re nut-free.
- Peanut Butter Swap-Out: For those who want a nutty flavor but must avoid nuts, sunflower seed butter is a great allergy-friendly alternative. Warm it slightly and swirl into the melted marshmallow mixture.
- Seasonal Spin: Add cinnamon and a pinch of nutmeg around the holidays to give a cozy warmth, similar to flavors in my cinnamon roll casserole.
- Gluten-Free: Use a certified gluten-free crispy rice cereal to accommodate gluten sensitivities.
I once made a batch with a handful of allergy-safe sprinkles folded in for my niece’s birthday — it was a hit and looked so festive! Feel free to get creative while keeping safety in mind.
Serving & Storage Suggestions
These treats are best enjoyed at room temperature when they’re perfectly chewy and soft. You can also serve them slightly chilled for a firmer bite, which some folks prefer on warmer days.
Pair these nut-free rice crispy treats with a cold glass of milk, dairy-free milk, or a warm cup of hot chocolate — I once paired them with the hot cocoa bombs from this site for a cozy winter snack session.
For storing, wrap leftover treats tightly in plastic wrap or place them in an airtight container. They keep well at room temperature for up to 3 days. If you want to keep them longer, freeze individual squares in a sealed bag for up to 2 months. Just thaw at room temperature before enjoying.
Pro tip: Letting them sit overnight wrapped in foil or plastic wrap actually helps the flavors meld together and the texture soften slightly — sometimes the wait is worth it!
Nutritional Information & Benefits
While these treats are definitely a sweet indulgence, they’re made with simple ingredients and contain no nuts, making them safe for many allergy-sensitive snackers.
| Nutrient | Per Serving (1 square) |
|---|---|
| Calories | 110 |
| Fat | 3.5 g |
| Carbohydrates | 20 g |
| Sugar | 12 g |
| Protein | 1 g |
Key benefits:
- Free from nuts, making it safer for those with common nut allergies.
- Minimal ingredients, so you avoid unnecessary additives or preservatives.
- Quick source of energy — perfect for active kids or an afternoon pick-me-up.
Just a heads up: these treats contain marshmallows, which often have gelatin, so they are not vegan unless you use vegan marshmallows. Also, they are not low-sugar, so best enjoyed in moderation as a treat.
Conclusion
These Easy Nut-Free Rice Crispy Treats for Allergy-Safe Snacking are a reminder that sometimes the simplest recipes bring the biggest smiles. They’ve become my fallback for safe, quick treats that don’t leave anyone out or cause worry. Plus, they’re a little nostalgic — you can’t beat that chewy, marshmallow-y goodness on a crunchy cereal base.
Feel free to tweak and make this recipe your own, whether that means adding a splash of cinnamon, folding in allergen-safe sprinkles, or pairing them with a mug of something warm. I love that this treat brings comfort and safety to the table in one sweet bite.
If you give it a try, I’d love to hear how you customize your batch or any fun moments it sparks. These treats are meant to be shared — safely and happily.
FAQs About Easy Nut-Free Rice Crispy Treats
Can I use regular marshmallows instead of mini ones?
Yes! Just chop regular marshmallows into smaller pieces so they melt evenly. The texture will be the same deliciously gooey treat.
Are these treats gluten-free?
They can be if you use a certified gluten-free crispy rice cereal. Always check your cereal’s label to be sure.
How do I make these treats vegan?
Swap the butter for a plant-based margarine and use vegan marshmallows (like Dandies) to keep it dairy- and gelatin-free.
What’s the best way to store leftover treats?
Wrap tightly in plastic wrap or place in an airtight container at room temperature for up to 3 days. For longer storage, freeze them individually.
Can I add chocolate chips or other mix-ins?
Absolutely! Just make sure any add-ins are nut-free and allergy-safe. Add chocolate chips right after mixing in the cereal and before pressing into the pan.
Pin This Recipe!
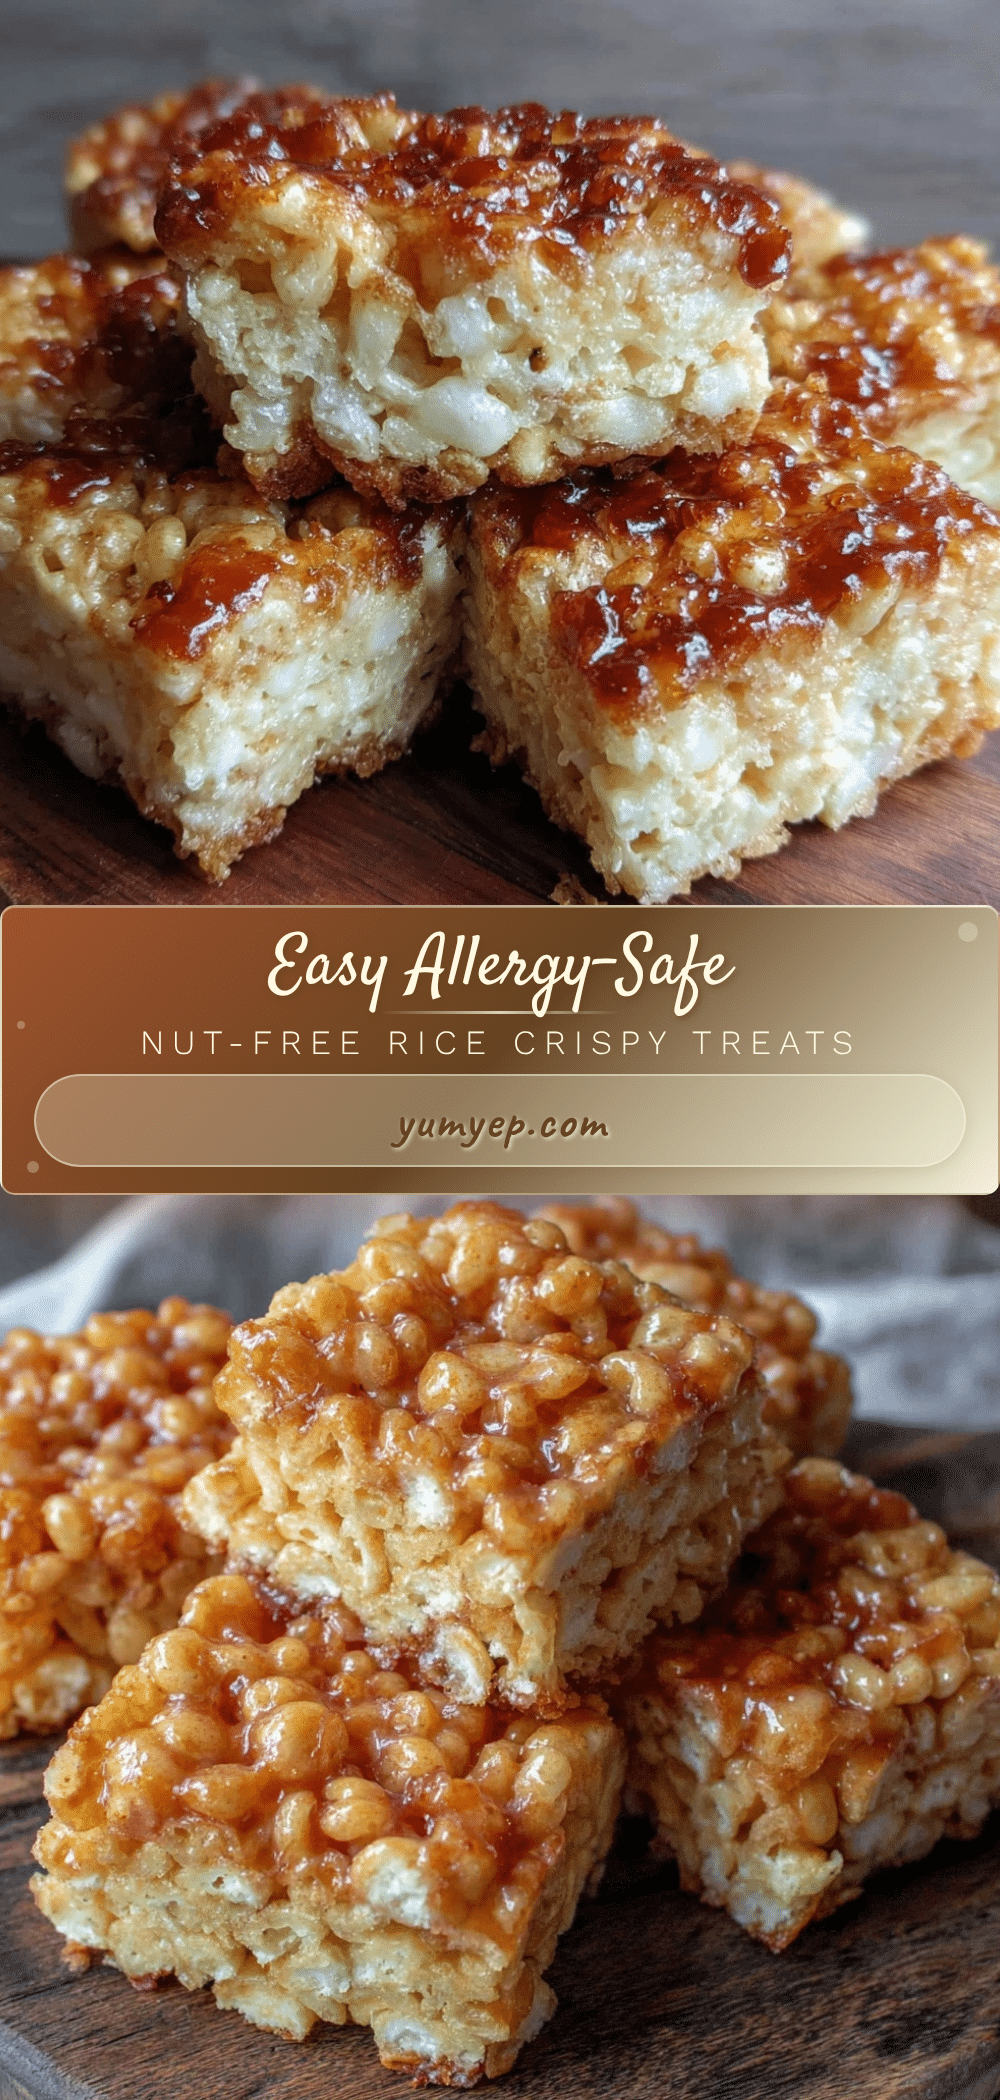
Easy Nut-Free Rice Crispy Treats Recipe for Allergy-Safe Snacking

A quick and simple recipe for classic rice crispy treats made without any nuts, perfect for allergy-safe snacking and gatherings.
- Prep Time: 10 minutes
- Cook Time: 10 minutes
- Total Time: 1 hour 20 minutes
- Yield: 12 servings 1x
- Category: Dessert
- Cuisine: American
Ingredients
- 10 oz (about 283 g) mini marshmallows or regular, chopped
- 3 tbsp (42 g) unsalted butter
- 6 cups (about 180 g) crispy rice cereal (nut-free)
- 1 tsp vanilla extract
- A pinch of salt
- Optional: non-stick cooking spray or parchment paper for lining pan
- Optional: food coloring or allergy-safe sprinkles
Instructions
- Line a 9×13 inch baking pan with parchment paper or lightly spray it with non-stick cooking spray. Set aside.
- In a large saucepan over low heat, melt 3 tablespoons (42 g) of unsalted butter, about 2-3 minutes.
- Add 10 oz (283 g) of mini marshmallows to the melted butter. Stir continuously until marshmallows are completely melted and smooth, about 4-5 minutes.
- Remove pan from heat and stir in 1 teaspoon of pure vanilla extract and a pinch of salt.
- Pour 6 cups (180 g) of crispy rice cereal into the marshmallow mixture. Quickly but gently fold the cereal in until every piece is coated.
- Transfer the mixture into the prepared pan. Press evenly into the corners using parchment paper or a buttered spatula, aiming for about 1-inch thickness.
- Let the treats cool at room temperature for at least 1 hour to firm up. For faster setting, refrigerate for 30 minutes.
- Once set, lift the treats out of the pan using the parchment paper. Slice into squares with a sharp knife, wiping the knife with a warm, damp cloth between cuts for cleaner edges.
Notes
Use vegan marshmallows and plant-based margarine for a dairy-free and vegan option. Use certified gluten-free crispy rice cereal for gluten-free needs. Avoid high heat when melting marshmallows to prevent burning. Press treats gently to keep them light and chewy. Let treats cool fully before cutting to avoid crumbling.
Nutrition
- Serving Size: 1 square (approx. 2x
- Calories: 110
- Sugar: 12
- Fat: 3.5
- Carbohydrates: 20
- Protein: 1
Keywords: nut-free, allergy-safe, rice crispy treats, marshmallow treats, quick dessert, kid-friendly snack


