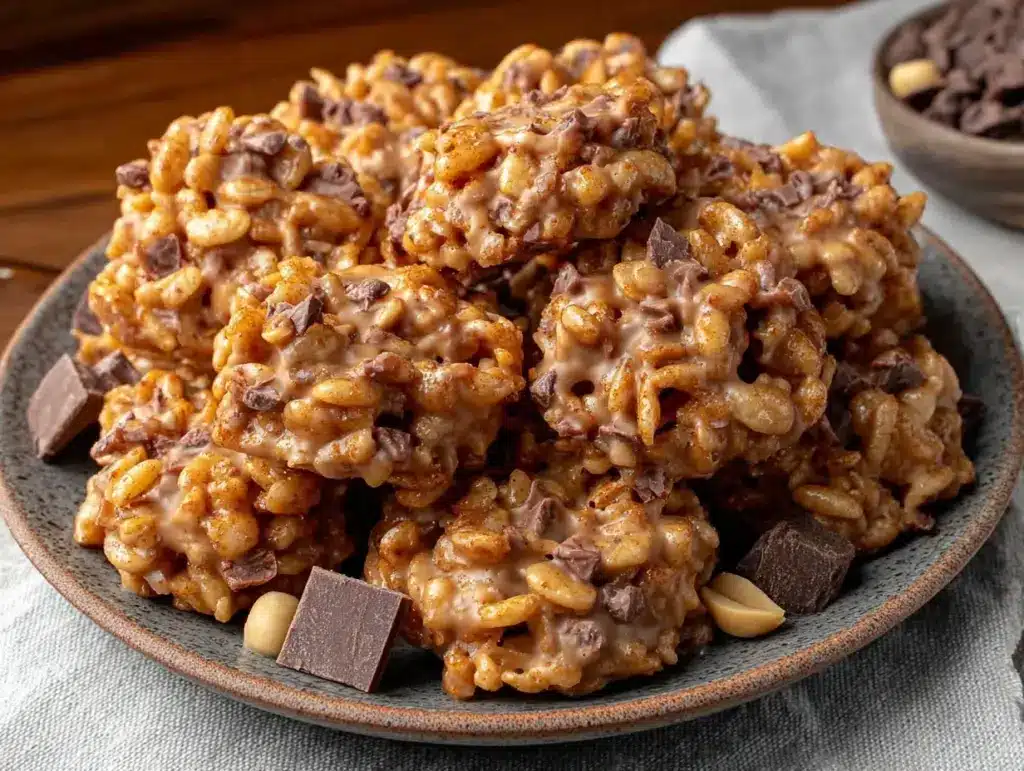
Something about craving the crunch and peanut buttery sweetness of a cookie without the hassle of firing up the oven is just too real right now. I stare at the cupboard—peanut butter jar half-full, a box of Rice Krispies patiently waiting, and a bag of marshmallows teasing me from the corner. What I don’t want is a mess, a long wait, or any of that fiddly baking stuff. So, here I am, mid-afternoon, convinced that a batch of crispy no-bake avalanche cookies is exactly what this kitchen needs. The marshmallows start to melt in my mind’s eye, the familiar sticky aroma almost there before I’ve even begun. It’s that perfect combo of chewy, crispy, and sweet that makes me close my eyes and smile just thinking about it.
Honestly, this recipe stuck with me because it’s like the comfort of a classic Rice Krispies treat got a grown-up upgrade with peanut butter and chocolate — but without any ovens or timers to babysit. It’s the kind of treat that feels effortless but tastes like you spent hours perfecting it. I remember a hectic afternoon when I whipped these up in 15 minutes flat, hands coated in warm peanut butter, and then sat back with a mug of tea, knowing I’d nailed that snack craving without any fuss. That memory keeps me coming back to this recipe whenever life gets a little too busy or when I just want a no-brainer, crispy treat that reminds me of childhood but with a grown-up twist.
So, if you’re looking for a crispy no-bake avalanche cookie recipe that’s easy, peanut buttery, and full of that nostalgic Rice Krispies snap, you’re in the right place. This recipe isn’t about fuss—it’s about that sweet, crispy, chewy moment that hits just right every time.
Why You’ll Love This Crispy No-Bake Avalanche Cookies Recipe
There’s a reason this recipe has become a go-to in my kitchen when I need a quick sweet fix — and it’s not just because it’s peanut butter and Rice Krispies, though that combo is pretty unbeatable. Here’s what sets these crispy no-bake avalanche cookies apart and why you’ll want to keep this recipe on speed dial:
- Quick & Easy: Ready in under 20 minutes, perfect for last-minute snack attacks or when the oven’s a no-go.
- Simple Ingredients: No fancy trips to specialty stores — just pantry staples like peanut butter, marshmallows, and Rice Krispies.
- Perfect for Any Occasion: Whether it’s an afternoon pick-me-up, a casual party treat, or a sweet addition to a holiday spread, these cookies fit right in.
- Crowd-Pleaser: Kids adore the crispy texture, and adults appreciate the nostalgic yet grown-up peanut butter twist.
- Unbelievably Delicious: The balance of chewy marshmallow and crunchy cereal, combined with smooth peanut butter, creates a treat that’s hard to stop eating.
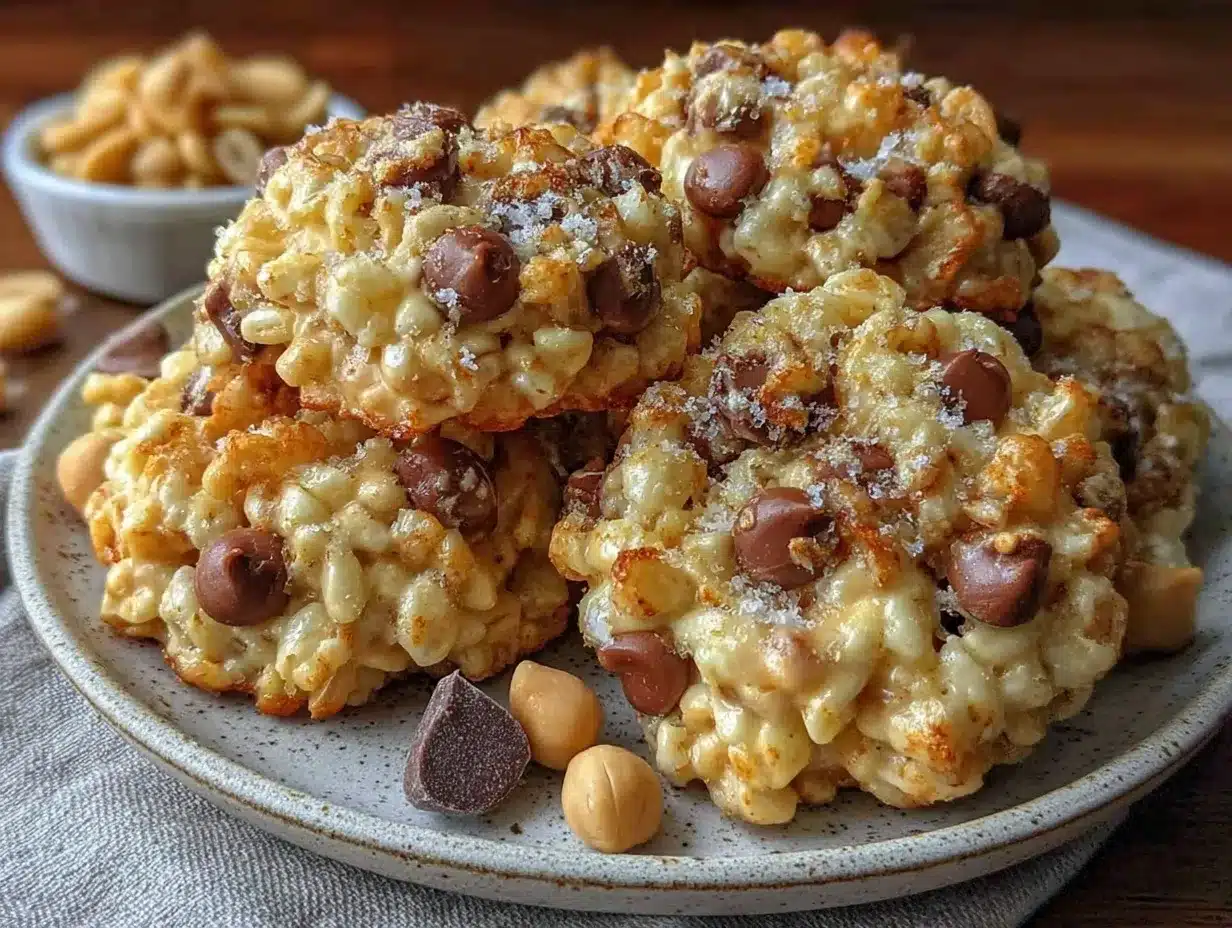
What makes these cookies different? It’s the avalanche effect—the way the Rice Krispies cluster into little mountains packed with peanut butter and marshmallow, then get a gentle chill that makes them crispy but not hard. I’ve tried versions with different nut butters, but creamy peanut butter always nails the texture and taste just right. Plus, the secret sprinkle of mini chocolate chips (yep, a personal touch) takes these from good to “close your eyes and savor” level. It’s comfort food, sure, but without that heavy feeling—light, crispy, and just the right kind of sweet.
Honestly, these crispy no-bake avalanche cookies feel like a little moment of joy in a busy day. They remind me that sometimes, the simplest recipes create the biggest smiles.
What Ingredients You Will Need
This recipe uses simple, wholesome ingredients to deliver that bold flavor and satisfying crispy-chewy texture without the fuss. Most of these are pantry staples, and if you’re like me, you probably have them already. Here’s what you’ll gather:
- Peanut Butter, creamy (I recommend Skippy or Jif for the smoothest texture and balanced sweetness)
- Mini Marshmallows (regular sized work too, but mini melt faster and mix more evenly)
- Unsalted Butter, softened (adds richness and helps the mixture bind)
- Rice Krispies Cereal (classic or gluten-free varieties both work fine)
- Vanilla Extract (just a teaspoon to add depth to the sweetness)
- Mini Chocolate Chips (optional, but highly recommended for a little burst of chocolate in every bite)
- Salt (a pinch to balance sweetness—don’t skip!)
Substitution tips: Use almond or sunflower seed butter if peanut allergies are a concern, though texture will vary slightly. For a dairy-free version, swap butter with coconut oil and choose vegan marshmallows. In winter, I sometimes swap the Rice Krispies with a mix of puffed quinoa for a fun twist.
Equipment Needed
Luckily, this recipe doesn’t require fancy gadgets. Here’s what you’ll need:
- Large mixing bowl
- Microwave-safe bowl or saucepan for melting butter, peanut butter, and marshmallows
- Rubber spatula or wooden spoon for stirring
- Measuring cups and spoons
- Baking sheet or tray lined with parchment paper
- Optional: cookie scoop for shaping uniform cookies
If you don’t have a microwave, melting everything gently on the stove over low heat works just as well, but watch closely to prevent burning. For shaping, your hands work fine, but a cookie scoop speeds things up and keeps sizes consistent. I’ve made these on everything from a cheap silicone mat to a fancy non-stick tray with equal success. Just make sure whatever you use is cool so the cookies set properly.
Preparation Method
- Melt the Butter, Peanut Butter, and Marshmallows (5-7 minutes)
Combine 1/4 cup (56g) unsalted butter, 1 cup (250g) creamy peanut butter, and 4 cups (about 120g) mini marshmallows in a microwave-safe bowl. Heat in 30-second bursts, stirring after each, until melted and smooth. Alternatively, melt over low heat in a saucepan, stirring constantly. The mixture should be glossy and pourable but not burnt or grainy. - Add Vanilla and Salt (30 seconds)
Stir in 1 teaspoon vanilla extract and a pinch of salt to the melted mixture. This rounds out the flavor and balances the sweetness. - Mix in Rice Krispies and Chocolate Chips (2-3 minutes)
Gently fold in 6 cups (about 180g) of Rice Krispies cereal and 1/2 cup (90g) mini chocolate chips until everything is evenly coated. The cereal should look glossy and sticky but still keep its shape. Avoid overmixing to prevent crushing the cereal. - Shape the Cookies (5-7 minutes)
Using a cookie scoop or spoon, drop heaping tablespoons of the mixture onto a parchment-lined baking sheet. Press lightly to form rough, rustic mounds that resemble mini avalanches—peaks and valleys included. This is where the fun texture comes alive. - Chill Until Set (at least 30 minutes)
Place the tray in the refrigerator to let cookies firm up and crisp. The peanut butter and marshmallow mixture hardens slightly, locking in the crunch. If you’re impatient (been there!), a quick 15-minute stint in the freezer works too. - Enjoy or Store
Once set, the crispy no-bake avalanche cookies are ready to enjoy. They’ll keep in an airtight container at room temperature for up to 3 days or in the fridge for about a week.
Pro tip: If your marshmallows seem stubborn to melt evenly, adding a teaspoon of water helps smooth the mixture. Also, don’t skip the salt—it cuts through the sweetness and makes the flavors pop.
Cooking Tips & Techniques
Making crispy no-bake avalanche cookies feels simple, but a few tricks make all the difference. First, always use creamy peanut butter for that silky texture that coats the cereal evenly. Chunky varieties tend to break the delicate clusters. When melting the mixture, patience is key—low and slow wins the race to prevent any burnt bits that ruin the smoothness.
One common mistake is overmixing the cereal, which can crush the crispiness and turn the texture mushy. Stir gently and fold in the cereal last. When shaping, don’t press too hard; the cookies are prettier and crispier when they have natural peaks and valleys.
Timing matters: chilling is non-negotiable here. Letting the cookies set properly ensures they hold their shape and have that signature snap. If you’re tight on time, the freezer is your friend.
From experience, I’ve learned to keep a damp cloth nearby because melted peanut butter and marshmallow stick to hands big time. Rinsing under warm water helps, but a little stickiness is part of the charm. And yes, tasting the mixture warm is allowed—who’s judging?
Variations & Adaptations
Want to mix things up? Here are some ways to adapt this recipe to suit your tastes or dietary needs:
- Nut-Free: Swap peanut butter for sunflower seed butter and use allergy-friendly cereal to keep the crunch.
- Chocolate Avalanche: Add 1/4 cup (25g) cocoa powder to the melted mixture for a rich chocolate twist or swap mini chocolate chips for white chocolate.
- Seasonal Flavor: Stir in dried cranberries and a pinch of cinnamon for a festive touch reminiscent of holiday snowball cookies.
- Vegan Version: Use vegan marshmallows, dairy-free butter alternatives, and natural nut butters.
- Crunch Upgrade: Toss in some chopped crispy candied pecans from my crispy candied pecans recipe for extra texture and warmth.
One time, I replaced the Rice Krispies with puffed millet and added some shredded coconut. It was unexpected but deliciously crispy and tropical—definitely worth trying if you want a fresh spin.
Serving & Storage Suggestions
These crispy no-bake avalanche cookies are best enjoyed slightly chilled or at room temperature. The chill keeps them crisp, but they soften just a bit when left out for a few minutes, offering a perfect chewy contrast. Serve them alongside a cold glass of milk or your favorite tea for an afternoon treat that hits all the right notes.
They make a fantastic addition to snack trays or dessert tables, especially when paired with other cozy classics like cranberry orange bread or a warm cup of hot cocoa from homemade hot cocoa bombs.
Store your cookies in an airtight container at room temperature for up to 3 days without losing that crispy edge. For longer storage, pop them in the fridge for up to a week—just bring them back to room temp before serving to soften slightly. Freezing works too; individually wrap cookies and freeze for up to a month. Thaw on the counter, and they’ll maintain their texture beautifully.
Over time, the flavors meld and deepen, especially if you add any mix-ins like nuts or dried fruit. The cookies take on a richer, more toasty peanut butter aroma that’s just irresistible.
Nutritional Information & Benefits
Each crispy no-bake avalanche cookie (about 1.5 oz or 42g) contains approximately:
| Calories | 150-170 kcal |
|---|---|
| Fat | 8-10g (mostly from peanut butter and butter) |
| Carbohydrates | 18-20g (from marshmallows and cereal) |
| Protein | 4-5g (thanks to peanut butter) |
| Fiber | 1-2g (depending on cereal choice) |
Peanut butter provides healthy monounsaturated fats and protein, making these cookies a bit more satisfying than your average sweet. Rice Krispies add light crunch with minimal calories, and marshmallows, while sugary, are used sparingly to bind the ingredients. For those mindful of allergens, note the presence of peanuts and dairy (unless substituted). This recipe is a fun treat that balances indulgence with simple ingredients, perfect for sharing without guilt.
Conclusion
This crispy no-bake avalanche cookie recipe is a keeper because it’s fast, simple, and hits that peanut butter-Rice Krispies sweet spot every single time. I love how it turns ordinary pantry items into a snack that feels special without any oven babysitting or complicated steps. Whether you’re after a quick snack, a kid-friendly treat, or a dessert to bring to a casual gathering, this recipe adapts easily and delivers big on flavor and texture.
Feel free to play around with mix-ins or swap ingredients to fit your dietary needs. It’s one of those recipes where a little goes a long way, and every batch tells its own story. If you’ve enjoyed this, you might appreciate the cozy vibes of my cinnamon roll casserole or the crunch from crispy candied pecans for your next kitchen adventure.
Let me know how your crispy no-bake avalanche cookies turn out and what variations you try—I’m always eager to hear your take on this easy, peanut buttery classic. Happy snacking!
Frequently Asked Questions
Can I use crunchy peanut butter instead of creamy?
You can, but creamy peanut butter coats the Rice Krispies more evenly and keeps the cookies softer. Crunchy peanut butter will add texture but might make the cookies a bit drier.
Do I have to use mini marshmallows?
Mini marshmallows melt faster and distribute more evenly, but regular-sized ones work fine—just give them a little extra time to melt completely.
Can I make these cookies gluten-free?
Yes! Use gluten-free Rice Krispies or a similar gluten-free puffed rice cereal to keep them safe for gluten-sensitive diets.
How long will these cookies keep?
Stored in an airtight container at room temperature, they stay fresh and crispy for about 3 days. Refrigerate for up to a week or freeze for longer storage.
Can I add other mix-ins like nuts or dried fruit?
Absolutely! Chopped nuts, dried cranberries, or even coconut flakes can be folded in at the cereal stage for extra flavor and texture. Just be mindful of the balance so the cookies hold together well.
Pin This Recipe!
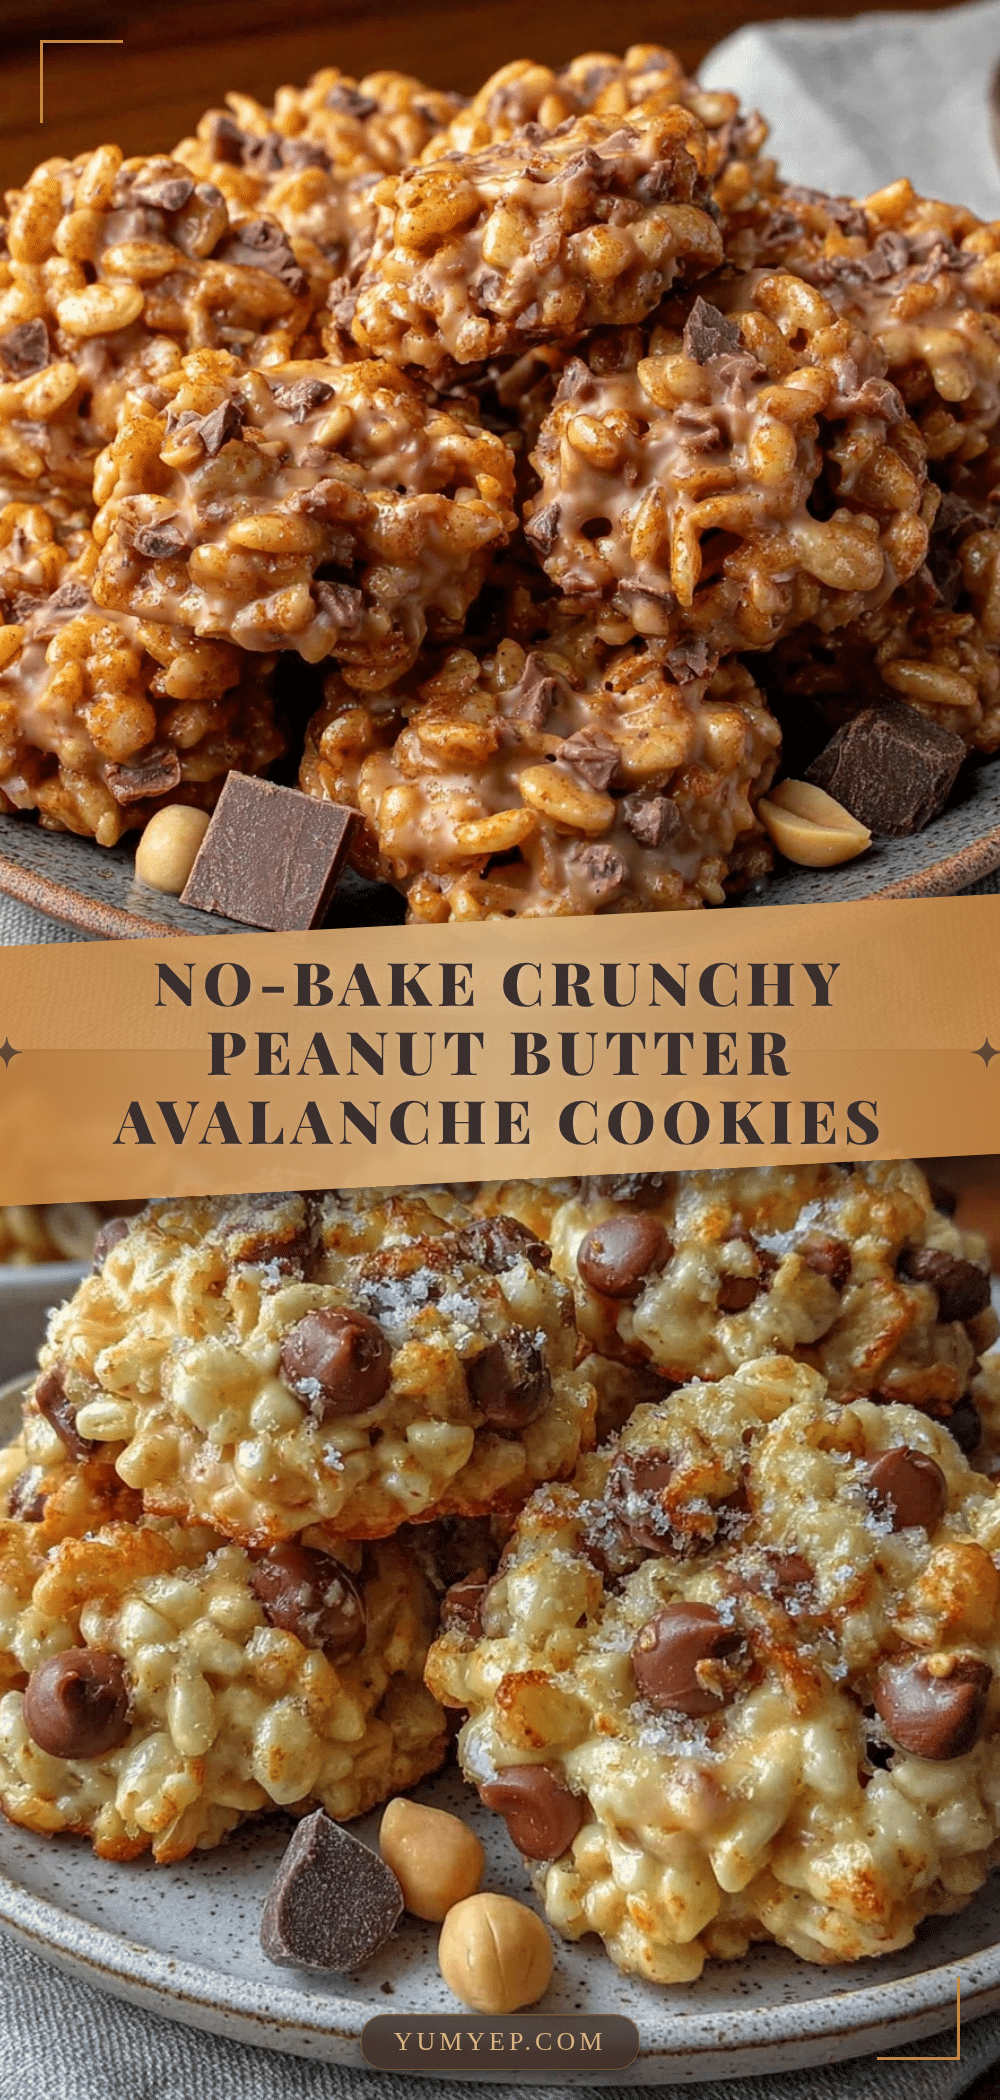
Crispy No-Bake Avalanche Cookies

An easy, no-bake peanut butter and Rice Krispies treat with a perfect combo of chewy, crispy, and sweet textures. These cookies are quick to make and perfect for a nostalgic snack without the oven.
- Prep Time: 10 minutes
- Cook Time: 10 minutes
- Total Time: 30-40 minutes
- Yield: 24 cookies 1x
- Category: Dessert
- Cuisine: American
Ingredients
- 1/4 cup (56g) unsalted butter, softened
- 1 cup (250g) creamy peanut butter
- 4 cups (about 120g) mini marshmallows
- 6 cups (about 180g) Rice Krispies cereal (classic or gluten-free)
- 1 teaspoon vanilla extract
- 1/2 cup (90g) mini chocolate chips (optional)
- Pinch of salt
Instructions
- Melt the butter, peanut butter, and marshmallows in a microwave-safe bowl in 30-second bursts, stirring after each, until melted and smooth. Alternatively, melt over low heat in a saucepan, stirring constantly until glossy and pourable but not burnt.
- Stir in vanilla extract and a pinch of salt to the melted mixture.
- Gently fold in Rice Krispies cereal and mini chocolate chips until evenly coated, being careful not to overmix to avoid crushing the cereal.
- Using a cookie scoop or spoon, drop heaping tablespoons of the mixture onto a parchment-lined baking sheet. Press lightly to form rough, rustic mounds resembling mini avalanches.
- Place the tray in the refrigerator to chill for at least 30 minutes until set and crisp. Alternatively, chill in the freezer for 15 minutes if short on time.
- Enjoy immediately or store in an airtight container at room temperature for up to 3 days, in the fridge for up to a week, or freeze for up to a month.
Notes
Use creamy peanut butter for best texture. Mini marshmallows melt faster and distribute more evenly. Avoid overmixing the cereal to keep cookies crispy. Chilling is essential for the cookies to set properly. Adding a teaspoon of water can help melt marshmallows evenly. Store in airtight container to maintain crispness.
Nutrition
- Serving Size: 1 cookie (about 1.5
- Calories: 150170
- Sugar: 1012
- Sodium: 80100
- Fat: 810
- Saturated Fat: 34
- Carbohydrates: 1820
- Fiber: 12
- Protein: 45
Keywords: no-bake cookies, peanut butter cookies, Rice Krispies treats, easy dessert, no oven, quick snack, chewy crispy cookies