Let me just say, the aroma of fresh nutmeg and creamy vanilla swirling through my kitchen as I whisk up a classic eggnog from scratch is pure holiday magic. The moment those golden yolks blend into rich milk and cream, it feels like Christmas morning—no matter what the calendar says. There’s something about the gentle steam rising from the saucepan and the anticipation of that first, velvety sip that makes the whole house feel cozier.
The first time I attempted homemade eggnog, I was a bit nervous. I’d only ever tasted it from cartons at the store (you know, the kind that’s a little too sweet and never quite as creamy as you’d hope). But one chilly December evening, after reading an old family cookbook, I decided to give it a go. Honestly, I was instantly hooked. It was one of those “pause and smile” moments—standing over the stove, spoon in hand, realizing I’d stumbled upon something truly special.
Growing up, my grandma used to tell stories about her holiday parties where homemade eggnog flowed as freely as laughter. She’d say, “You can taste the love in it, darling!” I never really understood what she meant until I made it myself. Now, every time I whip up a batch, it feels like a warm hug from those family gatherings—dangerously easy to drink and loaded with pure, nostalgic comfort. My family can’t resist sneaking sips before it’s even chilled (and I can’t blame them). It’s become a staple for our holiday parties, gift exchanges, and even quiet winter nights by the fire.
Honestly, if you’re looking for a sweet treat for your kids, a festive drink for potlucks, or just something to brighten up your Pinterest board, this creamy classic eggnog recipe is it. I’ve tested it more times than I care to admit (in the name of research, of course), and every time it feels like the holidays wrapped up in a mug. Trust me—you’re going to want to bookmark this one.
Why You’ll Love This Recipe
If you’ve ever wished homemade eggnog could be quick, easy, and absolutely delicious, you’re in for a treat. Years of testing in my own kitchen—plus a few tips from chef friends—have helped me fine-tune this classic eggnog recipe into something that’s not only foolproof but also a total crowd-pleaser.
- Quick & Easy: Comes together in under 30 minutes—no fancy techniques or endless waiting.
- Simple Ingredients: You probably have everything you need in your fridge and pantry already. No special shopping trips required!
- Perfect for Holiday Gatherings: Whether it’s brunch, a cozy dinner, or your annual holiday party, this eggnog fits right in.
- Crowd-Pleaser: Kids love the creamy sweetness, adults love the rich flavor (and let’s face it, a splash of rum or bourbon takes it up a notch for the grown-ups).
- Unbelievably Delicious: The texture is silky-smooth, thanks to gentle tempering and real cream. The flavor? Pure, old-fashioned comfort.
What makes this eggnog different from the others? Instead of relying on shortcuts, I blend the eggs slowly and temper them with hot milk—no scrambled bits, no weird texture. A touch of freshly grated nutmeg and real vanilla extract gives it that classic, dreamy flavor. And if you’re dairy-free or watching sugar? There are easy swaps that keep the spirit of the recipe alive without sacrificing taste.
This isn’t just another holiday drink—it’s the kind that makes you close your eyes and savor the first sip. Creamy classic eggnog from scratch is comfort in a cup, perfect for impressing guests (with zero stress) or turning a quiet night into something memorable. Honestly, once you’ve made it, the store-bought stuff just won’t cut it anymore.
What Ingredients You Will Need
This creamy classic eggnog recipe uses simple, wholesome ingredients to deliver bold flavor and a satisfyingly rich texture—no fussy techniques or expensive specialty items needed. Most of these are pantry or fridge staples, and you can easily swap for dietary preferences or seasonal twists.
- For the Eggnog Base:
- 6 large eggs (room temperature—the fresher, the better)
- 3/4 cup (150 g) granulated sugar (can use coconut sugar for a caramel note)
- 2 cups (480 ml) whole milk (or almond milk for dairy-free)
- 1 cup (240 ml) heavy cream (adds richness—use coconut cream for non-dairy)
- 1/2 teaspoon pure vanilla extract (I love Nielsen-Massey for the best flavor)
- 1/2 teaspoon freshly grated nutmeg (plus extra for garnish—pre-ground works, but fresh is next-level)
- Pinch of salt (balances out the sweetness)
- Optional:
- 1/4 to 1/2 cup (60-120 ml) bourbon, rum, or brandy (for adults—leave out or use alcohol-free extract for kids)
- Whipped cream (for topping, adds extra indulgence)
- Cinnamon sticks (for garnish and a festive look)
Ingredient Selection Tips:
- Eggs: Use the freshest you can find for the creamiest texture and safest results.
- Milk/Cream: Whole milk makes for a classic richness, but you can use 2% or almond milk. Heavy cream is the secret to velvety smoothness.
- Nutmeg: Freshly grated is worth the extra effort—honestly, the flavor difference is noticeable.
If you’re missing an ingredient, don’t sweat it. Swap the heavy cream for half-and-half, use maple syrup instead of sugar, or opt for coconut milk if you need it dairy-free. In summer, I even toss in a few fresh berries for a twist—why not?
Equipment Needed
You don’t need a professional kitchen for creamy classic eggnog from scratch—just a few basic tools. Honestly, most of these are probably already in your kitchen.
- Medium saucepan (stainless steel or nonstick—just make sure it heats evenly)
- Mixing bowls (one large for whisking eggs and sugar, one for chilling)
- Whisk (balloon style works best for combining eggs and sugar)
- Wooden spoon or heatproof spatula (for constant stirring—trust me, don’t skip this)
- Fine mesh strainer (to catch any cooked bits and keep the eggnog silky)
- Measuring cups and spoons (accuracy matters for the perfect balance)
- Pitcher or large jar (for chilling and serving)
- Grater or microplane (for fresh nutmeg garnish)
If you don’t have a mesh strainer, a clean cheesecloth works in a pinch. I’ve used both, and honestly, either gets the job done. For budget-friendly options, stick to basic stainless steel tools—easy to clean and store. Just remember to rinse your whisk and saucepan right after use so nothing sticks (egg can be a pain to clean off if you wait too long).
Preparation Method
- Whisk the Eggs and Sugar: In a large mixing bowl, whisk 6 large eggs (room temperature) with 3/4 cup (150 g) sugar until the mixture is pale and thick, about 2-3 minutes. It should look glossy and slightly fluffy. This helps the sugar dissolve fully and prevents graininess later.
- Heat the Milk and Cream: In a medium saucepan, combine 2 cups (480 ml) whole milk and 1 cup (240 ml) heavy cream. Add a pinch of salt. Heat gently over medium-low until steaming but not boiling—about 5-7 minutes. You want tiny bubbles at the edges, not a rolling boil. If it boils, the eggs might scramble later, so keep an eye out.
- Temper the Eggs: While whisking constantly, slowly pour about 1/2 cup of the hot milk mixture into the eggs and sugar. Go slow—this step is key! If you add too much too fast, you’ll end up with scrambled eggs (been there, done that). Once combined, pour the egg mixture back into the saucepan with the remaining milk and cream.
- Cook the Eggnog Base: Place the saucepan back on medium-low heat. Stir constantly with a wooden spoon or heatproof spatula, scraping the bottom and sides. Cook until the mixture thickens slightly and coats the back of the spoon, about 5-8 minutes. Don’t let it boil! If it starts to steam heavily, reduce the heat. If you see tiny lumps, pull it off the heat and strain immediately.
- Strain and Flavor: Pour the cooked eggnog through a fine mesh strainer into a clean bowl or pitcher to catch any bits. Stir in 1/2 teaspoon vanilla extract and 1/2 teaspoon freshly grated nutmeg. Taste and adjust sweetness or spice if needed (sometimes I add an extra pinch of nutmeg or a splash more vanilla).
- Chill: Cover and refrigerate for at least 2 hours, or until cold. Overnight is even better—the flavors get richer and the texture even creamier. If you’re impatient (like me sometimes), you can serve it warm, but classic eggnog is best well-chilled.
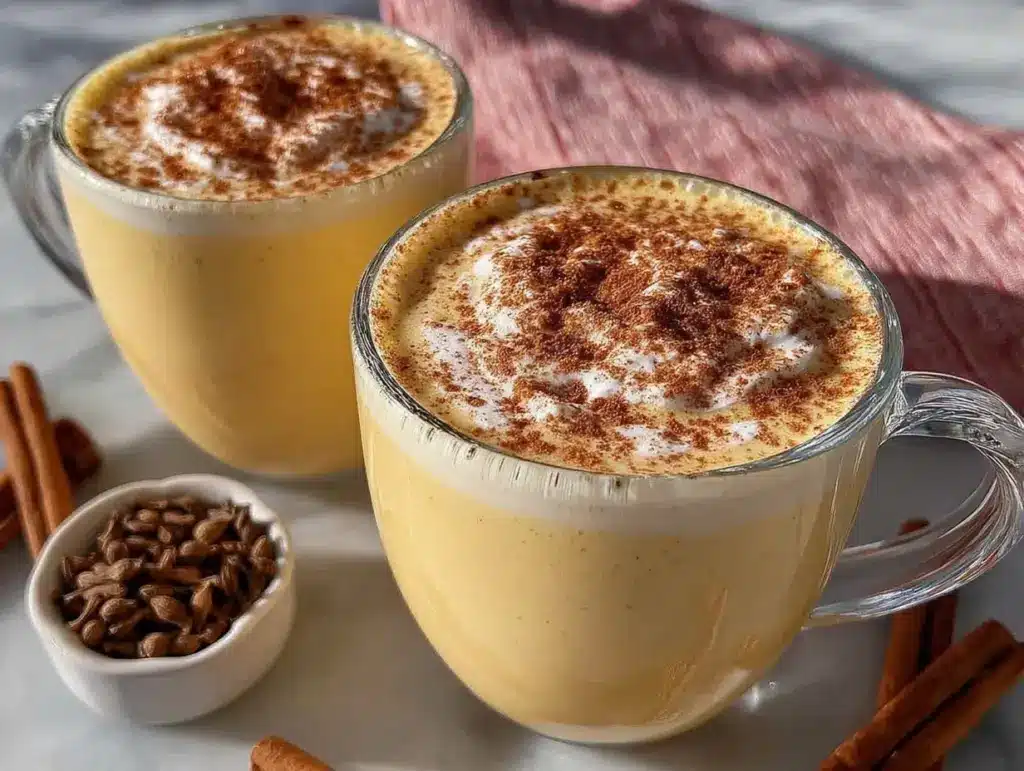
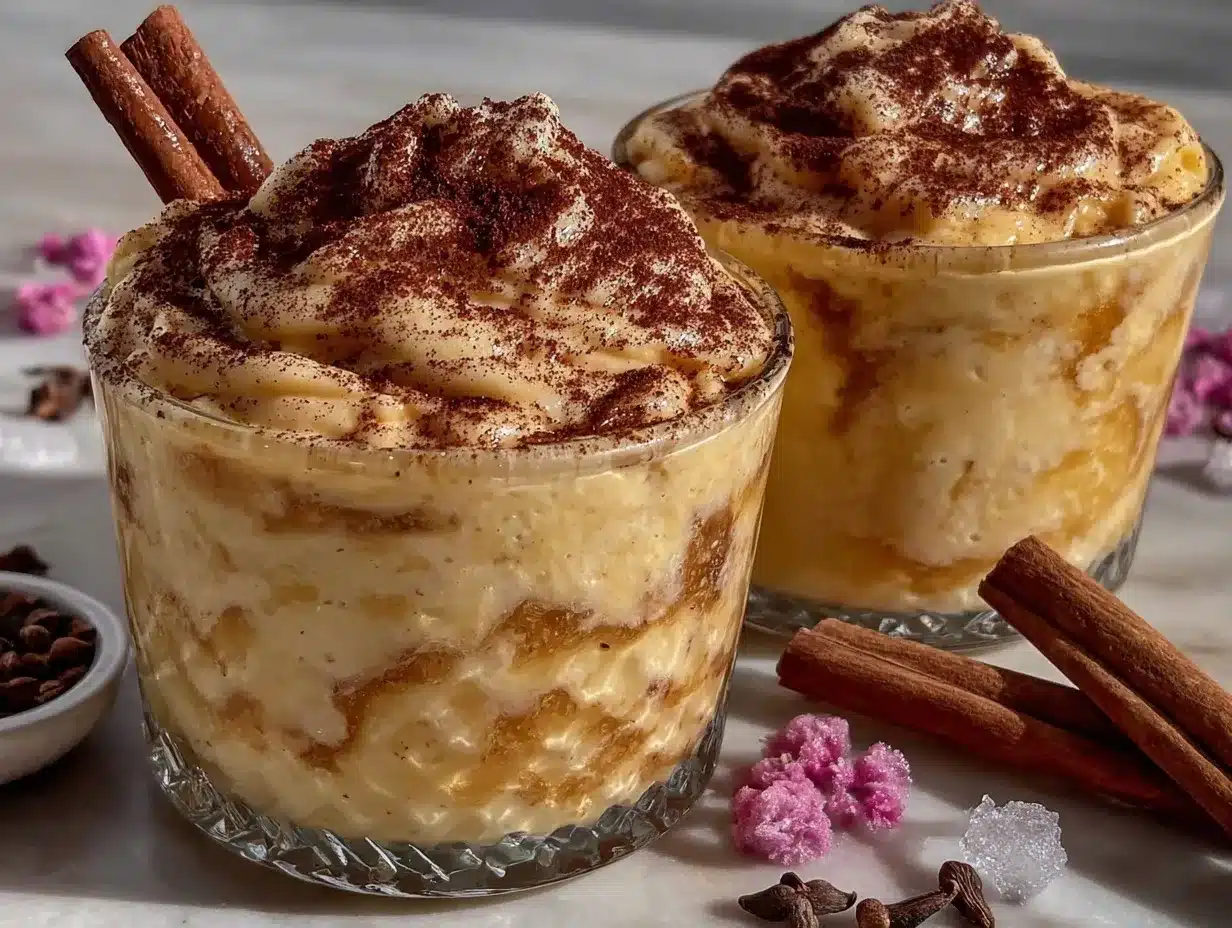
- Serve: Pour chilled eggnog into cups or mugs. Top with whipped cream, a sprinkle of nutmeg, and a cinnamon stick for that Pinterest-perfect look. For grown-ups, stir in 1/4 to 1/2 cup bourbon, rum, or brandy to taste.
Preparation Notes: If you’re worried about food safety, you can heat the eggnog base to 160°F (71°C) using a thermometer. This ensures the eggs are safe for everyone. If the mixture thickens too much, just whisk in a splash of cold milk to loosen it up.
Efficiency Tip: I like to prep the eggs and sugar while the milk is heating. That way, everything comes together quickly. Always use a clean whisk and spoon—scrambled bits can change the texture, and nobody wants gritty eggnog!
Cooking Tips & Techniques
Making creamy classic eggnog from scratch isn’t hard, but a few pro tips will guarantee success every time. Here’s what I’ve learned from trial, error, and a few funny kitchen mishaps.
- Tempering Is Key: Don’t rush when adding hot milk to the eggs. Slow, steady whisking prevents curdling. If you see streaks of cooked egg, you went too fast—strain and try again next time.
- Constant Stirring: Use a wooden spoon or spatula and never walk away. Even a few seconds unattended can cause lumps. Trust me, I’ve learned the hard way!
- Don’t Overcook: The mixture should thicken just enough to coat the spoon. If you overheat, the eggs may scramble. If that happens, strain ASAP, and all is not lost.
- Sensory Cues: Look for a silky texture and pale golden color. The eggnog should smell sweet with a hint of nutmeg.
- Timing Strategies: Prep your garnish (whipped cream, nutmeg, cinnamon sticks) while chilling the eggnog. Multitasking makes holiday hosting easier!
- Consistency: If the eggnog is too thick, whisk in cold milk until it reaches your preferred texture. Too thin? Chill longer, or add a splash more cream.
- Flavor Balancing: Taste before serving. Some days, a little extra vanilla or nutmeg is all it needs. My kids love the sweeter version, but I keep it classic for adults.
Honestly, my first batch was a bit lumpy (I got distracted by a phone call). Now, I set a timer and stay focused—smooth eggnog every time! Remember, practice makes perfect, and a little patience goes a long way.
Variations & Adaptations
Classic eggnog is endlessly customizable. Over the years, I’ve tested all sorts of tweaks, and here are my favorite ways to make it your own:
- Dairy-Free Eggnog: Substitute whole milk and cream with almond milk and coconut cream. The texture stays creamy, and it’s perfect for lactose-free diets.
- Low-Sugar Version: Use a sugar substitute like erythritol or stevia. I’ve made this for friends watching their carbs, and it’s surprisingly good!
- Spiked Holiday Eggnog: Stir in bourbon, rum, or brandy. Adjust to taste, but start with 1/4 cup (60 ml) for a gentle kick. For alcohol-free gatherings, a splash of rum extract works wonders.
- Seasonal Twists: Add a pinch of cinnamon or orange zest for a unique flavor. In spring, I’ve tossed in fresh berries before chilling—why not?
- Egg-Free Adaptation: For anyone with egg allergies, you can thicken the base with cornstarch (2 tablespoons mixed into the milk before heating) and leave out the eggs entirely. The flavor is a bit different, but still festive.
My personal favorite? Adding a dash of cinnamon and serving it over ice with a cinnamon stick—it’s like sipping Christmas in July. Don’t be afraid to experiment; this recipe is forgiving and fun to play with!
Serving & Storage Suggestions
Creamy classic eggnog from scratch is best served cold for that luxurious, silky texture. Pour into chilled mugs or glasses, top with whipped cream, and sprinkle with fresh nutmeg for that Pinterest-worthy finish. A cinnamon stick or orange peel twist makes it look extra festive.
Pair with holiday cookies, gingerbread, or a slice of spice cake. For brunch, serve alongside a savory breakfast casserole and strong coffee—trust me, it’s a hit! If you’re hosting a party, set up an eggnog bar with optional spirits and garnishes.
To store, keep the eggnog in a covered pitcher or jar in the refrigerator for up to 4 days. For longer storage, freeze in airtight containers for up to 2 months; thaw in the fridge and whisk before serving. Flavors deepen as it sits—sometimes it’s even better the second day. If it thickens too much, just stir in a splash of milk and enjoy.
Reheat gently if you prefer it warm, but avoid boiling. A quick microwave zap (10-15 seconds at a time) or a warm water bath works well. Honestly, I love a mug straight from the fridge on a snowy morning!
Nutritional Information & Benefits
Here’s a rough breakdown for one 6-ounce serving of classic homemade eggnog (without alcohol):
- Calories: 220
- Fat: 12g
- Protein: 7g
- Carbohydrates: 20g
- Sugar: 17g
Eggs provide high-quality protein and important vitamins like B12. Whole milk and cream offer calcium and healthy fats—great for a little winter indulgence. Fresh nutmeg also adds trace minerals and antioxidants. If you’re gluten-free, this recipe is naturally safe (just check your vanilla extract). For dairy-free, swap in almond or coconut milk. Allergens include eggs and dairy, so keep that in mind if you’re serving guests.
From a wellness perspective, homemade means you control the ingredients—no weird thickeners or preservatives. Honestly, a small glass feels like a treat, and sharing it with loved ones is its own kind of nourishment.
Conclusion
There’s a reason creamy classic eggnog from scratch is a holiday tradition—it’s the kind of recipe that fills your kitchen with warmth and your gatherings with smiles. It’s easy to make, tastes incredible, and adapts to whatever your family and friends need. Whether you keep it classic or add your own twist, this eggnog is worth making at least once (but let’s face it, you’ll want it again and again).
I love this recipe because it brings people together, sparks conversation, and delivers pure comfort. Don’t be afraid to customize—try a dairy-free batch, spice it up, or serve warm on a snowy night. There’s no wrong way to enjoy it.
If you try this classic eggnog recipe, please leave a comment below, share your adaptations, or tag me on Pinterest. I’d love to hear how it turns out for you. Wishing you a cozy, delicious holiday season—cheers!
FAQs
Can I make classic eggnog ahead of time?
Yes! In fact, it tastes even better after chilling overnight. Just keep it covered in the fridge and give it a good stir before serving.
Is homemade eggnog safe to drink?
Absolutely, as long as you heat the mixture to at least 160°F (71°C). Use a thermometer if you’re concerned about food safety.
Can I use low-fat milk instead of whole milk?
You can, but the texture won’t be as rich. For best results, stick with whole milk or add a splash of cream.
How do I make eggnog dairy-free?
Swap the milk and cream for almond, oat, or coconut milk. Coconut cream works especially well for a thick, creamy texture.
What’s the best way to serve eggnog?
Serve cold in mugs or glasses, topped with whipped cream and fresh nutmeg. For a festive touch, add a cinnamon stick or orange peel twist!
Pin This Recipe!
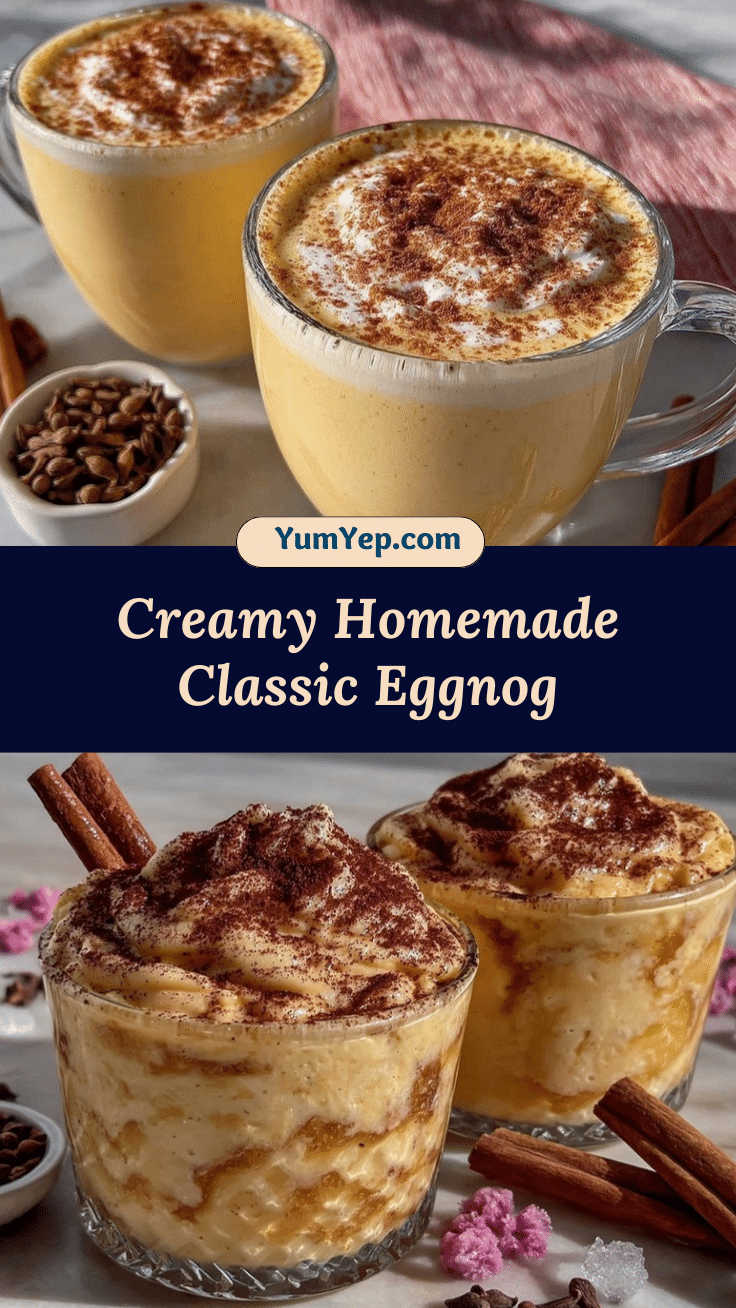
Classic Eggnog Recipe Easy Homemade Holiday Drink from Scratch

This creamy, classic eggnog is made from scratch with fresh eggs, milk, cream, and fragrant nutmeg for a velvety holiday treat. It’s quick, easy, and perfect for festive gatherings or cozy winter nights.
- Prep Time: 10 minutes
- Cook Time: 15 minutes
- Total Time: 2 hours 25 minutes
- Yield: 6 servings 1x
- Category: Beverage
- Cuisine: American
Ingredients
- 6 large eggs, room temperature
- 3/4 cup granulated sugar (150 g)
- 2 cups whole milk
- 1 cup heavy cream
- 1/2 teaspoon pure vanilla extract
- 1/2 teaspoon freshly grated nutmeg, plus extra for garnish
- Pinch of salt
- Optional: 1/4 to 1/2 cup bourbon, rum, or brandy
- Optional: Whipped cream for topping
- Optional: Cinnamon sticks for garnish
Instructions
- In a large mixing bowl, whisk eggs and sugar until pale and thick, about 2-3 minutes.
- In a medium saucepan, combine milk, cream, and a pinch of salt. Heat gently over medium-low until steaming but not boiling, about 5-7 minutes.
- Slowly pour about 1/2 cup of the hot milk mixture into the eggs and sugar while whisking constantly to temper.
- Pour the egg mixture back into the saucepan with the remaining milk and cream.
- Cook over medium-low heat, stirring constantly, until the mixture thickens slightly and coats the back of a spoon, about 5-8 minutes. Do not boil.
- Strain the cooked eggnog through a fine mesh strainer into a clean bowl or pitcher.
- Stir in vanilla extract and freshly grated nutmeg. Taste and adjust sweetness or spice if needed.
- Cover and refrigerate for at least 2 hours, or until cold. Overnight chilling is best.
- Serve chilled in mugs or glasses. Top with whipped cream, a sprinkle of nutmeg, and a cinnamon stick. For adults, stir in bourbon, rum, or brandy to taste.
Notes
For food safety, heat the eggnog base to 160°F (71°C). If the mixture thickens too much, whisk in a splash of cold milk. Dairy-free and low-sugar adaptations are easy—use almond or coconut milk and sugar substitutes. Eggnog is best served cold but can be gently reheated. Store covered in the fridge for up to 4 days.
Nutrition
- Serving Size: 1 cup (about 6 ounce
- Calories: 220
- Sugar: 17
- Sodium: 90
- Fat: 12
- Saturated Fat: 7
- Carbohydrates: 20
- Protein: 7
Keywords: eggnog, holiday drink, Christmas, homemade, classic, creamy, festive, easy, winter, party, beverage