Introduction
“Are you sure these are cookie bars and not actual cookies?” my friend Jenna asked, holding up a thick square with a suspiciously perfect golden crust. Honestly, I was skeptical too the first time I made this recipe. It started on a busy Sunday afternoon when I needed a quick sweet fix but didn’t have the patience for rolling dough into tiny balls. Instead, I tossed together ingredients in one pan and hoped for the best. To my surprise, these chocolate chip cookie bars came out with the perfect crispy edges and an irresistibly chewy center—something I’d never quite nailed with regular cookies.
What really hooked me was how effortless it was to slice and share without the mess of sticky hands or uneven baking. Over the next week, I found myself making them again and again, bringing them to spontaneous potlucks and late-night TV binges. The kitchen smelled like warm vanilla and toasted brown sugar, and everyone kept asking for the recipe. It’s funny how a simple shortcut turned into my go-to dessert, the kind that’s both comforting and crowd-pleasing without any fuss.
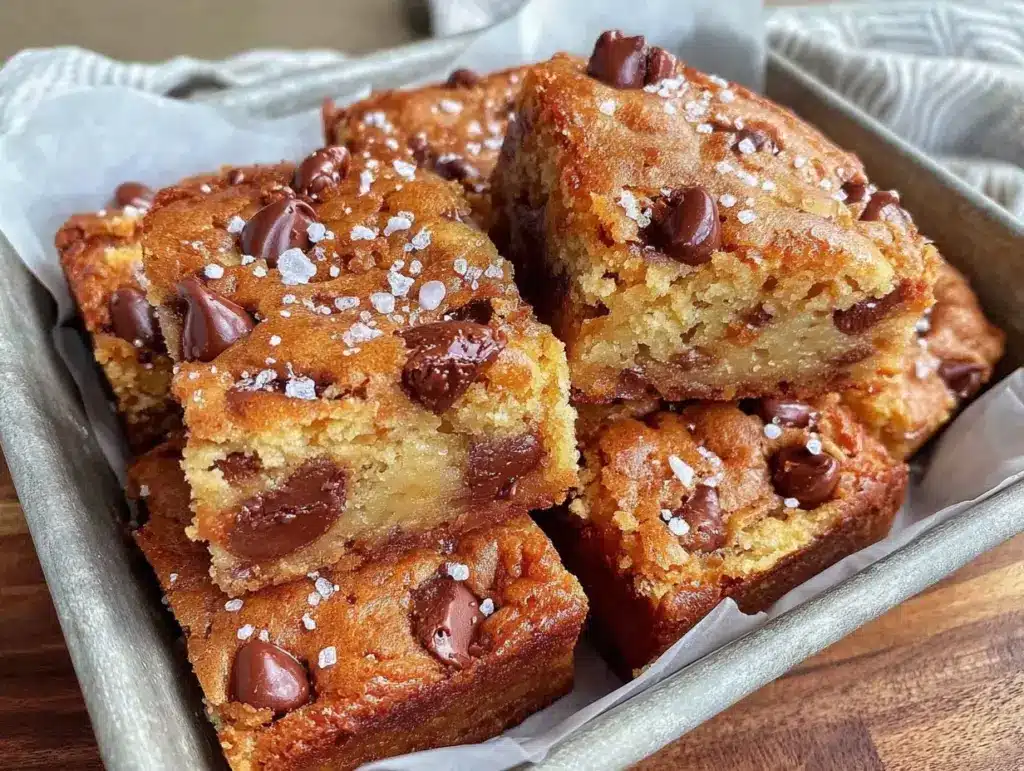
There’s something quietly satisfying about biting into a bar that balances crispy edges with a chewy, chocolate-studded middle. It’s a texture combo that just feels right, like a hug in dessert form. This recipe stuck with me because it’s reliable, easy, and honestly, it’s the kind of sweet that leaves you smiling without any complicated steps or rare ingredients. So if you’re in the mood for a no-fail treat that’s as good straight from the pan as it is later, this crispy and chewy chocolate chip cookie bars recipe might just become your new favorite.
Why You’ll Love This Recipe
Having tested this recipe multiple times in my own kitchen (and seeing it win over even the most skeptical cookie lovers), I can say it’s a keeper. Here’s what makes these chocolate chip cookie bars stand out:
- Quick & Easy: You can mix everything up and pop it in the oven in under 15 minutes, making it perfect for busy weeknights or those sudden sweet cravings.
- Simple Ingredients: No need for fancy or hard-to-find items — just pantry staples like flour, butter, sugar, and chocolate chips.
- Perfect for Sharing: Great for potlucks, casual get-togethers, or just a cozy night in. Everyone loves something they can eat with their hands and pass around.
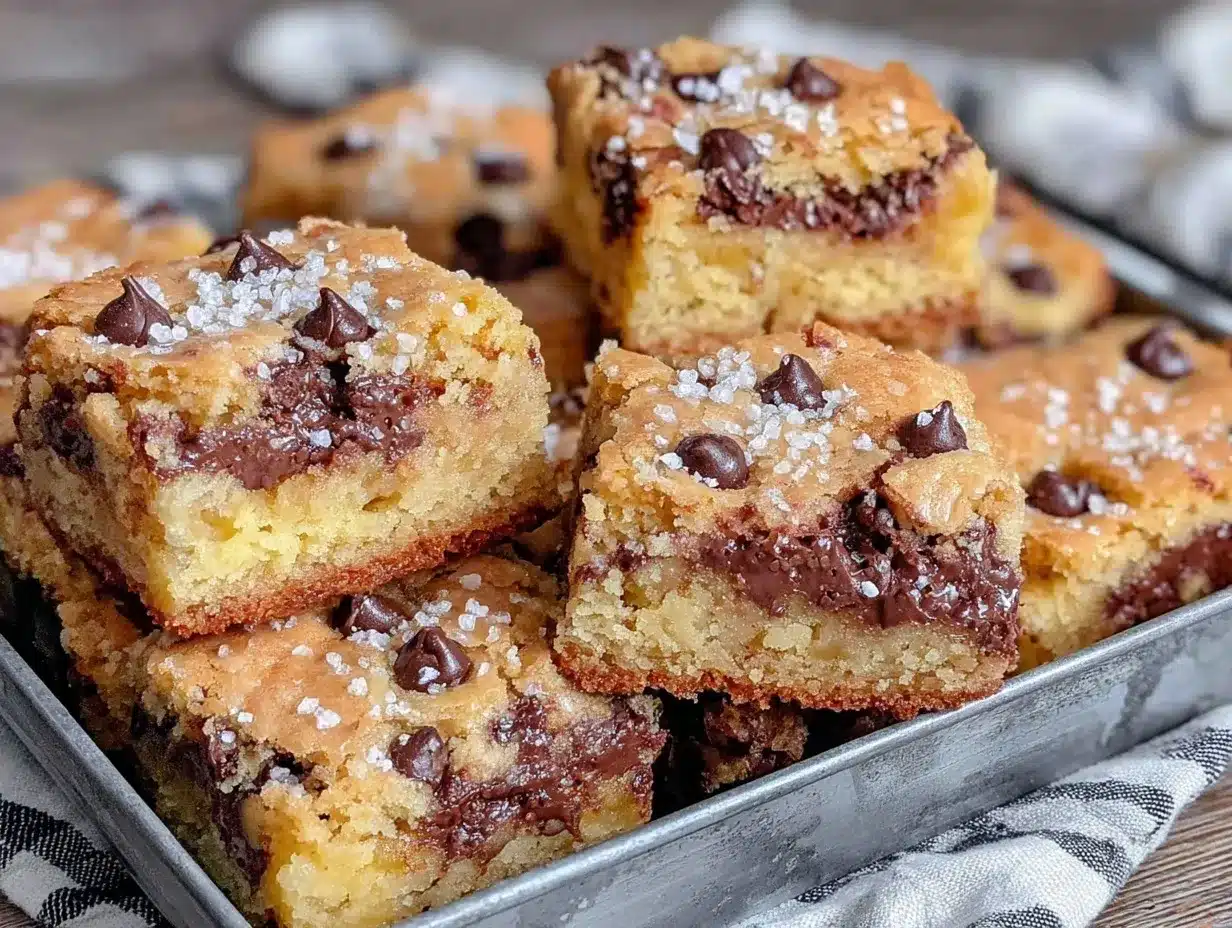
- Crowd-Pleaser: Kids, adults, picky eaters — these bars always get rave reviews. The balance of crispy edges and chewy center hits all the right notes.
- Unbelievably Delicious: The secret is in the blend of brown and white sugar plus a bit of vanilla extract, which gives the bars a rich, caramel-like flavor and texture.
This recipe isn’t just another cookie bar variant. The key difference? The careful balance of crispiness on the outside with a soft, chewy middle. I’ve found that mixing the dough just right and baking at the perfect temperature is what makes all the magic happen. It’s dessert that feels like a treat but is straightforward enough to whip up anytime you want to impress without stress.
Honestly, biting into these bars always brings a little moment of joy — that warm, buttery, chocolatey goodness with a bit of crunch. It’s comfort food in bar form, ready to make your day just a bit sweeter.
What Ingredients You Will Need
This recipe uses simple, wholesome ingredients to deliver bold flavor and satisfying texture without the fuss. Most of these are pantry staples, so you probably have everything ready to go.
- All-purpose flour – 2 ½ cups (320 g), sifted (for the perfect structure)
- Baking soda – 1 tsp (leavens and gives just the right lift)
- Salt – ½ tsp (balances the sweetness)
- Unsalted butter – 1 cup (226 g), melted and slightly cooled (adds richness and crispiness)
- Brown sugar – 1 cup (200 g), packed (gives chewiness and depth)
- Granulated sugar – ½ cup (100 g) (for a crispy edge)
- Large eggs – 2, at room temperature (binds and adds moisture)
- Vanilla extract – 2 tsp (I prefer Nielsen-Massey for a pure vanilla flavor)
- Chocolate chips – 1 ½ cups (270 g), semi-sweet or milk chocolate (choose quality chips like Ghirardelli for melty pockets)
- Optional add-ins: chopped nuts (walnuts or pecans), shredded coconut, or a sprinkle of sea salt on top
Ingredient tips: Use room temperature eggs for better mixing. If you want a gluten-free version, swap the all-purpose flour with a 1:1 gluten-free baking flour blend. For dairy-free, melted coconut oil or vegan butter works well instead of butter. Frozen chocolate chips can work in a pinch, but fresh ones melt better.
Equipment Needed
- 9×13 inch (23×33 cm) baking pan – ideally metal for even baking, but glass works too
- Mixing bowls – one large for dry ingredients, one medium for wet
- Whisk or electric mixer – for combining sugars and butter smoothly
- Rubber spatula – to fold in chocolate chips and scrape the batter
- Measuring cups and spoons – precise measurements make a difference here
- Cooling rack – to cool the bars evenly without sogginess
If you don’t have a 9×13 pan, a slightly smaller or larger pan can work, but you’ll need to adjust baking time accordingly. I once made these in an 8×8 square pan and ended up with thicker bars which were still fantastic but took a bit longer to bake. For budget-friendly options, aluminum pans are perfectly fine and clean-up is easy.
Preparation Method
- Preheat the oven to 350°F (175°C). Line your 9×13 pan with parchment paper, leaving some overhang for easy removal later. This step helps prevent sticking and makes clean-up easier.
- Mix dry ingredients: In a large bowl, whisk together 2 ½ cups (320 g) sifted flour, 1 tsp baking soda, and ½ tsp salt. Set aside. This ensures the leavening and salt are evenly distributed for balanced flavor and texture.
- Combine wet ingredients: In a medium bowl, whisk the melted butter, 1 cup (200 g) brown sugar, and ½ cup (100 g) granulated sugar until smooth and slightly glossy. Beat in 2 room-temperature eggs, one at a time, then stir in 2 tsp vanilla extract. The mixture should look creamy and thick.
- Bring it all together: Gradually add the dry ingredients to the wet, folding gently with a spatula until just combined. Overmixing can make the bars tough, so stop once no dry streaks remain.
- Add chocolate chips: Fold in 1 ½ cups (270 g) chocolate chips evenly throughout the batter. If you’re feeling adventurous, toss in ½ cup chopped nuts or shredded coconut here for an extra textural punch.
- Spread batter: Transfer the dough into the prepared pan, using the spatula to press it into an even layer. Don’t worry if it’s a little thick — that’s what gives you those chewy centers!
- Bake: Place the pan in the oven and bake for 25-30 minutes. Start checking at 25 minutes. The bars should be golden brown around the edges and just set in the middle (a toothpick inserted should come out with a few moist crumbs, not wet batter).
- Cool completely: Let the bars cool in the pan on a wire rack for at least 30 minutes before slicing. This helps them firm up and makes slicing cleaner. Use the parchment paper overhang to lift the whole slab out for easy cutting.
Pro tip: If you want to sprinkle flaky sea salt on top before baking, it adds a beautiful flavor contrast. Also, for perfectly even bars, cool completely then chill in the fridge for 15 minutes before slicing.
Cooking Tips & Techniques
Getting the perfect crispy and chewy texture can be a bit of a balancing act, but a few tricks help make it foolproof:
- Don’t overmix the dough. Once you add the flour, stir gently to avoid developing gluten, which can make your bars dense and tough.
- Melted butter is key. It helps the edges crisp up while keeping the center chewy. I always let it cool slightly before mixing so it doesn’t cook the eggs.
- Use a mix of brown and granulated sugar. Brown sugar adds moisture and chewiness; granulated sugar contributes to crisp edges and a subtle crunch.
- Baking time matters. Pull the bars out when the edges are golden but the center still looks slightly underbaked. They’ll firm up as they cool, giving that ideal chewy texture.
- Let the bars cool fully. Slicing warm bars can lead to crumbling or sticky mess. Patience pays off!
Honestly, the first time I tried to rush the cooling, I ended up with crumbly squares and a sticky pan. Lesson learned: cool completely, slice carefully, and your bars will hold together beautifully.
When I’m short on time, I sometimes speed up cooling by placing the bars in the fridge for a bit—just don’t leave them too long or they get too firm to enjoy immediately.
Variations & Adaptations
This recipe is pretty versatile and easy to customize to whatever mood or dietary needs you have going on.
- Nut-Free Version: Simply omit nuts and use allergy-friendly chocolate chips. These bars are already packed with flavor, so skipping nuts won’t leave them lacking.
- Gluten-Free Adaptation: Swap all-purpose flour for a 1:1 gluten-free baking blend. Make sure your baking soda is gluten-free certified. The texture will be slightly different but still delicious.
- Mix up the chips: Try white chocolate, peanut butter chips, or a combo of dark and milk chocolate for a new flavor twist.
- Seasonal add-ins: Fold in dried cranberries or chopped dried apricots for a fruity surprise. Speaking of cranberries, if you like baking with fruit, you might enjoy the cranberry orange bread recipe for something equally delightful but different.
- Spiced Bars: Add ½ tsp cinnamon or pumpkin pie spice for a cozy fall vibe.
I once tried adding a swirl of peanut butter on top before baking, and it created these irresistible peanut butter pockets. It was a bit messy but totally worth it!
Serving & Storage Suggestions
These cookie bars are best served at room temperature or slightly warmed. A quick 10-second zap in the microwave brings back that just-baked softness and makes the chocolate extra melty. They pair wonderfully with a cold glass of milk or a cup of coffee or tea.
If you’re prepping ahead, store the bars in an airtight container at room temperature for up to 4 days. They’ll stay soft but keep their crispy edges. For longer storage, wrap tightly and freeze for up to 3 months. Thaw at room temperature or warm gently before serving.
The flavors actually deepen after a day or two, so if you can wait, it’s worth letting them rest overnight. The buttery, vanilla, and caramel notes meld beautifully, making every bite even better.
If you’re planning a brunch or dessert spread, these bars fit in perfectly alongside something like a cinnamon roll casserole, offering a chocolatey contrast to the cinnamon sweetness.
Nutritional Information & Benefits
While these bars are a treat, they do offer some nutritional advantages compared to traditional drop cookies. Here’s an estimate per serving (assuming 12 bars):
| Calories | ~280 kcal |
|---|---|
| Fat | 14 g (mostly from butter and chocolate) |
| Carbohydrates | 35 g (includes sugars and flour) |
| Protein | 3 g |
| Fiber | 1.5 g (from chocolate chips) |
Using real butter and quality chocolate chips adds richness and antioxidants respectively. The brown sugar contributes moisture and a slight mineral content from molasses. Of course, these bars contain gluten and dairy, so they’re not suitable for all dietary restrictions unless adapted.
For those mindful of sugar intake, you can try reducing granulated sugar slightly or swap half the white sugar with coconut sugar for a lower glycemic index option. From a wellness perspective, I think of these bars as a balanced indulgence — a little sweetness to brighten up a day, paired with a bit of mindful portioning.
Conclusion
These crispy and chewy chocolate chip cookie bars have become a staple in my kitchen for a reason. They’re simple to make, satisfy sweet cravings, and offer that perfect textural combo that’s so hard to resist. Whether you’re feeding a crowd or just treating yourself, they deliver reliable comfort every time.
Feel free to tweak the recipe with your favorite mix-ins or try different chocolates until you find your ideal version. That’s the fun part—making it your own while keeping the core magic intact.
Honestly, this recipe reminds me that sometimes the easiest shortcuts lead to the best results, and that good food doesn’t have to be complicated. So grab your ingredients, warm up your oven, and enjoy the kind of dessert that brings a little joy with every bite.
If you try it out, I’d love to hear how you customize your bars or what memories they bring back. Sharing is caring, after all!
FAQs
Can I use store-bought cookie dough instead of making the batter from scratch?
You could, but the texture won’t be quite the same. This recipe’s balance of sugars and melted butter is what creates the crispy edges and chewy center. Store-bought dough might bake differently and won’t spread evenly in a pan.
How do I keep the bars from getting too hard or dry?
Make sure to watch your baking time carefully. Pull the bars out when the edges are golden but the center still looks slightly underbaked. Also, don’t skip the cooling step as it helps the bars set without drying out.
Can these cookie bars be frozen?
Yes! Wrap them tightly in plastic wrap or foil, then place in an airtight container or freezer bag. They freeze well for up to 3 months. Thaw at room temperature or warm briefly before serving.
What’s the best way to cut these bars cleanly?
Use a sharp knife and slice after the bars have completely cooled. For extra clean cuts, chill the bars in the fridge for 15-20 minutes before slicing. Wiping the knife blade between cuts helps too.
Can I substitute the chocolate chips with chunks or other mix-ins?
Absolutely! Chopped chocolate bars, butterscotch chips, or even dried fruit work well. Just keep the total amount similar so the batter consistency stays balanced.
Pin This Recipe!
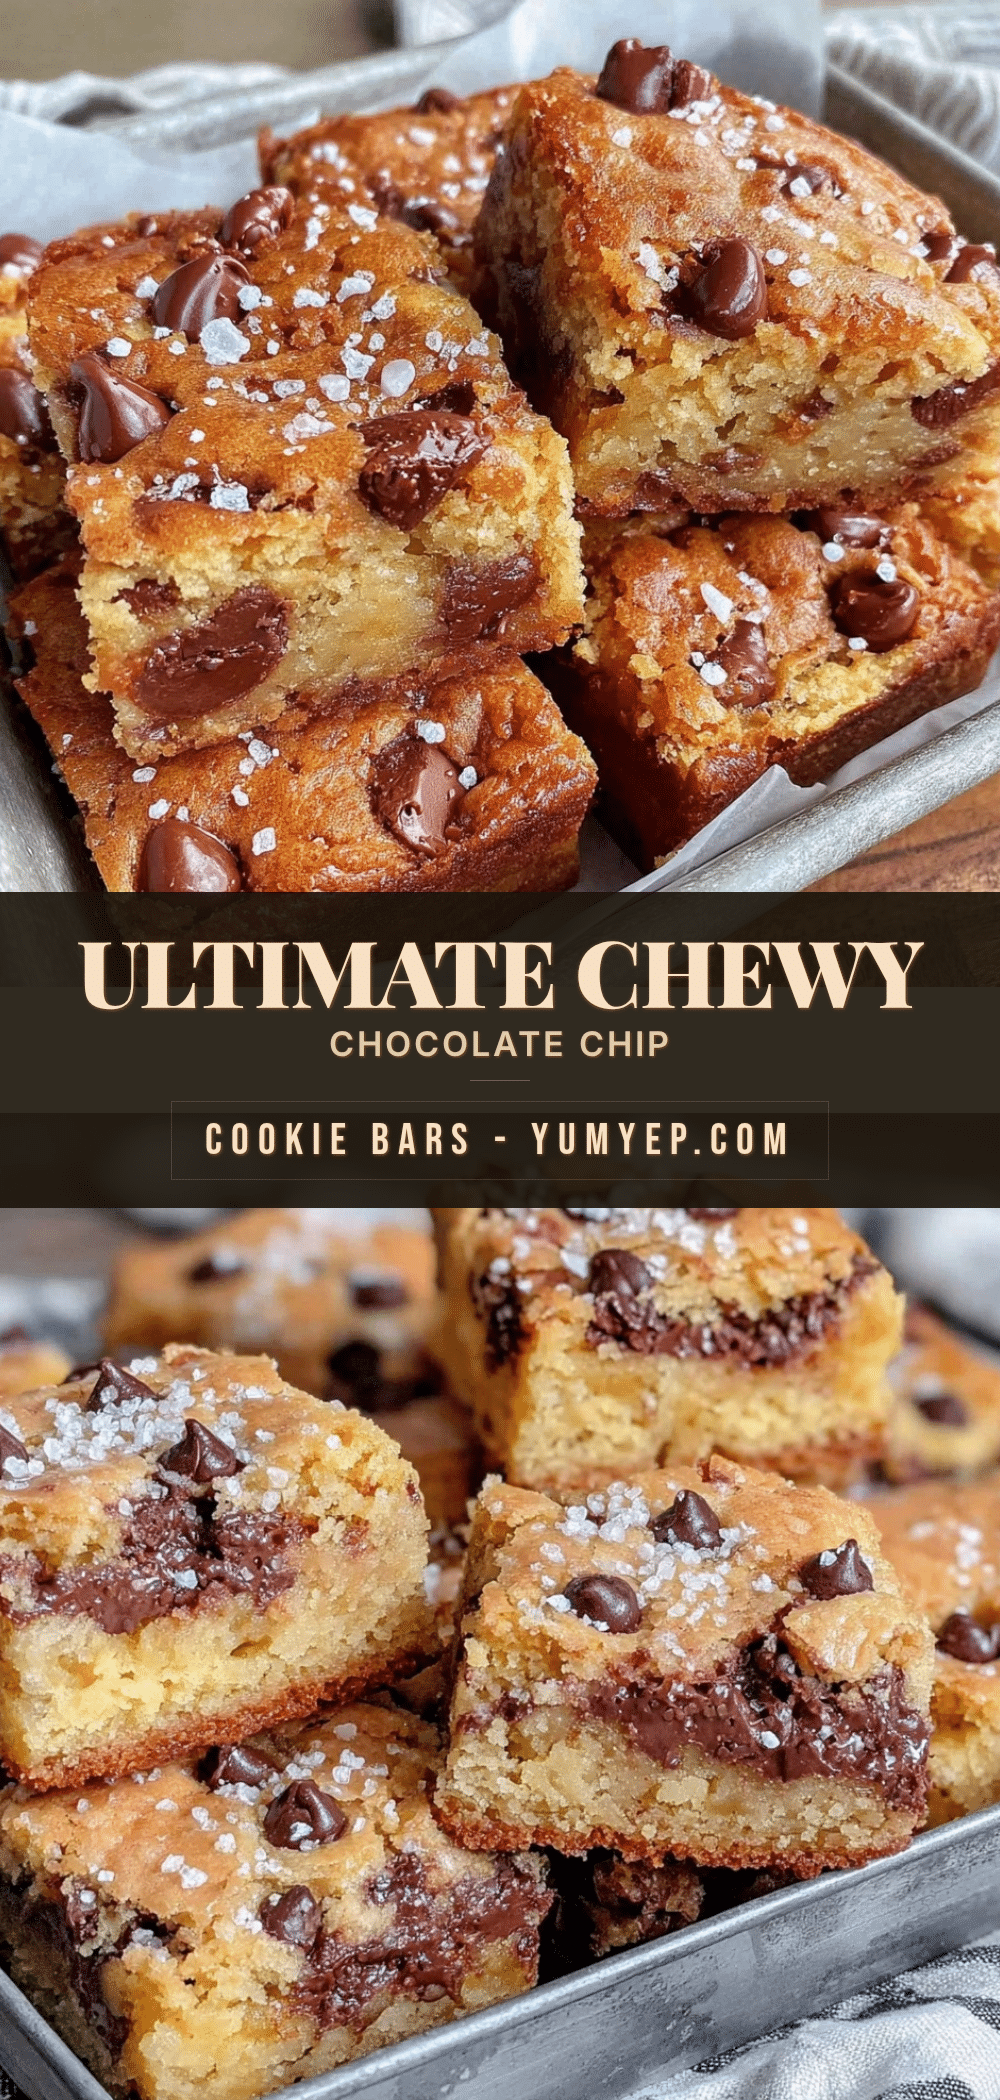
Crispy and Chewy Chocolate Chip Cookie Bars

These chocolate chip cookie bars feature a perfect balance of crispy edges and a chewy center, made with simple pantry staples for an easy, crowd-pleasing dessert.
- Prep Time: 15 minutes
- Cook Time: 25-30 minutes
- Total Time: 45 minutes
- Yield: 12 bars 1x
- Category: Dessert
- Cuisine: American
Ingredients
- 2 ½ cups (320 g) all-purpose flour, sifted
- 1 tsp baking soda
- ½ tsp salt
- 1 cup (226 g) unsalted butter, melted and slightly cooled
- 1 cup (200 g) packed brown sugar
- ½ cup (100 g) granulated sugar
- 2 large eggs, at room temperature
- 2 tsp vanilla extract
- 1 ½ cups (270 g) semi-sweet or milk chocolate chips
- Optional add-ins: ½ cup chopped nuts (walnuts or pecans), shredded coconut, or a sprinkle of sea salt on top
Instructions
- Preheat the oven to 350°F (175°C). Line a 9×13 inch baking pan with parchment paper, leaving some overhang for easy removal.
- In a large bowl, whisk together the sifted flour, baking soda, and salt. Set aside.
- In a medium bowl, whisk the melted butter, brown sugar, and granulated sugar until smooth and slightly glossy.
- Beat in the eggs one at a time, then stir in the vanilla extract until the mixture is creamy and thick.
- Gradually add the dry ingredients to the wet ingredients, folding gently with a spatula until just combined. Avoid overmixing.
- Fold in the chocolate chips evenly throughout the batter. Add optional nuts or shredded coconut if desired.
- Transfer the batter into the prepared pan and press into an even layer.
- Bake for 25-30 minutes, checking at 25 minutes. The edges should be golden brown and the center set with a few moist crumbs on a toothpick.
- Cool completely in the pan on a wire rack for at least 30 minutes before slicing. Use the parchment paper overhang to lift the slab out for easy cutting.
Notes
Do not overmix the dough to avoid tough bars. Melted butter helps create crispy edges and chewy centers. Cool bars completely before slicing for clean cuts. Optional to sprinkle flaky sea salt on top before baking for flavor contrast. Bars can be chilled for 15 minutes before slicing for even cleaner cuts.
Nutrition
- Serving Size: 1 bar
- Calories: 280
- Fat: 14
- Carbohydrates: 35
- Fiber: 1.5
- Protein: 3
Keywords: chocolate chip cookie bars, crispy cookie bars, chewy cookie bars, easy dessert bars, chocolate chip bars, quick dessert


