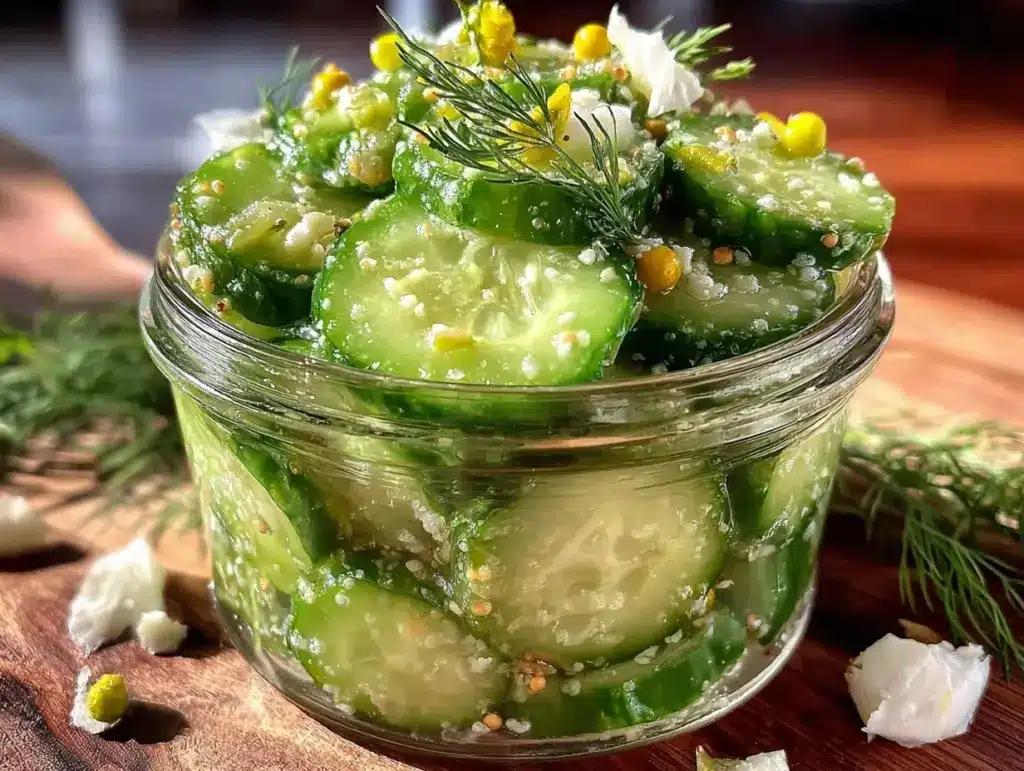
My cousin showed up out of the blue one humid Saturday afternoon, and the only thing in my fridge was a half-empty jar of pickling cucumbers and some dill that had seen better days. I wasn’t exactly stocked for a snack attack, but somehow those few bits turned into the best batch of Easy Crispy Quick Refrigerator Dill Pickles I’d ever made. Honestly, it felt like a small kitchen miracle—crisp, tangy, and just the right punch of garlicky goodness, all without the fuss of boiling a big batch or waiting weeks.
It all started with the sound of crunching as we bit into those first slices, the kind where the juice pops and the dill scent sneaks up on you like that unexpected guest who ends up being the life of the party. There was no planning, no elaborate shopping list—just a few pantry staples and a dash of improvisation. What surprised me most was how those pickles stayed perfectly crisp, even after a few days in the fridge, defying that usual soggy pickle curse.
Since then, this recipe has become my go-to whenever I want something fresh and tangy on the fly—whether it’s for noshing between bites of a hearty sandwich or jazzing up a simple salad. It’s comfort food in its simplest, crunchiest form, and it’s stuck around because it’s just that reliable. I’m guessing you’ll get why this little jar of magic feels like a secret weapon for quick, tasty pickles that don’t mess around.
Why You’ll Love This Recipe
Having tested this recipe through more than a few impromptu snack emergencies and casual get-togethers, I can say it nails the balance between ease and flavor. It’s not just any pickle recipe—it’s a quick fridge pickle method that keeps you from staring at a bubbling stovetop or waiting forever to enjoy that satisfying crunch.
- Quick & Easy: Ready to enjoy in just 24 hours, perfect for last-minute cravings or when you need a crunchy snack fast.
- Simple Ingredients: Uses everyday pantry staples like fresh dill, garlic, and vinegar—no fancy or hard-to-find items necessary.
- Perfect for Any Occasion: Whether it’s a casual backyard BBQ, a picnic, or a sandwich sidekick, these pickles hit the spot every time.
- Crowd-Pleaser: Kids, adults, pickle newbies, and aficionados alike love these for their crisp texture and balanced tang.
- Unbelievably Delicious: The secret is in the quick brine and the cold soak, which locks in that fresh snap and bright flavor without bitterness.
This recipe stands out because it skips the complicated canning process but still delivers pickles with a satisfying crunch and deep dill flavor. I’ve found that slicing the cucumbers thicker than usual and letting them rest in the brine overnight makes all the difference. Plus, no blanching or sterilizing jars means it’s less intimidating for beginners, yet still a hit for pickle pros.
It’s the kind of recipe that makes you want to keep a jar in the fridge at all times—a crunchy little reminder that good things don’t need to wait weeks to happen.
What Ingredients You Will Need
This recipe calls for straightforward, wholesome ingredients that come together to create a tangy, crisp pickle brine. The cucumbers soak up all the flavors in just a day, making this a perfect fridge pickle recipe for anyone short on time but big on taste.
- Pickling cucumbers (about 2 pounds / 900 grams) – firm and fresh; smaller cucumbers work best for crunch
- Fresh dill sprigs (4-6 sprigs) – the star herb for that classic dill pickle aroma
- Garlic cloves (3-4, smashed) – adds punchy depth and bite
- White vinegar (1 cup / 240 ml) – the acid that brightens and preserves
- Water (1 cup / 240 ml) – balances the vinegar, keeps pickles crisp
- Kosher salt (2 tablespoons) – essential for flavor and crunch; avoid iodized salt as it can cloud the brine
- Granulated sugar (1 tablespoon) – just a touch to mellow the acidity
- Black peppercorns (1 teaspoon) – adds subtle spice
- Red pepper flakes (optional, ¼ teaspoon) – for a little heat if you like a kick
- Mustard seeds (1 teaspoon) – classic pickling spice that adds flavor depth
For the best results, I like using Hebrew National kosher salt and vinegar labeled “distilled white” for a clean taste. If you want a gluten-free option, make sure your spices and vinegar are certified gluten-free—most are, but it’s good to double-check.
Seasonal tip: In summer, I sometimes swap out half the dill with fresh tarragon or add sliced fresh jalapeños for a spicy twist. You can even swap granulated sugar with honey or maple syrup for a slightly different sweetness profile.
Equipment Needed
Making these easy refrigerator dill pickles doesn’t require fancy gear, just some basics you probably already have around.
- Glass jar with a tight-fitting lid (at least 1 quart / 1 liter) – wide-mouth jars work best for easy packing and cleaning
- Sharp knife – to slice cucumbers evenly; a serrated knife can help with the skin
- Cutting board – a sturdy surface to work on
- Measuring cups and spoons – for precise brine mixing
- Small saucepan – to briefly warm the brine ingredients (optional but helps dissolve salt and sugar)
- Tongs or chopsticks – handy for packing cucumbers tightly into the jar without bruising
If you don’t have a glass jar handy, BPA-free plastic containers with airtight lids can work, but glass is preferable for best pickle flavor and longevity. I’ve also found that a wide-mouth mason jar makes cleanup a breeze and helps with removing pickles.
Preparation Method
- Wash and slice the cucumbers: Rinse your pickling cucumbers under cold water. Slice off the ends (they can add bitterness) and cut cucumbers into ¼-inch (6 mm) thick rounds or spears, depending on your preference. Thicker slices hold their crunch better. (10 minutes)
- Prepare the brine: In a small saucepan, combine 1 cup (240 ml) white vinegar, 1 cup (240 ml) water, 2 tablespoons kosher salt, and 1 tablespoon sugar. Warm gently over low heat just until salt and sugar dissolve, stirring occasionally. Remove from heat and let cool slightly. (5–7 minutes)
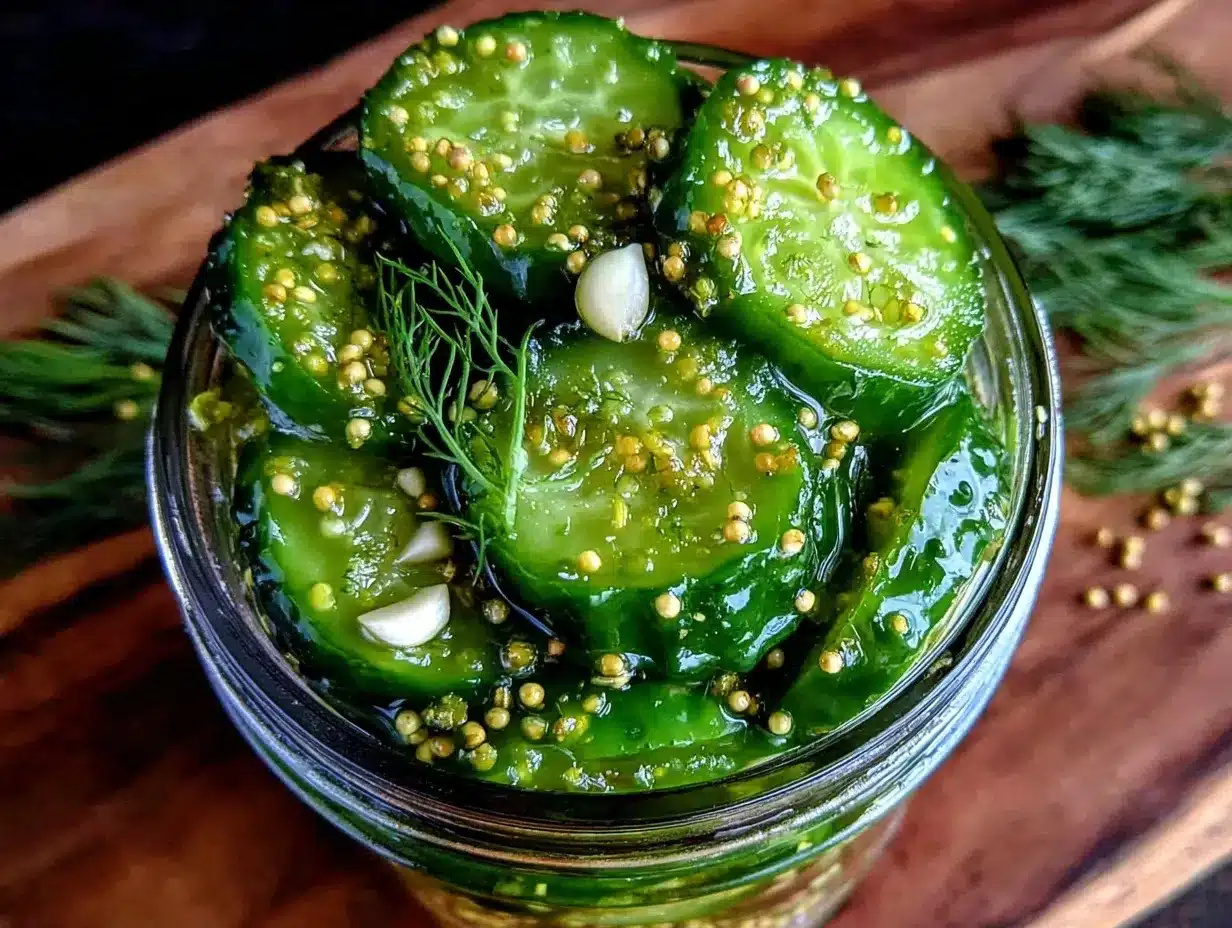
- Pack the jar: Place the smashed garlic cloves, fresh dill sprigs, black peppercorns, mustard seeds, and red pepper flakes (if using) into the bottom of your jar. Then tightly pack the cucumber slices on top, leaving about ½ inch (1.25 cm) headspace at the top. The key here is to jam them in snugly but without crushing. (5 minutes)
- Pour the brine over cucumbers: Carefully pour the warm (not hot) brine into the jar until cucumbers are fully submerged. Use a clean utensil to press down gently if needed to release air bubbles and ensure everything is covered. (2 minutes)
- Seal and refrigerate: Screw the lid on tightly and place the jar in the fridge. Let the pickles chill for at least 24 hours before tasting. They’ll develop more flavor over the next 2–3 days. (24+ hours)
- Enjoy your pickles: When ready, open the jar and enjoy the crunch! Use tongs or a fork to grab pickles to avoid introducing bacteria. (Immediate)
Note: If you want to speed up the process, you can slice thinner and let them soak for 12 hours, but the texture might be less crunchy. Also, always use clean utensils to keep your pickles fresh longer.
When I first tried this method, I thought the pickles might get soggy, but that first crisp bite lasted for days. The dill and garlic flavor really deepens overnight, and the simple brine hits just the right note—tart but not overpowering.
Cooking Tips & Techniques
Quick refrigerator pickles can be tricky if you don’t watch out for a few common pitfalls, but once you get the hang of it, they’re foolproof.
- Pick the right cucumber: Use fresh, firm pickling cucumbers rather than slicing cucumbers, which tend to be watery and soft. If you can find Kirby cucumbers, that’s the classic choice for crispness.
- Don’t skip the salt: Kosher salt is your friend here. It helps draw out moisture and keeps the cucumbers crunchy. Avoid iodized salt as it can cloud the brine and alter flavor.
- Warm brine helps: Dissolving salt and sugar in warm vinegar and water helps the flavors marry better, though the brine should cool before pouring over cucumbers to avoid softening them.
- Pack tightly but gently: Overcrowding can crush cucumbers, but leaving too much space lets them float and turn mushy. Finding that balance is key.
- Use clean tools: Always use clean utensils to remove pickles from the jar to avoid contamination and keep your batch fresh.
- Patience pays off: While they’re technically ready after 24 hours, letting pickles sit 2–3 days amps up flavor and texture.
Years ago, I made the mistake of pouring hot brine right over cold cucumbers—big soggy disaster. Since then, I always let the brine cool before pouring and make sure to use fresh ingredients. It’s a small step that makes a huge difference.
Variations & Adaptations
This basic refrigerator dill pickle recipe is a fantastic base for trying out different flavors and dietary tweaks.
- Spicy Dill Pickles: Add extra red pepper flakes or a sliced fresh jalapeño to the jar for a fiery kick. I love this variation for game day snacks.
- Garlic Lover’s Pickles: Double the garlic cloves and add a pinch of smoked paprika for a savory, smoky twist that’s irresistible on sandwiches.
- Low-Sodium Version: Reduce the salt by half and increase the vinegar slightly. The pickles will be less salty but still tangy and crunchy.
- Herb Mix-In: Swap some dill for fresh tarragon, basil, or even rosemary to shift the flavor profile seasonally.
- Vegan-Friendly Sweetener: Substitute granulated sugar with maple syrup or agave nectar for a plant-based sweet touch.
Once, I experimented by adding a few slices of fresh ginger to the brine, and that gave the pickles a refreshing zing that paired beautifully with Asian-style sandwiches. You can also try fermenting these for a few days at room temperature if you want a probiotic-rich version, but that’s a whole different ballgame.
Serving & Storage Suggestions
These refrigerator dill pickles are best served cold from the fridge, ideally straight from the jar for maximum crunch. They make a perfect crunchy side to burgers, sandwiches, or even snack platters.
If you’re planning a casual party, pair them with a creamy dip or alongside some crispy candied pecans for a sweet-salty combo that guests rave about.
Store pickles in the refrigerator in the sealed jar for up to 3 weeks. The flavor continues to develop, but after a few weeks, cucumbers may start to soften. Avoid freezing as it ruins the texture.
Reheat is not recommended; these are best cold or room temperature. Over time, the garlic and dill notes mellow, making the pickles great for topping salads or chopping into potato salad for an extra punch.
Nutritional Information & Benefits
These easy crispy quick refrigerator dill pickles are low in calories and fat, making them a guilt-free snack. A 1-ounce (28 g) serving typically contains:
| Calories | 5-10 |
|---|---|
| Sodium | 300-400 mg (varies by salt used) |
| Carbohydrates | 1-2 g |
| Fat | 0 g |
| Protein | 0 g |
Pickles provide probiotics if fermented but even quick pickles offer antioxidant compounds from fresh dill and garlic, which have anti-inflammatory properties. This recipe is naturally gluten-free, vegan, and paleo-friendly if you use a suitable sweetener.
I personally appreciate having these pickles on hand because they add flavor without calories or artificial ingredients, making them a fresh, crunchy way to perk up meals without wrecking my nutrition goals.
Conclusion
There’s something so quietly satisfying about making your own Easy Crispy Quick Refrigerator Dill Pickles—a snack that’s fresh, crunchy, and bursting with flavor, made with just a handful of ingredients and minimal effort. Whether you’re feeding unexpected guests or just craving something tangy on a lazy afternoon, this recipe delivers every time.
Feel free to tweak the spice levels, herbs, and garlic amounts to suit your taste buds. I love how this recipe invites a bit of creativity without demanding much time or skill. It’s a small kitchen victory that always feels rewarding.
And hey, if you’re into quick homemade treats that pack a punch, you might find inspiration in the cranberry orange bread or the snowball cookies I’ve shared before—both crowd favorites for good reason.
So go ahead, grab some cucumbers, and give this simple pickle recipe a try. You might just find yourself keeping a jar in the fridge at all times, like I do.
Frequently Asked Questions
- How long do refrigerator dill pickles last? They keep well in the fridge for up to 3 weeks. After that, they may soften but are still safe to eat.
- Can I use regular cucumbers instead of pickling cucumbers? You can, but regular slicing cucumbers tend to be less crisp and more watery, so the pickles might be softer.
- Do I need to boil the brine? Warming the brine helps dissolve salt and sugar but it shouldn’t be boiling hot when poured over cucumbers to avoid sogginess.
- Can I make these pickles spicy? Absolutely! Add red pepper flakes, sliced jalapeños, or even a dash of hot sauce to the jar for heat.
- Why are my pickles not crispy? Common reasons include using cucumbers that are too old or large, not using enough salt, or pouring hot brine over cold cucumbers.
Pin This Recipe!
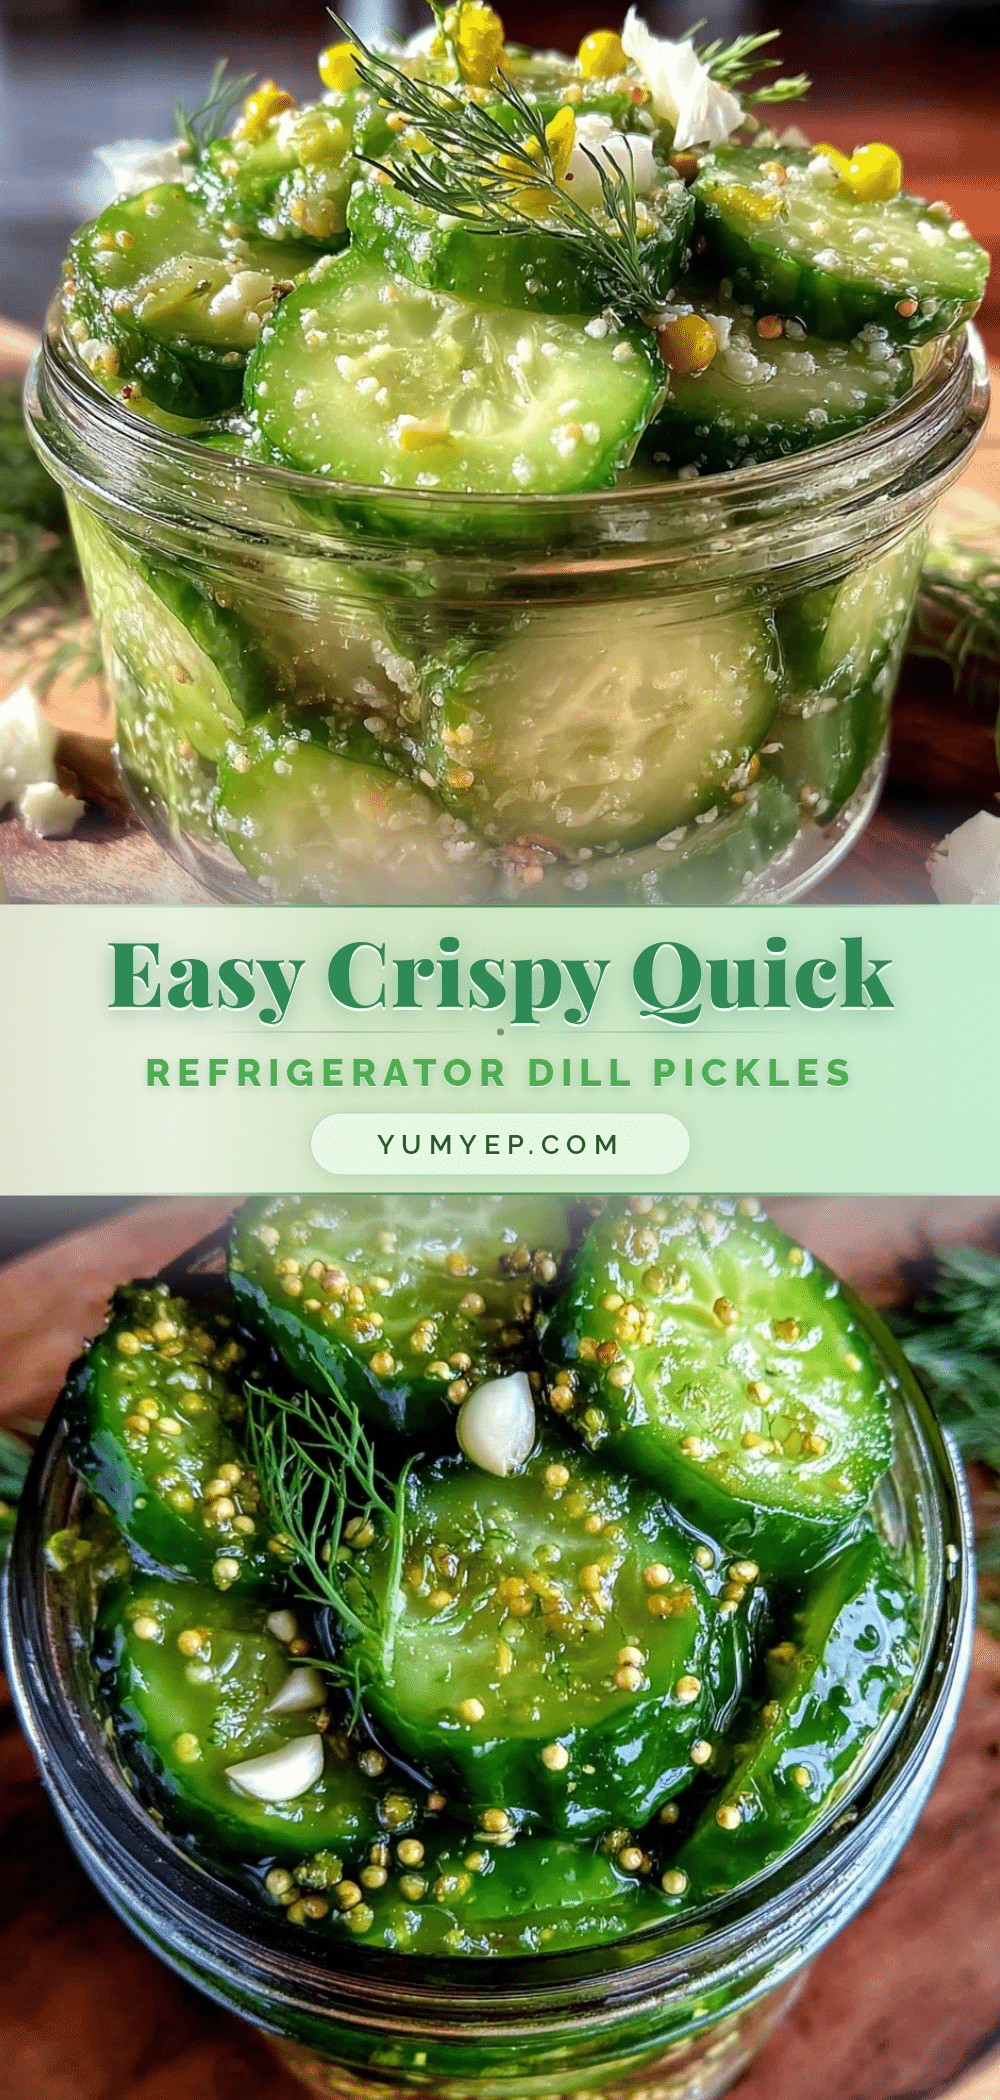
Easy Crispy Quick Refrigerator Dill Pickles

A quick and easy refrigerator pickle recipe that yields crisp, tangy, and garlicky dill pickles without the need for boiling or long wait times.
- Prep Time: 15 minutes
- Cook Time: 7 minutes
- Total Time: 24 hours 22 minutes
- Yield: About 1 quart (4 servings) 1x
- Category: Snack
- Cuisine: American
Ingredients
- 2 pounds pickling cucumbers (about 900 grams), firm and fresh
- 4–6 fresh dill sprigs
- 3–4 garlic cloves, smashed
- 1 cup white vinegar (240 ml)
- 1 cup water (240 ml)
- 2 tablespoons kosher salt
- 1 tablespoon granulated sugar
- 1 teaspoon black peppercorns
- ¼ teaspoon red pepper flakes (optional)
- 1 teaspoon mustard seeds
Instructions
- Wash and slice the cucumbers: Rinse under cold water, slice off the ends, and cut into ¼-inch (6 mm) thick rounds or spears. (10 minutes)
- Prepare the brine: In a small saucepan, combine white vinegar, water, kosher salt, and sugar. Warm gently over low heat until salt and sugar dissolve. Remove from heat and let cool slightly. (5–7 minutes)
- Pack the jar: Place smashed garlic cloves, fresh dill sprigs, black peppercorns, mustard seeds, and red pepper flakes (if using) into the bottom of the jar. Tightly pack cucumber slices on top, leaving about ½ inch headspace. (5 minutes)
- Pour the brine over cucumbers: Pour the warm (not hot) brine into the jar until cucumbers are fully submerged. Press down gently to release air bubbles. (2 minutes)
- Seal and refrigerate: Screw the lid on tightly and refrigerate for at least 24 hours before tasting. Flavor develops more over 2–3 days. (24+ hours)
- Enjoy your pickles: Use tongs or a fork to serve to avoid contamination. (Immediate)
Notes
Use fresh, firm pickling cucumbers for best crunch. Warm the brine to dissolve salt and sugar but cool before pouring to avoid soggy pickles. Pack cucumbers tightly but gently. Use clean utensils to serve. For quicker pickles, slice thinner and soak for 12 hours but expect less crunch. Variations include adding jalapeños for spice or swapping sugar for maple syrup for vegan sweetness.
Nutrition
- Serving Size: 1 ounce (28 grams)
- Calories: 510
- Sugar: 1
- Sodium: 300400
- Carbohydrates: 12
Keywords: quick pickles, refrigerator pickles, dill pickles, easy pickles, crispy pickles, no canning pickles, snack, vegan pickles, gluten-free pickles