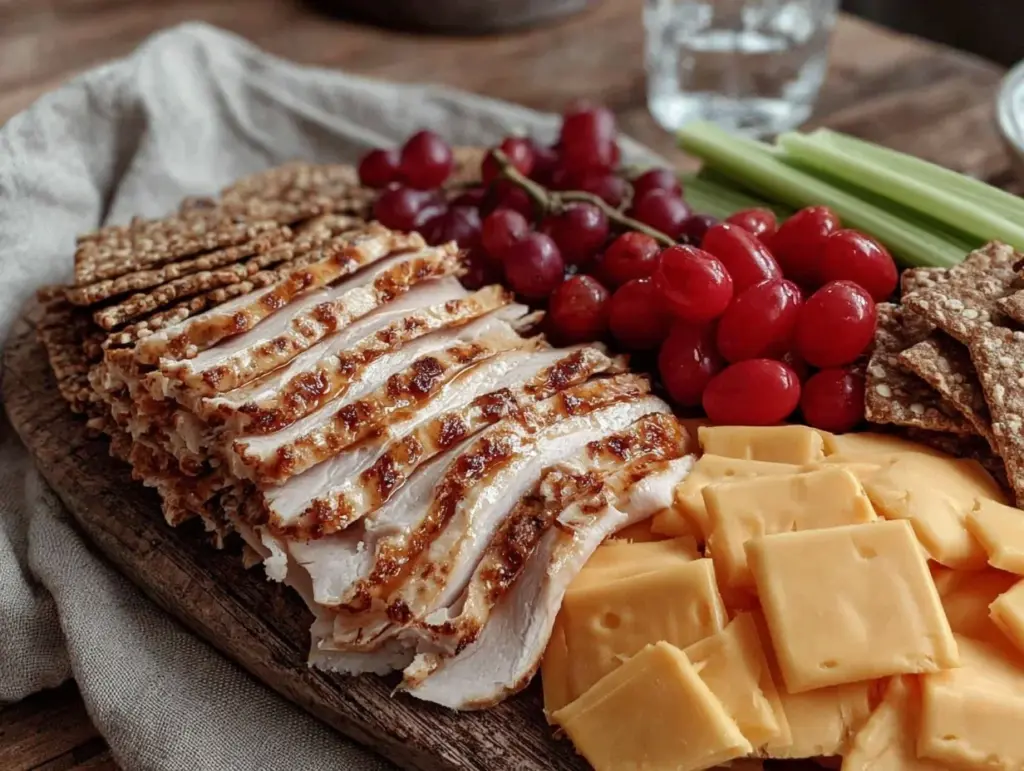
The plates were cleared faster than I could blink. Twice last week, actually. My kid’s friends were in the living room, mid-afternoon slump, and somehow these little DIY Turkey and Cheese Lunchables disappeared before anyone could say “snack time.” One of the moms even texted me the next day, “Can you please share the recipe for those lunchables? My kids keep asking!” Honestly, I didn’t expect this simple idea to get such a buzz, but here we are—empty trays and repeat requests.
It all started out as a quick fix on a busy afternoon when I wanted something more wholesome than store-bought lunch kits but just as convenient. I tossed together turkey slices, cheese, and some crackers, figuring it couldn’t be that special. Turns out, it’s exactly what the kids needed: familiar flavors, just homemade, with a bit of protein punch to keep the energy going. There’s this satisfying crunch from the crackers, the savory turkey, and the creamy cheese that somehow hits the perfect note every time.
What surprised me the most is how this easy protein-packed DIY turkey and cheese lunchables recipe became a quiet staple in our house—not flashy, just reliable. I think it sticks because it’s fuss-free yet feels thoughtful, and it’s something I can trust to fuel little bodies without the additives. Plus, it’s a small moment of joy in the middle of a hectic day, which honestly means a lot to me. If you’re looking for something straightforward but with a little love baked in, this might just be your new go-to.
Why You’ll Love This Recipe
After trying out various snack options for my kids, this easy protein-packed DIY turkey and cheese lunchables recipe stood out for plenty of reasons. It’s been tested on picky eaters and busy parents alike, and it keeps winning approval for the simple pleasures it brings.
- Quick & Easy: Ready in about 10 minutes, perfect for those afternoons when time’s tight but hunger’s big.
- Simple Ingredients: Nothing fancy or hard to find—just staple items you probably already have in your fridge and pantry.
- Perfect for Lunch or Snack: Whether packed for school, a playdate, or a quick lunch at home, this recipe fits the bill.
- Crowd-Pleaser: Kids love picking their favorite combos, and adults don’t mind stealing a bite.
- Unbelievably Delicious: The balance of salty turkey, creamy cheese, and crunchy crackers makes it surprisingly satisfying.
What makes this recipe different? Well, it’s not just slapping lunchables together. I’ve found that choosing the right turkey—lean, thinly sliced, and flavorful—really makes a difference. Using a mix of sharp and mild cheeses adds depth. And the crackers? That’s where a little experimentation goes a long way to finding a texture everyone enjoys. I love that it’s customizable, so you can swap in gluten-free crackers or add a little fruit on the side.
This recipe isn’t just a snack; it’s a little moment of calm in the chaos, and it’s stuck around because it’s reliable and wholesome. It’s the kind of easy, protein-packed DIY turkey and cheese lunchables that feels like a small gesture of care on the busiest days.
What Ingredients You Will Need
This recipe uses simple, wholesome ingredients to deliver bold flavor and satisfying texture without the fuss. Most of these are pantry and fridge staples, so no extra trips to the store required.
- Turkey slices – about 6 ounces (170 grams), thinly sliced and preferably low sodium for better flavor and less saltiness. I usually go for a natural deli turkey from the meat counter rather than pre-packaged.
- Cheese slices – 4 to 6 slices (about 4 ounces or 115 grams). A mix of cheddar and mozzarella works well, but you can pick your favorites. Sharp cheddar adds a nice tang, while mozzarella keeps it mild and melty.
- Crackers – approximately 30 to 40 crackers (about 4 ounces or 115 grams). Choose whole grain or multigrain for extra fiber, or gluten-free if needed. My go-to brand is simple and crunchy, no added preservatives.
- Optional add-ons:
- Baby carrots or cucumber slices – fresh and crunchy for some veggie balance
- Apple slices or grapes – sweet bite to complement the savory ingredients
- Hummus or ranch dip – small container for dipping crackers or veggies
- Mustard or mayo packets – if your kids like a little zing, these can be included separately to avoid sogginess.
For substitutions, you can try turkey breast deli meat for a leaner option or swap in Swiss cheese if you prefer a nuttier flavor. If you’re aiming for a dairy-free version, dairy-free cheese slices are surprisingly good these days, and gluten-free crackers keep it safe for sensitive tummies.
Equipment Needed
- Lunch container or bento box: Something with compartments works best to keep everything tidy and separate. I like using a sturdy plastic or glass box with a secure lid for easy transport.
- Sharp knife: For slicing cheese or cutting veggies into bite-sized pieces. A serrated knife can help with softer cheeses if you don’t want to buy pre-sliced.
- Cutting board: For prepping all ingredients safely and efficiently.
- Measuring scale or cups: Helpful for portion control, especially if you’re prepping multiple lunchables at once.
- Small containers or silicone cups: To hold dips or condiments separately, preventing sogginess in the crackers or turkey.
If you don’t have a bento box, small reusable snack bags or sandwich bags work fine for packing. For easy cleanup, I recommend silicone mats or parchment paper on your prep surface. Honestly, keeping things organized while prepping saves time and stress.
Preparation Method
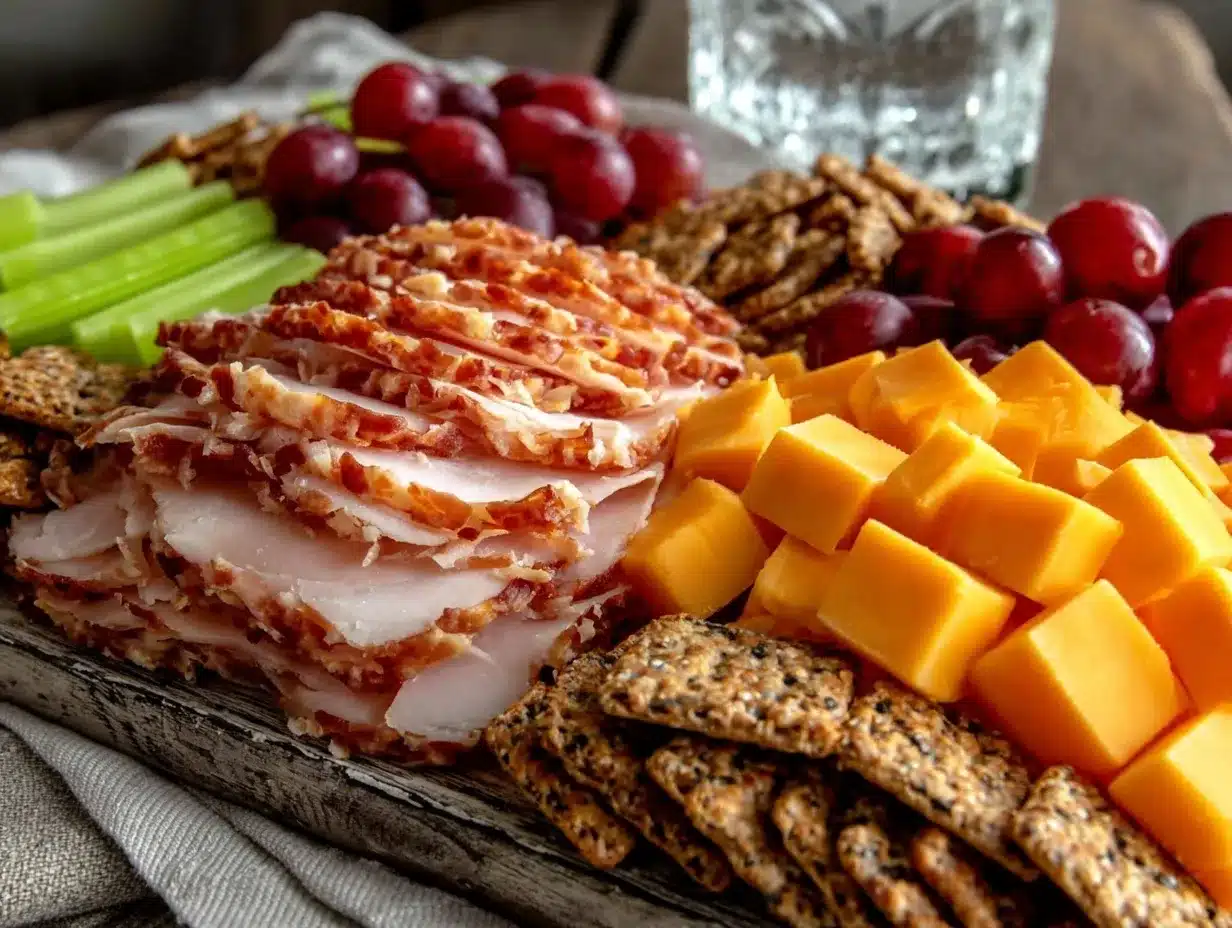
- Gather all ingredients. Lay out the turkey slices, cheese, crackers, and any optional add-ons on your prep surface. This helps you see everything and plan your portions. (5 minutes)
- Slice cheese and veggies. Using a sharp knife, cut cheese into thin strips or small squares. If using veggies like cucumber or carrots, slice them into bite-sized pieces that kids can easily handle. (5 minutes)
- Arrange turkey slices. Fold or roll turkey slices gently to fit neatly into your lunch container compartment. This keeps them fresh and easy to grab. (3 minutes)
- Layer the cheese. Place cheese slices or shapes next to the turkey, making sure they’re separated to avoid sticking together. (2 minutes)
- Add crackers. Fill a compartment with crackers, keeping them in a single layer if possible to prevent breakage. (2 minutes)
- Include optional items. Add veggies, fruit slices, or a small dip container to round out the lunchable. (3 minutes)
- Seal and store. Close the lunch container tightly and place in the fridge if not serving immediately. These keep fresh for up to 24 hours but are best enjoyed the same day. (1 minute)
Tip: If you notice the crackers getting soggy, pack the dip separately and add it right before eating. Also, folding turkey instead of stacking helps keep each piece from drying out.
Cooking Tips & Techniques
Since this recipe doesn’t involve cooking per se, the focus is on preparation and assembly techniques to keep everything fresh and appealing.
- Choose quality deli turkey: The flavor and texture of your turkey slices are key. I’ve learned that freshly sliced turkey from the deli counter tastes better and has less preservatives than pre-packaged options.
- Keep cheese cool: Store your cheese slices in the fridge until assembly to prevent melting or sweating, which can make crackers soggy.
- Cracker selection matters: Thicker, sturdier crackers hold up better, especially if you’re adding spreads or dips. I once tried thinner crackers and ended up with a sad, crumbly mess.
- Prep in advance: Making these lunchables the night before saves you time in the morning. Just keep everything tightly sealed, and add delicate items like fruit closer to serving time.
- Mix textures: Combining crunchy, creamy, and chewy elements keeps kids interested. For example, pairing crunchy crackers with smooth cheese and tender turkey is a winning combo.
One mistake I made early on was packing everything too tightly, which crushed some crackers. Leaving a bit of space and layering thoughtfully keeps the presentation neat and intact. Also, wrapping or folding turkey slices loosely helps them stay moist and tender without drying out.
Variations & Adaptations
This easy protein-packed DIY turkey and cheese lunchables recipe is totally flexible. Here are some ways I’ve tweaked it to suit different needs:
- Vegetarian Version: Swap turkey for plant-based deli slices or add hard-boiled egg slices for protein. You can also include hummus or cream cheese as a spread.
- Seasonal Add-ons: In warmer months, fresh tomato slices or bell pepper strips add a juicy crunch. In fall, apple slices or even roasted pumpkin seeds can bring a cozy twist.
- Flavor Boost: Try swapping sharp cheddar for pepper jack for a little spice, or add a drizzle of honey mustard for tang. A sprinkle of dried herbs on cheese also adds subtle flavor.
- Gluten-Free: Use certified gluten-free crackers and ensure your deli meat and cheese are gluten-free (most are, but always check labels).
- Personal Favorite: I once added some crispy candied pecans alongside the crackers for a sweet crunch that surprisingly paired well—the sweet and salty contrast was a hit! You might enjoy a similar snack like the crispy candied pecans recipe I shared recently.
Serving & Storage Suggestions
Serve these DIY turkey and cheese lunchables chilled or at room temperature—both work great. If packing for school or outings, keeping them cold in an insulated lunch bag with an ice pack helps maintain freshness.
Presentation-wise, arranging the items neatly in compartments or small containers makes them inviting and easy for kids to eat. Adding a small fruit portion or a veggie stick on the side balances the meal nicely.
Store leftovers in an airtight container in the fridge for up to 24 hours. Crackers are the first to lose their crunch, so store them separately if possible. When reheating, this recipe doesn’t really require heat, but if you want to warm up the turkey or cheese slightly, a few seconds in the microwave wrapped in a damp paper towel works well.
Over time, the flavors meld subtly, especially if dips are included. Just keep an eye on moisture levels to prevent sogginess. These lunchables pair well with a refreshing drink or a homemade snack, like the snowball cookies I love for a sweet finish after savory bites.
Nutritional Information & Benefits
Each serving of this easy protein-packed DIY turkey and cheese lunchables contains approximately:
| Nutrient | Amount |
|---|---|
| Calories | 300-350 kcal |
| Protein | 25-30 grams |
| Fat | 12-15 grams |
| Carbohydrates | 20-25 grams |
| Fiber | 2-4 grams (depending on crackers and veggies) |
Turkey is a lean protein source that supports muscle growth and keeps kids feeling full longer. Cheese adds calcium and vitamin D, essential for bone health. Whole grain crackers contribute fiber and sustained energy. This combo makes for a balanced, satisfying snack or light meal.
For those monitoring allergens, this recipe contains dairy and gluten unless substitutions are made. It’s easy to adapt for gluten-free or dairy-free diets with appropriate swaps, making it a versatile option for many families.
Conclusion
Why fuss with complicated snacks when a simple, protein-packed DIY turkey and cheese lunchables recipe can hit the spot so well? It’s quick, familiar, and nourishing—exactly what busy families need. I love how it can be customized to suit tastes and dietary needs, and how it brings a little calm to chaotic afternoons.
Feel free to experiment with your favorite cheeses, crackers, or add-ons to make it your own. This recipe has quietly become a trusted standby in my kitchen, and I hope it becomes one in yours too.
When you try it out, I’d love to hear how you make it special for your crew. Sharing those little twists makes this community even better.
Frequently Asked Questions
Can I make these lunchables ahead of time?
Yes! They keep well in the fridge for up to 24 hours if packed airtight. Just keep crackers separate until ready to eat to prevent sogginess.
What’s the best way to keep crackers from getting soggy?
Pack crackers and moist items like turkey or dips in separate compartments or containers. Add dips right before eating.
Can I use other meats instead of turkey?
Definitely. Ham, chicken breast slices, or even roast beef work well. Just choose lean, sliced deli meats without added preservatives.
Are there good dairy-free cheese alternatives for this recipe?
Yes, there are many plant-based cheese slices available now that melt and taste great. Just check for one that holds up well in lunch kits.
What’s a good dip to include with these lunchables?
Hummus, ranch, or a simple mustard dip are favorites. Keep dips in small containers or silicone cups to avoid mess.
For more wholesome snack ideas, you might enjoy my crispy candied pecans or the snowball cookies recipe, both perfect for sharing with little ones or as a treat after lunch.
Pin This Recipe!
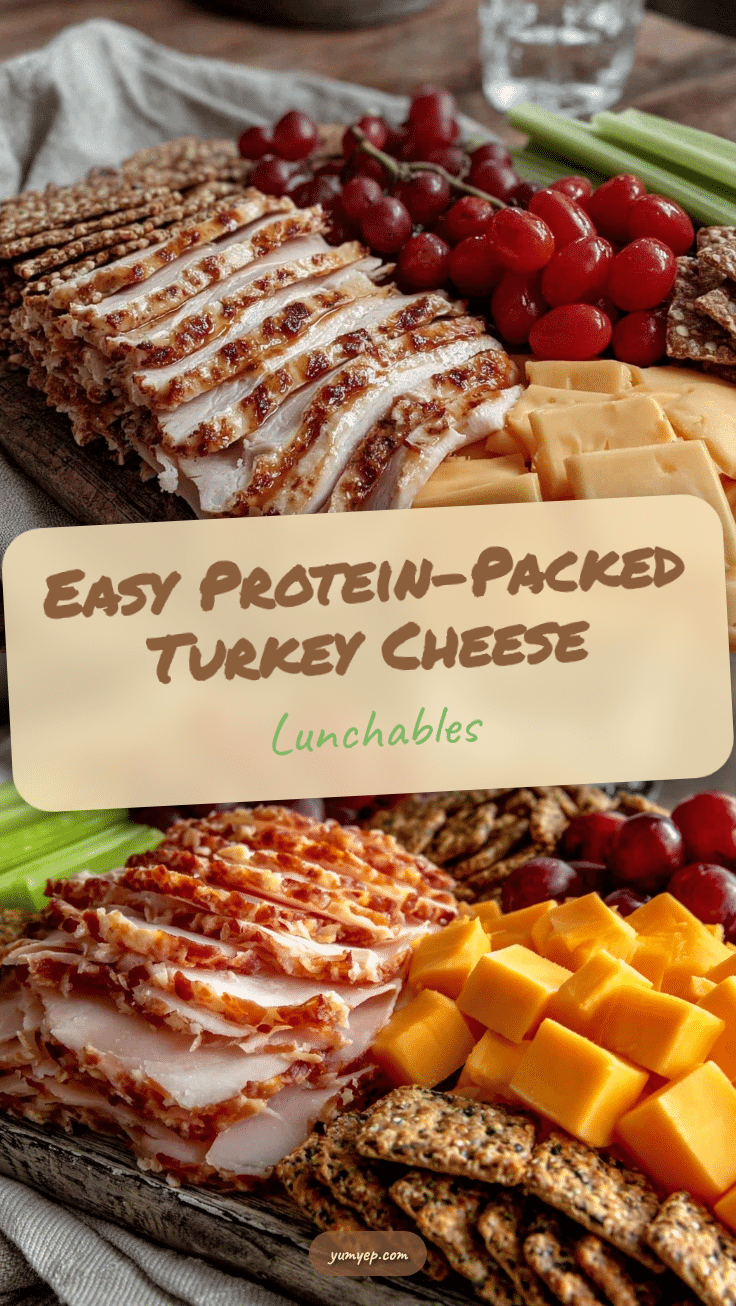
Easy Protein-Packed DIY Turkey and Cheese Lunchables Recipe for Kids

A quick and wholesome DIY turkey and cheese lunchables recipe perfect for kids’ snacks or lunches, featuring simple ingredients and customizable options.
- Prep Time: 10 minutes
- Cook Time: 0 minutes
- Total Time: 10 minutes
- Yield: 1 serving 1x
- Category: Snack
- Cuisine: American
Ingredients
- 6 ounces (170 grams) turkey slices, thinly sliced and preferably low sodium
- 4 to 6 cheese slices (about 4 ounces or 115 grams), mix of cheddar and mozzarella
- 30 to 40 crackers (about 4 ounces or 115 grams), whole grain, multigrain, or gluten-free
- Optional add-ons: baby carrots or cucumber slices
- Optional add-ons: apple slices or grapes
- Optional add-ons: hummus or ranch dip
- Mustard or mayo packets (optional)
Instructions
- Gather all ingredients and lay out turkey slices, cheese, crackers, and any optional add-ons on your prep surface. (5 minutes)
- Slice cheese into thin strips or small squares. Slice veggies like cucumber or carrots into bite-sized pieces. (5 minutes)
- Fold or roll turkey slices gently to fit neatly into your lunch container compartment. (3 minutes)
- Place cheese slices or shapes next to the turkey, keeping them separated. (2 minutes)
- Fill a compartment with crackers in a single layer to prevent breakage. (2 minutes)
- Add optional items such as veggies, fruit slices, or a small dip container. (3 minutes)
- Seal the lunch container tightly and store in the fridge if not serving immediately. Best enjoyed the same day. (1 minute)
Notes
Pack crackers separately from moist items to prevent sogginess. Fold turkey slices loosely to keep moist. Store cheese in fridge until assembly. Use thicker crackers for better texture. Prep the night before for convenience but add delicate items like fruit closer to serving time.
Nutrition
- Serving Size: One lunch container
- Calories: 300350
- Fat: 1215
- Carbohydrates: 2025
- Fiber: 24
- Protein: 2530
Keywords: turkey lunchables, DIY lunchables, kids snack, protein-packed snack, turkey and cheese, easy lunch recipe, homemade lunchables