Introduction
There was this one weekend — the kind where you realize halfway through that you forgot to plan dinner for a house full of friends. You know the feeling: the clock’s ticking, the kids are hungry, and your “quick fix” stash is embarrassingly bare. Honestly, I thought I’d have to resort to ordering something last-minute again, but then a neighbor swung by with a bag full of taco shells and a knowing grin. “Try this,” she said, “it’s a walking taco bar — super easy, no fuss, and everyone gets exactly what they want.”
I was skeptical at first. Walking tacos sounded like a party gimmick — but the moment I set it up, the whole room changed. People were chatting, moving around, grabbing their favorite toppings, and the flavors? Spot on. The best part? I barely lifted a finger after the initial setup. That night turned into one of those easy, relaxed gatherings you hope for but rarely get.
That simple taco bar setup stuck with me for weeks — I found myself making it over and over, tweaking the toppings, swapping proteins, and thinking about how this easy walking taco bar setup becomes the secret weapon for feeding a crowd with zero stress but maximum flavor. It’s not just about tacos; it’s about the vibe, the ease, and the smiles around the table.
Why You’ll Love This Recipe
- Quick & Easy: Comes together in under 30 minutes, perfect for busy weeknights or spontaneous gatherings.
- Simple Ingredients: No fancy trips to specialty stores — most items are pantry staples or easy finds at your local market.
- Perfect for Parties: From birthday bashes to casual family get-togethers, it’s a crowd-pleaser that lets everyone customize their own plate.
- Crowd-Pleaser: Kids love it, adults enjoy it, and picky eaters get what they want without fuss.
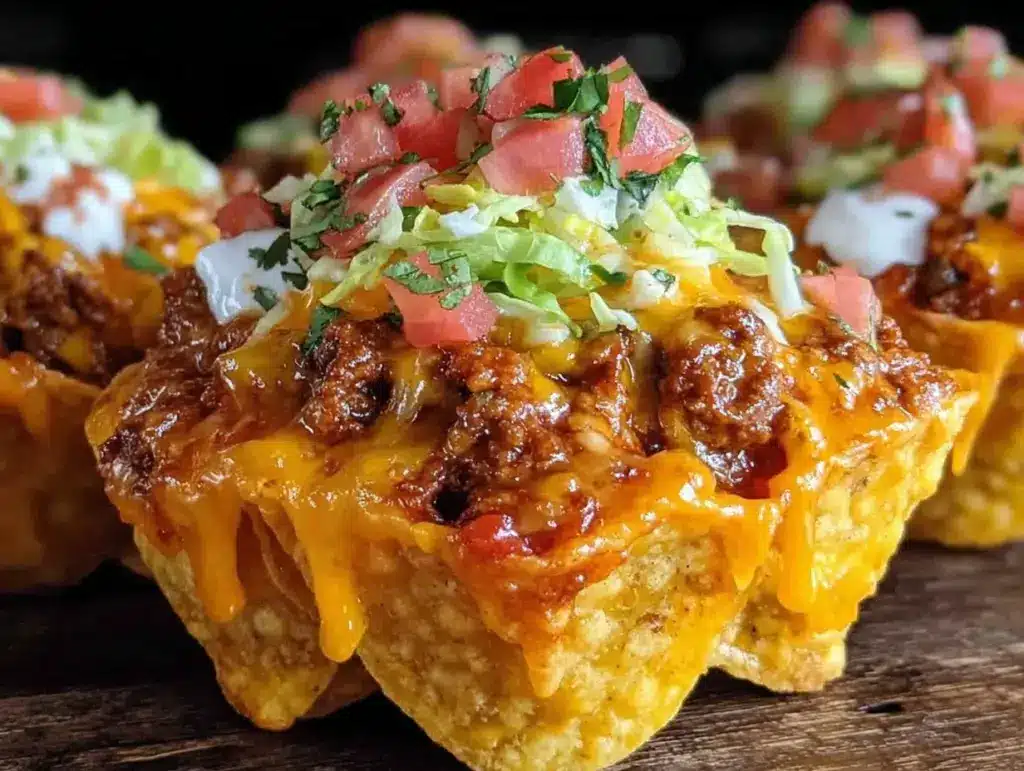
- Unbelievably Delicious: The combination of crunchy chips, seasoned meat, fresh toppings, and melty cheese makes every bite a flavor bomb.
This walking taco bar isn’t just another taco night. The magic lies in the setup — the way you lay out the toppings, offer a variety of proteins, and let everyone build their own. It’s flexible, fun, and honestly, kind of addictive once you get the hang of it. Whether you’re feeding a crowd or just want a no-hassle dinner that feels festive, this setup has your back.
What Ingredients You Will Need
This walking taco bar uses simple, wholesome ingredients to deliver bold flavor and satisfying texture without the fuss. The best part? Most of these are pantry staples, and you can swap ingredients to match what’s in season or what you have on hand.
- Tortilla Chips: Classic sturdy corn chips work best for holding toppings without falling apart.
- Ground Beef or Turkey: About 1 pound (450g) seasoned with taco seasoning. For vegetarians, black beans or seasoned lentils make a great substitute.
- Taco Seasoning Mix: Store-bought or homemade blend of chili powder, cumin, paprika, garlic powder, onion powder, salt, and pepper.
- Shredded Cheese: Cheddar, Monterey Jack, or a Mexican blend — about 2 cups (200g).
- Lettuce: Crisp iceberg or romaine, shredded finely for easy layering.
- Diced Tomatoes: Fresh and juicy, about 1 cup (150g).
- Chopped Onions: Mild yellow or red onions for a little bite.
- Jalapeños: Sliced thin for a touch of heat (optional).
- Sour Cream: For creaminess and balance (can swap with Greek yogurt).
- Guacamole or Sliced Avocados: Adds richness and a fresh twist.
- Fresh Cilantro: Chopped, for that bright herbaceous note.
- Salsa or Pico de Gallo: Choose mild or spicy according to your crowd’s taste.
- Lime Wedges: To squeeze over for a zesty finish.
For a dairy-free option, use vegan cheese and skip sour cream or swap with a dairy-free alternative. If corn chips aren’t your thing, sturdy mini taco boats or even small soft tortillas can work. I tend to pick a trusted brand like Tostitos for chips — they hold up well and don’t get soggy quickly.
Equipment Needed
- Large Skillet or Frying Pan: For cooking the seasoned ground meat or vegetarian protein.
- Serving Bowls or Containers: Variety for toppings — small bowls keep things neat and accessible.
- Spoons and Tongs: To scoop and serve toppings hygienically.
- Disposable Cups or Small Bowls: For guests to assemble their walking tacos easily.
- Cutting Board and Sharp Knife: For prepping fresh veggies and herbs.
- Optional: Slow Cooker or Instant Pot: Great if you want to keep meat warm all party long without fuss.
If you’re on a budget, inexpensive plastic serving bowls work just fine, and you can reuse the same skillet for multiple batches if needed. I’ve learned the hard way that having enough serving utensils means less cross-contamination and a smoother flow when guests start piling on their favorites.
Preparation Method
- Cook the Protein (15 minutes): Heat a large skillet over medium heat. Add 1 lb (450g) ground beef or turkey and cook, breaking up with a spoon until browned and cooked through, about 7-10 minutes. Drain excess fat if needed.
- Add Taco Seasoning: Sprinkle 2 tablespoons of taco seasoning mix over the meat. Pour in 1/4 cup (60ml) water, stir well, and let simmer for 5 minutes until the flavors meld and the liquid reduces slightly.
- Prep Toppings (10 minutes): While the meat simmers, wash and chop lettuce (about 2 cups or 100g shredded), dice tomatoes (1 cup or 150g), chop onions (1/2 cup or 75g), slice jalapeños thinly, and chop fresh cilantro (1/4 cup or 15g). Set aside in individual bowls.
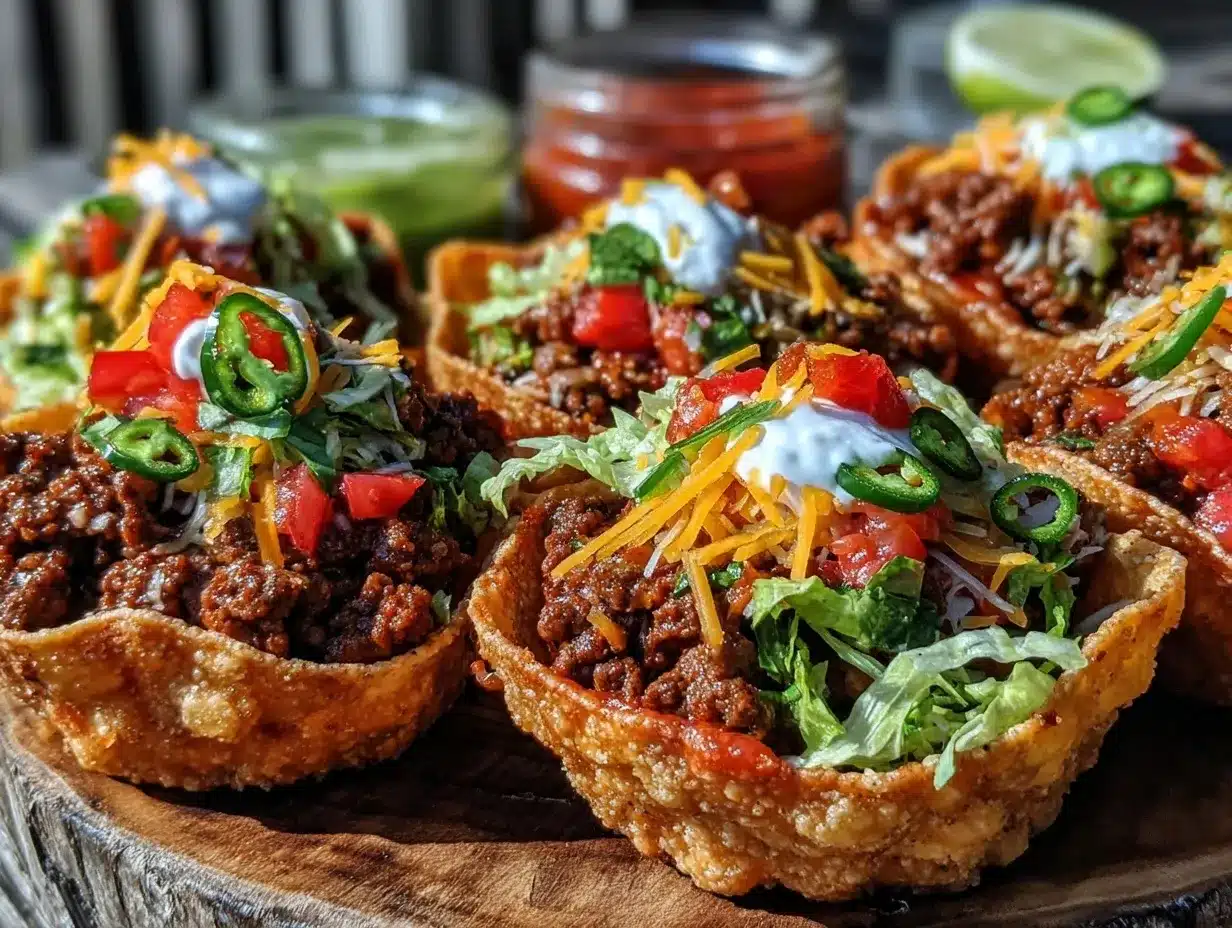
- Arrange the Taco Bar: Lay out sturdy tortilla chips in disposable cups or small bowls. Place the seasoned meat in a large serving dish with a spoon for easy scooping.
- Add Cheese and Extras: Place shredded cheese, sour cream, guacamole, salsa, and lime wedges in separate bowls with serving spoons. Arrange all toppings so guests can grab and build their walking tacos.
- Final Touches: Offer napkins, plenty of spoons, and maybe some hot sauce for those who want an extra kick. Encourage everyone to customize and enjoy.
Pro tip: If you want to save time, chop toppings the day before and store them covered in the fridge. Also, warming chips briefly in a low oven (about 250°F / 120°C) for 5 minutes can help keep them crisp if you expect a longer serving time.
Cooking Tips & Techniques
One thing I learned early on is that the quality of your taco seasoning makes a huge difference. I prefer mixing my own blend with chili powder, cumin, smoked paprika, garlic powder, onion powder, and a pinch of oregano — it’s fresher, less salty, and totally customizable. Store-bought mixes work fine, but taste first and adjust salt levels.
When cooking the meat, don’t rush the browning. Let it sit a bit before stirring to get those little caramelized bits that amp up flavor. Also, draining excess fat prevents soggy chips when you scoop.
Multitasking is key here. While the meat simmers, chop and prep toppings. This keeps the flow smooth and dinner ready in no time. Another tip: keep the chips and wet toppings separate until serving to avoid sogginess.
For consistency, I recommend using disposable cups or small bowls for each walking taco — it keeps things tidy and makes moving around easier for guests. Plus, cleanup is a breeze!
Variations & Adaptations
- Vegetarian/Vegan: Swap ground meat with seasoned black beans, lentils, or a plant-based crumbled meat substitute. Use vegan cheese and sour cream alternatives.
- Seasonal Twist: In summer, add fresh corn kernels, diced mango, or watermelon salsa for a fresh, sweet contrast.
- Different Proteins: Try shredded chicken, carnitas, or even grilled shrimp as a fun change from the usual ground beef.
- Cooking Methods: Use a slow cooker to keep your taco meat warm throughout a party, or prep the meat ahead and reheat gently in a pan.
- Flavor Customization: Add smoky chipotle peppers in adobo for heat, or mix in some queso fresco for a different cheese profile.
Once, I tried a breakfast version with scrambled eggs and breakfast sausage topped with cheese and salsa — it was surprisingly popular for a weekend brunch gathering!
Serving & Storage Suggestions
Serve the walking taco bar warm and fresh, ideally within an hour of setup to keep chips crisp and toppings vibrant. Presentation-wise, colorful bowls and bright toppings make the spread inviting. Pair with cold drinks like margaritas, soda, or iced tea for a laid-back vibe.
Leftovers can be stored in airtight containers in the fridge for up to 3 days. Keep chips separate and fresh toppings chilled. Reheat taco meat gently in a skillet or microwave until warm, then assemble tacos fresh to avoid sogginess.
Flavors often deepen after a day, especially the meat and salsa, so leftovers can be even tastier. Just be sure to keep crunchy elements separate until serving again.
Nutritional Information & Benefits
This walking taco bar offers a balanced mix of protein, fiber, and fresh veggies. A typical serving contains approximately 350-400 calories, depending on toppings, with around 20g protein from the ground meat and cheese.
The fresh vegetables add vitamins A and C, fiber, and antioxidants. Using lean ground turkey or plant-based proteins can reduce fat content while keeping it filling.
Gluten-free? Just double-check your tortilla chips and seasonings to avoid hidden gluten. Dairy-free options are easy with vegan cheese and sour cream swaps.
Personally, I love this recipe because it feels indulgent without being heavy — it fits into a balanced lifestyle while still satisfying those craving a little comfort food.
Conclusion
This easy walking taco bar setup is more than just a recipe — it’s a way to bring people together without the usual kitchen chaos. The simple steps, flexible ingredients, and hands-off serving method mean you get to enjoy the party as much as your guests.
Feel free to make it your own with different toppings or proteins. It’s forgiving, fun, and perfect for creating memories around good food. Honestly, it’s become my go-to when I want a fuss-free meal that still feels special.
Give it a try, tweak it here and there, and I’d love to hear how your taco bar turned out — share your stories and favorite combos!
FAQs
What makes a walking taco different from regular tacos?
A walking taco is served directly in a single-serving bag or cup of chips, topped with all the fillings, making it portable and easy to eat on the go.
Can I prepare the taco bar in advance?
Yes! You can cook and season the meat and chop toppings a day ahead. Store everything separately and assemble just before serving to keep chips fresh.
What’s the best way to keep tortilla chips from getting soggy?
Serve chips separately or in individual cups and add wet toppings like salsa and sour cream just before eating.
Are there good vegetarian options for a walking taco bar?
Absolutely! Seasoned black beans, lentils, or plant-based meat substitutes work wonderfully and keep the protein content high.
How can I make this recipe gluten-free?
Use certified gluten-free tortilla chips and check your taco seasoning to avoid gluten-containing additives.
Pin This Recipe!
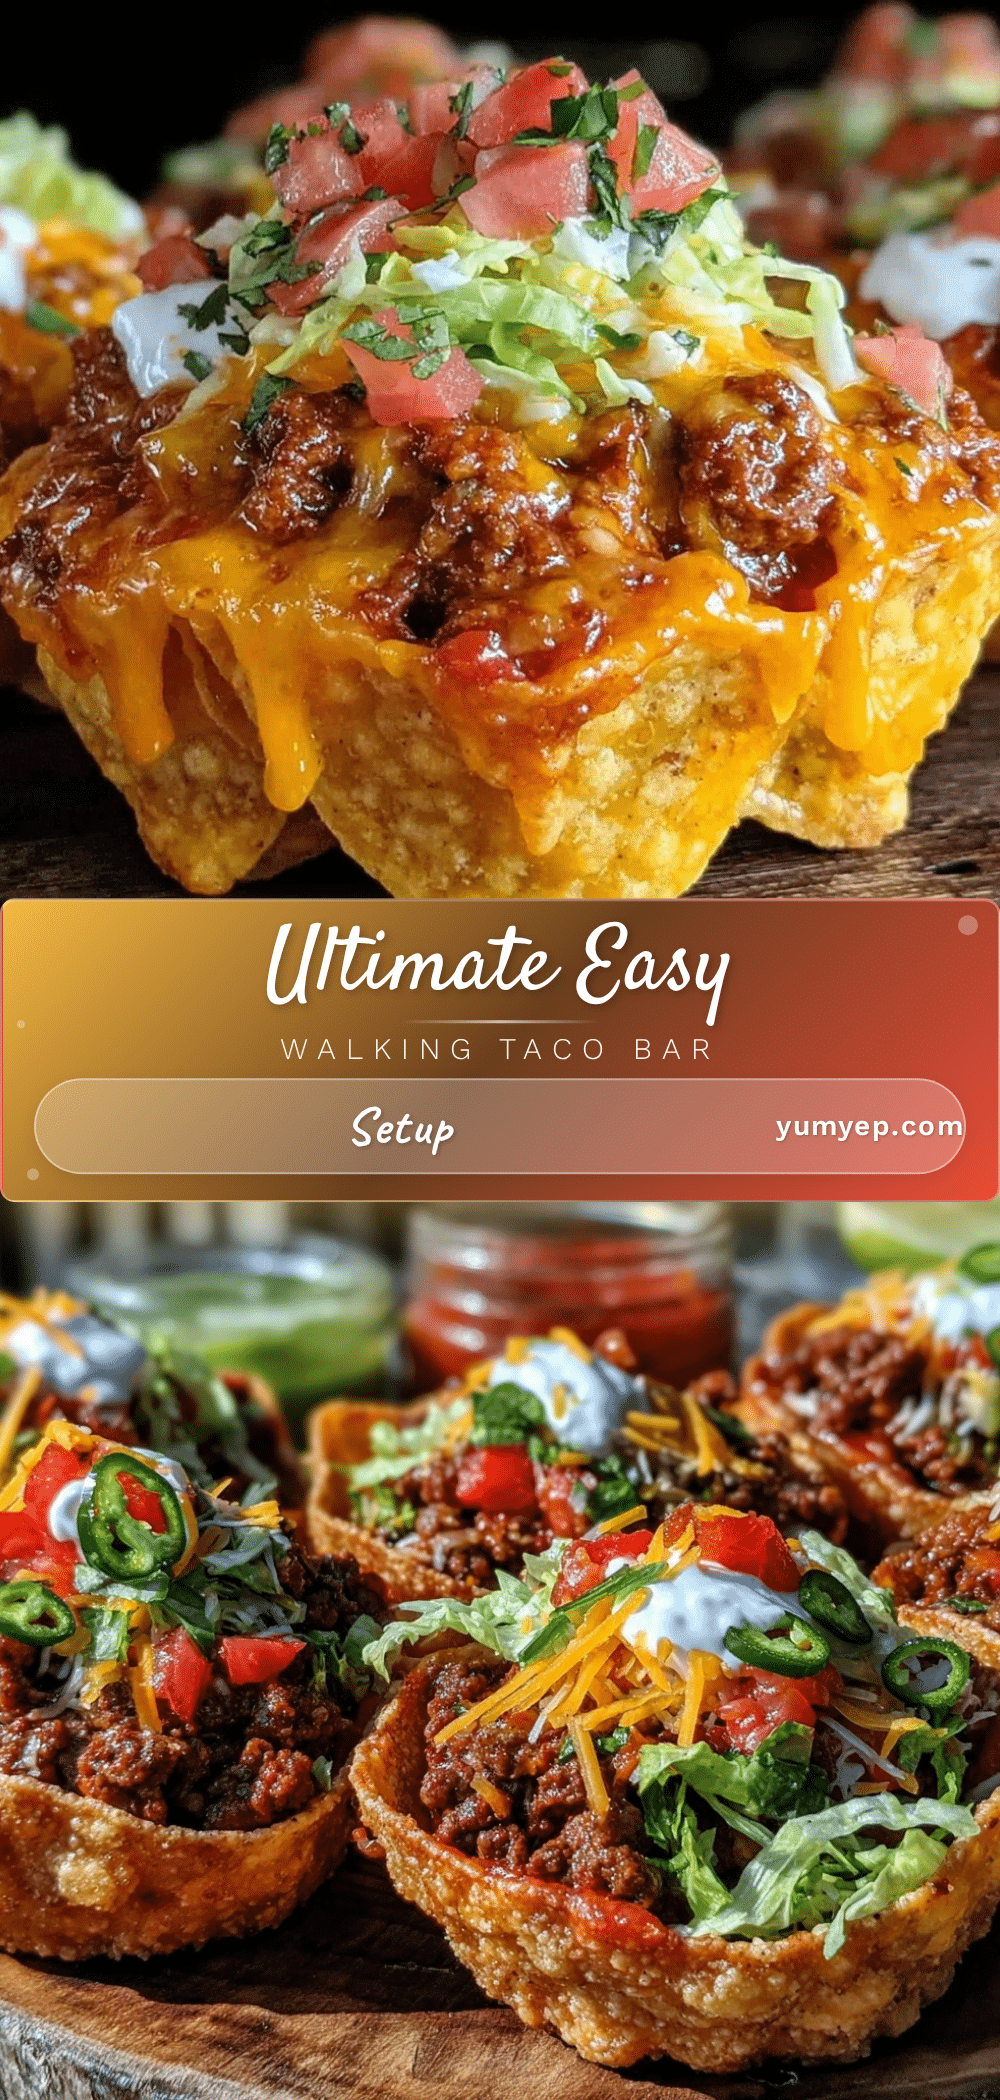
Easy Walking Taco Bar Setup

A quick and easy walking taco bar setup perfect for feeding a crowd with customizable toppings and proteins. This recipe offers a fun, no-fuss way to enjoy tacos with friends and family.
- Prep Time: 10 minutes
- Cook Time: 15 minutes
- Total Time: 25 minutes
- Yield: 8 servings 1x
- Category: Main Course
- Cuisine: Mexican
Ingredients
- Tortilla chips (sturdy corn chips)
- 1 lb ground beef or turkey, seasoned with taco seasoning
- Taco seasoning mix (chili powder, cumin, paprika, garlic powder, onion powder, salt, pepper)
- 2 cups shredded cheese (cheddar, Monterey Jack, or Mexican blend)
- 2 cups shredded lettuce (iceberg or romaine)
- 1 cup diced tomatoes
- 1/2 cup chopped onions (yellow or red)
- Sliced jalapeños (optional)
- Sour cream (or Greek yogurt as substitute)
- Guacamole or sliced avocados
- Fresh cilantro, chopped (1/4 cup)
- Salsa or pico de gallo
- Lime wedges
Instructions
- Heat a large skillet over medium heat. Add 1 lb ground beef or turkey and cook, breaking up with a spoon until browned and cooked through, about 7-10 minutes. Drain excess fat if needed.
- Sprinkle 2 tablespoons of taco seasoning mix over the meat. Pour in 1/4 cup water, stir well, and let simmer for 5 minutes until flavors meld and liquid reduces slightly.
- While the meat simmers, wash and chop lettuce (about 2 cups shredded), dice tomatoes (1 cup), chop onions (1/2 cup), slice jalapeños thinly, and chop fresh cilantro (1/4 cup). Set aside in individual bowls.
- Lay out sturdy tortilla chips in disposable cups or small bowls. Place the seasoned meat in a large serving dish with a spoon for easy scooping.
- Place shredded cheese, sour cream, guacamole, salsa, and lime wedges in separate bowls with serving spoons. Arrange all toppings so guests can grab and build their walking tacos.
- Offer napkins, plenty of spoons, and optional hot sauce. Encourage everyone to customize and enjoy.
Notes
Chop toppings a day ahead and store covered in the fridge to save time. Warm chips briefly in a low oven (250°F) for 5 minutes to keep crisp if serving over a longer period. Use disposable cups for easy serving and cleanup. Drain excess fat from meat to prevent soggy chips. Adjust taco seasoning salt levels to taste.
Nutrition
- Serving Size: 1 cup assembled walk
- Calories: 375
- Sugar: 4
- Sodium: 550
- Fat: 18
- Saturated Fat: 7
- Carbohydrates: 30
- Fiber: 4
- Protein: 20
Keywords: walking taco, taco bar, easy taco recipe, crowd-pleaser, quick dinner, party food, customizable tacos


