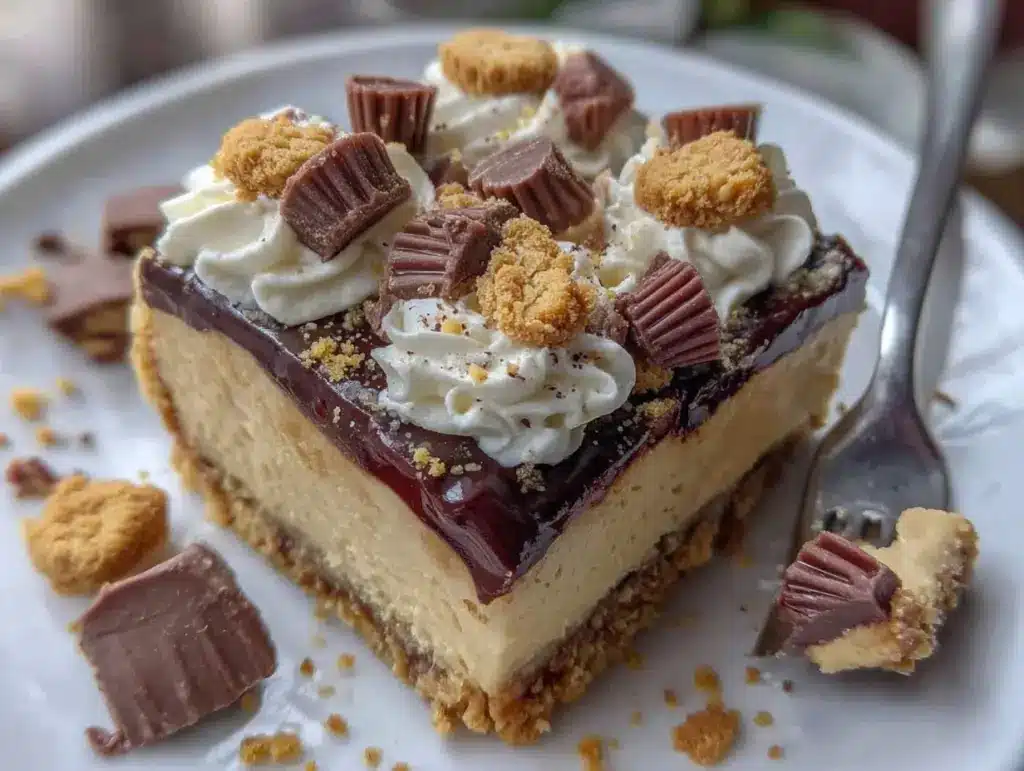
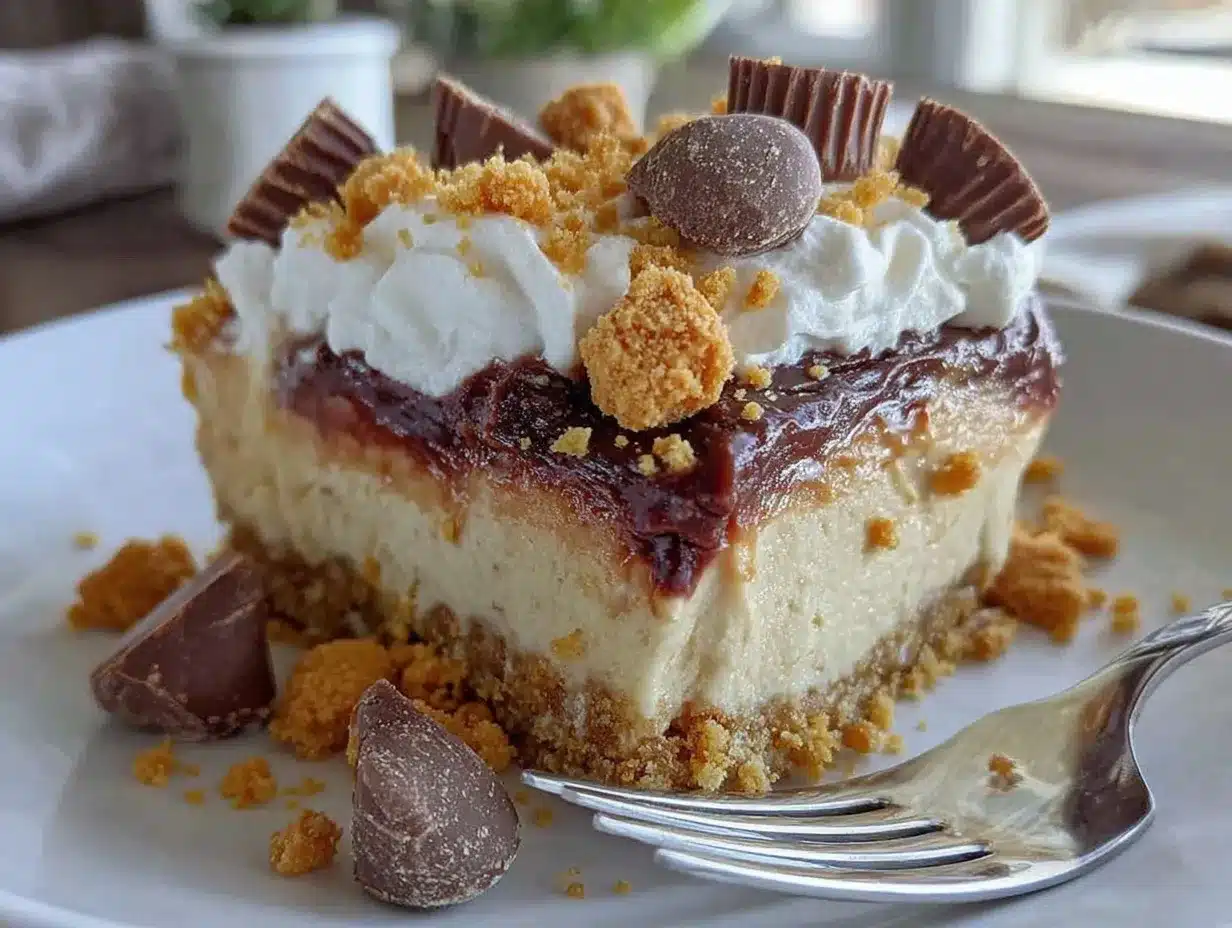
The rich, creamy swirl of chocolate and peanut butter, the crunchy texture of a buttery base, and the way they just melt in your mouth—these Chocolate Peanut Butter Dream Bars are pure bliss in every bite. Picture yourself savoring the perfect harmony of sweet and salty, the kind that makes you close your eyes and smile because it’s just that good. The first time I made these, I knew I had stumbled upon something special. They’re the kind of dessert you make for yourself to unwind, or for your family when you want to treat them to something unforgettable. Honestly, these bars are my go-to for potlucks, movie nights, or just when life needs a little sweetness.
When I first shared these with my family, they couldn’t resist sneaking bites before dinner. My kids were grinning ear to ear, and my partner gave me that “you’ve outdone yourself” look. The recipe has quickly become a staple for us, especially for special occasions. It’s simple, no-bake, and dangerously addictive. You’re going to want to make a batch every week (trust me, I’ve been there). Whether you’re a seasoned baker or just someone looking for an easy way to impress, these dream bars are about to become your new favorite treat.
Why You’ll Love This Recipe
- Quick & Easy: These bars come together in just 20 minutes with minimal effort—perfect for busy days or last-minute dessert needs.
- No Baking Required: Forget about preheating the oven—this recipe is entirely no-bake!
- Simple Ingredients: You likely already have everything you need in your pantry—no fancy shopping trips required.
- Perfect for Any Occasion: Whether it’s a birthday party, family gathering, or just a solo movie night, these bars are always a hit.
- A Crowd-Pleaser: The combination of chocolate and peanut butter is universally loved—it’s like a hug in dessert form.
- Unbelievably Delicious: The creamy peanut butter layer paired with the rich chocolate topping is what dreams are made of.
What makes these Chocolate Peanut Butter Dream Bars stand out is the perfect balance of flavors—neither too sweet nor too rich. The touch of salt in the peanut butter layer heightens every bite, making them irresistible. And the best part? You don’t need to be a professional baker to make them. They’re foolproof, family-approved, and just the right amount of indulgent. One bite and you’ll understand why they’re a staple in my kitchen (and why my family keeps asking for more).
What Ingredients You Will Need
This recipe uses simple, wholesome ingredients to deliver bold flavor and satisfying texture without the fuss. Here’s what you’ll need:
- For the base:
- 2 cups (240g) graham cracker crumbs
- 1 cup (225g) unsalted butter, melted
- 1/4 cup (50g) granulated sugar
- For the peanut butter layer:
- 1 cup (250g) creamy peanut butter
- 1 1/2 cups (180g) powdered sugar
- 1/4 cup (60ml) heavy cream (or milk for a lighter version)
- For the chocolate topping:
- 1 1/2 cups (255g) semi-sweet chocolate chips
- 2 tbsp (30g) unsalted butter
- Pinch of sea salt (optional, for garnish)
These ingredients are pantry staples, but feel free to swap where needed. Use almond butter if you prefer or opt for dark chocolate chips for a richer flavor. No heavy cream? No problem—milk works just fine. Don’t forget to sprinkle a pinch of sea salt on top for that extra flair!
Equipment Needed
- 9×13-inch baking pan (or similar size)
- Mixing bowls (two medium-sized)
- Spatula or wooden spoon
- Microwave-safe bowl (for melting chocolate)
- Parchment paper (for lining the pan)
- Offset spatula (optional, but helpful for spreading layers evenly)
If you don’t own a microwave-safe bowl, a double boiler works just as well for melting chocolate. And while an offset spatula isn’t essential, it’s fantastic for creating those smooth layers. A tip: line your pan with parchment paper, leaving some overhang for easy lifting and cutting later.
Preparation Method
- Line your 9×13-inch baking pan with parchment paper, leaving some overhang for easy removal.
- Prepare the base: In a medium bowl, mix the graham cracker crumbs, melted butter, and granulated sugar until well combined. Press the mixture firmly into the bottom of the prepared pan to create an even layer. Chill in the fridge while preparing the next layer.
- Make the peanut butter layer: In another mixing bowl, whisk together the peanut butter, powdered sugar, and heavy cream until smooth and creamy. Spread this mixture evenly over the chilled graham cracker base using a spatula or the back of a spoon.
- Prepare the chocolate topping: In a microwave-safe bowl, combine the chocolate chips and butter. Heat in 20-second intervals, stirring after each, until fully melted and smooth.
- Once melted, pour the chocolate topping over the peanut butter layer. Use an offset spatula or the back of a spoon to spread it evenly.
- Optional: Sprinkle a pinch of sea salt or crushed peanuts on top for added texture and flavor.
- Chill the bars in the refrigerator for at least 2 hours, or until fully set.
- Remove the bars from the pan using the parchment paper overhang. Cut into squares or rectangles and serve!
These bars are best enjoyed cold, as the layers hold together perfectly. If you find the chocolate cracking while cutting, try warming your knife slightly before slicing.
Cooking Tips & Techniques
- To get clean, sharp edges when cutting the bars, use a long, sharp knife and wipe it clean between cuts.
- For the smoothest peanut butter layer, make sure your peanut butter is at room temperature—it’ll mix much more easily!
- If your chocolate topping is too thick to spread, add an extra tablespoon of butter or a splash of milk while melting.
- Chill each layer for a few minutes before adding the next. This helps create distinct layers that won’t blend together.
- Don’t skip the parchment paper—it makes removing and cutting the bars so much easier.
One thing I’ve learned from making this recipe countless times is patience. Letting the bars chill completely before cutting ensures the layers stay intact. Trust me, the wait is worth it!
Variations & Adaptations
- Gluten-Free Version: Swap out the graham cracker crumbs for gluten-free cookie crumbs or almond flour.
- Nut-Free Option: Replace peanut butter with sunflower seed butter or cookie butter for a nut-free alternative.
- Dark Chocolate Twist: Use dark chocolate chips instead of semi-sweet for a richer, more intense flavor.
- Seasonal Additions: Add crushed peppermint candies to the chocolate layer during the holidays or a drizzle of caramel for a fall-themed treat.
I once experimented with a swirl of raspberry jam between the peanut butter and chocolate layers—it added a fruity burst of flavor that was surprisingly delightful!
Serving & Storage Suggestions
These Chocolate Peanut Butter Dream Bars are best served chilled, straight from the fridge. The layers hold together beautifully, and the cold chocolate provides a satisfying snap when you bite into it. Pair them with a tall glass of milk or a cup of coffee for a match made in dessert heaven.
To store, place the bars in an airtight container with parchment paper between layers to prevent sticking. They’ll keep well in the fridge for up to a week. You can also freeze them for longer storage—just make sure to thaw them in the refrigerator before serving. Pro tip: The flavors deepen after a day in the fridge, making them even more irresistible!
Nutritional Information & Benefits
Each serving (approximately one bar) contains:
- Calories: 320
- Fat: 22g
- Carbohydrates: 28g
- Protein: 5g
- Sugar: 20g
These bars pack the satisfying protein punch of peanut butter, along with the antioxidants found in semi-sweet or dark chocolate. While they’re definitely a treat, they can fit into a balanced diet when enjoyed in moderation. Be mindful if you have nut allergies or dietary restrictions, and feel free to substitute ingredients to suit your needs.
Conclusion
If you’re looking for a dessert that’s simple to make, visually stunning, and downright delicious, these Chocolate Peanut Butter Dream Bars are it. Whether you’re customizing it with your favorite flavors or sticking to the classic version, you’ll love how versatile and addictive this recipe is. It’s a dessert that truly brings people together—I’ve lost count of how many times I’ve been asked to share this recipe at family gatherings!
Give it a try and let me know how you make it your own. Did you add a sprinkle of sea salt or try a new flavor combo? Share your thoughts in the comments below—I’d love to hear from you! Happy baking, and remember, these bars are pure comfort food, so savor every bite.
FAQs
Can I use crunchy peanut butter instead of creamy?
Absolutely! Crunchy peanut butter adds a bit of texture to the peanut butter layer, which can be a fun twist.
Can I make these bars dairy-free?
Yes! Use dairy-free butter and replace the heavy cream with almond milk or coconut milk for a dairy-free version.
How long do these bars take to set?
They need at least 2 hours in the refrigerator to set properly, but overnight is even better for the flavors to meld.
Can I freeze these bars?
Yes, you can freeze them for up to 2 months. Just be sure to thaw them in the fridge before serving.
What’s the best way to cut these bars neatly?
Use a sharp knife and wipe it clean after each cut. You can also warm the knife slightly to prevent the chocolate layer from cracking.
Pin This Recipe!
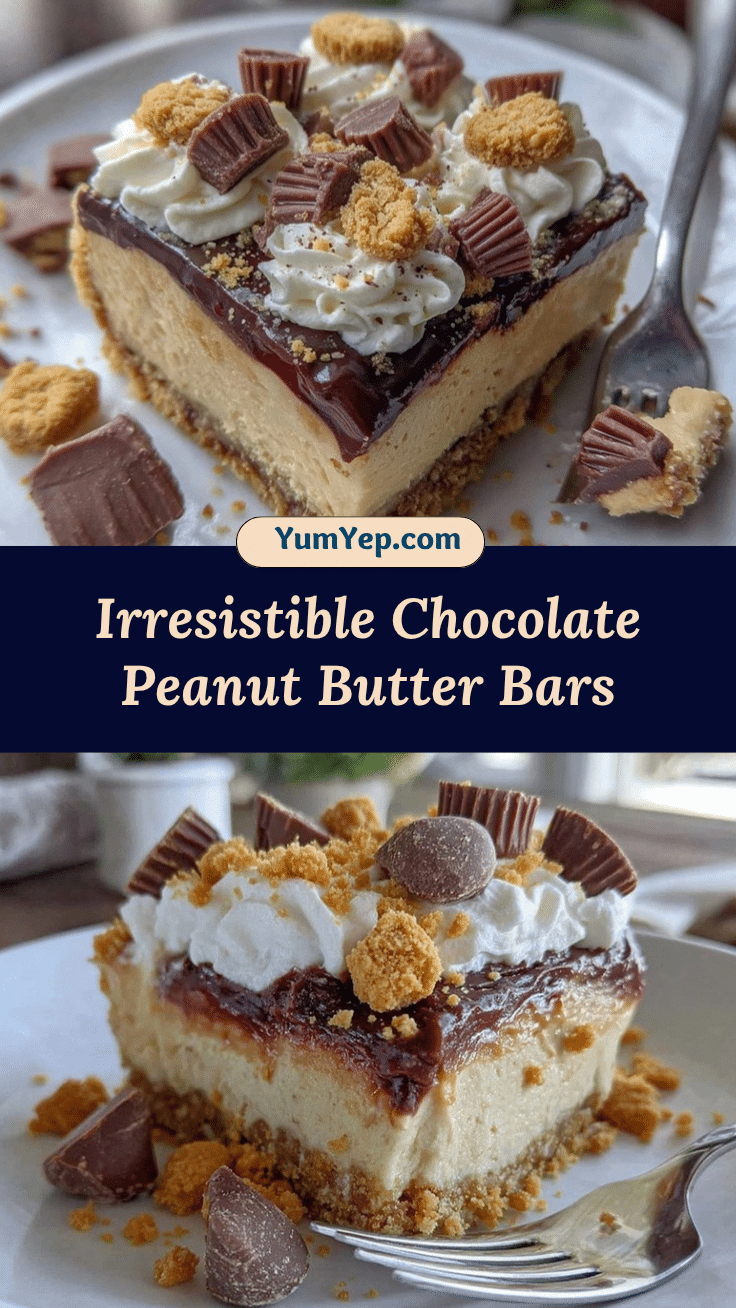
Irresistible Chocolate Peanut Butter Bars Recipe You’ll Love

Rich, creamy chocolate and peanut butter bars with a crunchy base that melt in your mouth. Perfect for any occasion and incredibly easy to make.
- Prep Time: 20 minutes
- Cook Time: 0 minutes
- Total Time: 2 hours 20 minutes
- Yield: 12 servings 1x
- Category: Dessert
- Cuisine: American
Ingredients
- 2 cups graham cracker crumbs
- 1 cup unsalted butter, melted
- 1/4 cup granulated sugar
- 1 cup creamy peanut butter
- 1 1/2 cups powdered sugar
- 1/4 cup heavy cream or milk
- 1 1/2 cups semi-sweet chocolate chips
- 2 tbsp unsalted butter
- Pinch of sea salt (optional, for garnish)
Instructions
- Line your 9×13-inch baking pan with parchment paper, leaving some overhang for easy removal.
- In a medium bowl, mix the graham cracker crumbs, melted butter, and granulated sugar until well combined. Press the mixture firmly into the bottom of the prepared pan to create an even layer. Chill in the fridge while preparing the next layer.
- In another mixing bowl, whisk together the peanut butter, powdered sugar, and heavy cream until smooth and creamy. Spread this mixture evenly over the chilled graham cracker base using a spatula or the back of a spoon.
- In a microwave-safe bowl, combine the chocolate chips and butter. Heat in 20-second intervals, stirring after each, until fully melted and smooth.
- Once melted, pour the chocolate topping over the peanut butter layer. Use an offset spatula or the back of a spoon to spread it evenly.
- Optional: Sprinkle a pinch of sea salt or crushed peanuts on top for added texture and flavor.
- Chill the bars in the refrigerator for at least 2 hours, or until fully set.
- Remove the bars from the pan using the parchment paper overhang. Cut into squares or rectangles and serve!
Notes
[‘Use parchment paper for easy removal and cutting.’, ‘Chill each layer before adding the next for distinct layers.’, ‘Warm your knife slightly to prevent the chocolate layer from cracking while cutting.’, ‘Feel free to customize with almond butter or dark chocolate chips.’]
Nutrition
- Serving Size: 1 bar
- Calories: 320
- Sugar: 20
- Fat: 22
- Carbohydrates: 28
- Protein: 5
Keywords: chocolate, peanut butter, dessert, no-bake, easy recipe, sweet treat, family favorite


