“You’ve got to see these firework sugar cookies!” my neighbor texted me out of the blue, right as I was juggling three grocery bags and a toddler who suddenly decided the driveway was the perfect spot for a meltdown. Honestly, I wasn’t in the mood to bake anything fancy, but curiosity got the better of me. So, that evening, I pulled out my trusted rolling pin and cookie cutters, thinking, “Let’s just give this a shot.”
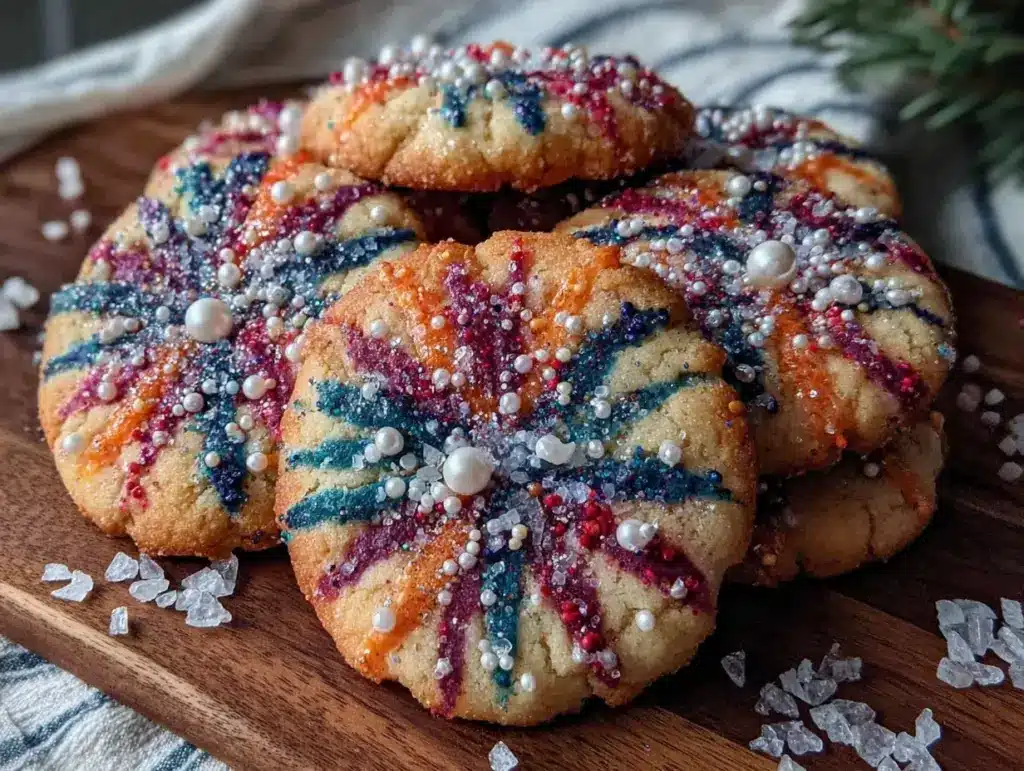
The moment those cookies came out of the oven, with their soft, buttery edges and the vibrant royal icing bursting like little fireworks, I realized this wasn’t just another sugar cookie recipe. It was a festive celebration in every bite—and surprisingly easy to pull off, even on a chaotic day. I found myself baking these cookies multiple times that week, tweaking the icing colors and patterns like a kid with a box of crayons.
There’s something quietly satisfying about how the crisp edges of the cookie contrast with the smooth, glossy royal icing. And the best part? They bring that joyful spark to any gathering without any fuss. After all, baking should feel like a small party in your kitchen, not another stressor.
So, if you’re looking for a cookie recipe that’s as fun to make as it is to eat—and one that might just become your go-to for festive celebrations—you’re in the right place. Let’s get to those perfect firework sugar cookies with royal icing that’ll have everyone asking for your secret.
Why You’ll Love This Recipe
After baking and decorating countless batches of sugar cookies, I can confidently say this recipe stands out for several reasons. It’s been tested in my busy kitchen (where time is never on my side) and approved by friends who usually avoid sweets. Here’s what makes these firework sugar cookies a keeper:
- Quick & Easy: The dough comes together in under 15 minutes, and the baking time is just about 10 minutes per batch—perfect for last-minute celebrations or spontaneous cookie cravings.
- Simple Ingredients: You probably have everything on hand already—basic pantry staples like butter, sugar, and flour. No need for fancy or hard-to-find items.
- Perfect for Festive Occasions: Whether it’s Independence Day, New Year’s Eve, or a birthday bash, these cookies bring a pop of color and cheer that fits right in.
- Crowd-Pleaser: Kids love the bright, fun decorations, and adults appreciate the buttery, melt-in-your-mouth texture.
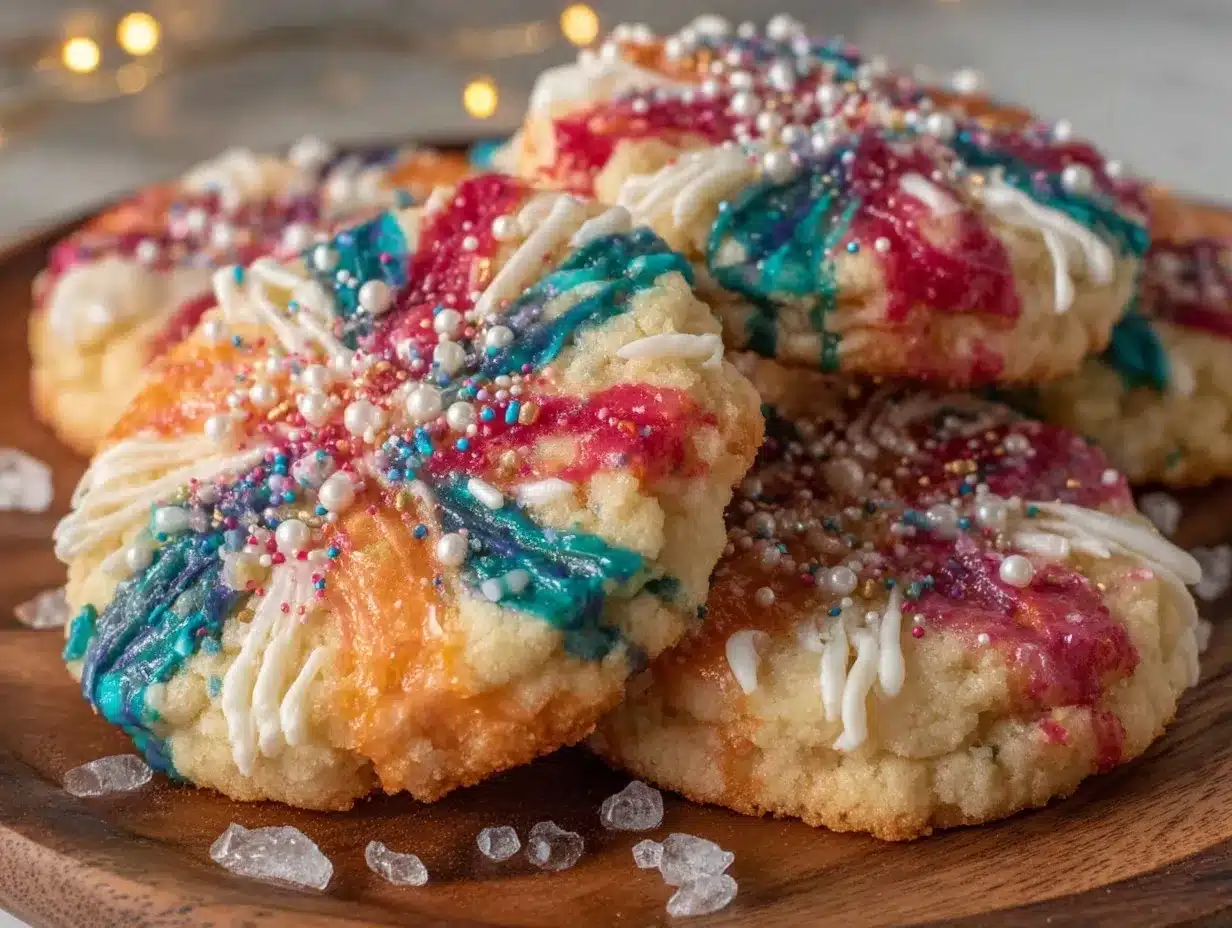
- Unbelievably Delicious: The royal icing isn’t just for looks—it dries to a lovely crisp that contrasts beautifully with the soft cookie base, adding a satisfying bite.
What makes this recipe uniquely mine is the balance between a tender cookie that holds its shape and an easy royal icing tutorial that doesn’t require a piping masterclass. I’ve learned to mix the icing to just the right consistency so it floods smoothly but holds detail for those firework bursts. Honestly, once you try it, you’ll notice the difference.
These cookies aren’t just pretty—they’re the kind that make you pause and savor the moment, maybe even close your eyes after that first bite. They’re festive, joyful, and just a little bit addictive.
What Ingredients You Will Need
This recipe uses simple, wholesome ingredients to deliver bold flavor and a satisfying texture without the fuss. Most are pantry staples, and substitutions are easy if you need them.
- For the Sugar Cookies:
- 2 ¾ cups (344 g) all-purpose flour, sifted (I prefer King Arthur for consistent texture)
- 1 teaspoon baking powder
- ½ teaspoon salt
- 1 cup (227 g) unsalted butter, softened (room temperature is key for creaminess)
- 1 ½ cups (300 g) granulated sugar
- 1 large egg, room temperature
- 1 teaspoon pure vanilla extract (or almond extract if you want a subtle twist)
- For the Royal Icing:
- 3 cups (360 g) powdered sugar, sifted (sift carefully to avoid lumps)
- 2 tablespoons meringue powder (this keeps the icing stable—look for Wilton brand if possible)
- 5-6 tablespoons warm water (adjust for desired consistency)
- Gel food coloring in red, blue, yellow, and white (gel works best for vibrant colors without thinning the icing)
- Optional: ½ teaspoon vanilla or lemon extract for flavor
If you want to make these gluten-free, swap the all-purpose flour for your favorite gluten-free blend (Bob’s Red Mill has a reliable one). For dairy-free butter, try a plant-based spread that can be creamed easily.
For seasonal variations, you could add a pinch of ground cinnamon or nutmeg to the cookie dough, which pairs perfectly with the sweetness of the icing.
Equipment Needed
- Mixing bowls – I use glass or stainless steel depending on the batch size.
- Electric hand mixer or stand mixer – Creaming the butter and sugar is so much easier with a mixer.
- Measuring cups and spoons – Precision matters here for great cookies.
- Rolling pin – A smooth, wooden one works well; silicone can stick less but might lack weight.
- Cookie cutters – Star shapes or classic round ones to mimic firework bursts are ideal.
- Baking sheets lined with parchment paper or silicone mats – I swear by silicone mats for even baking and easy cleanup.
- Cooling racks – Let cookies cool completely before decorating to avoid melting your royal icing.
- Piping bags and small round tips (sizes #1 or #2) – For detailed icing work; disposable bags work well if you don’t have reusable ones.
- Small bowls or cups for mixing icing colors.
Don’t worry if you lack fancy piping bags—zip-top bags with a small cut in the corner can be just as effective for beginners. Also, keeping your workspace organized with a damp cloth nearby helps clean any icing mishaps quickly.
Preparation Method
- Mix Dry Ingredients: In a medium bowl, whisk together 2 ¾ cups sifted flour, 1 teaspoon baking powder, and ½ teaspoon salt. Set aside. (Takes about 5 minutes.)
- Cream Butter and Sugar: In a large bowl, beat 1 cup softened butter and 1 ½ cups granulated sugar with an electric mixer on medium speed until fluffy and pale, about 3-5 minutes. This step is crucial for tender cookies.
- Add Egg and Vanilla: Beat in 1 large egg and 1 teaspoon vanilla extract until combined. You’ll notice the mixture thickens nicely here.
- Combine Wet and Dry: Gradually add the dry ingredients to the wet, mixing on low speed until the dough just comes together. Avoid overmixing to keep cookies tender. Dough will be soft but not sticky. (About 2 minutes.)
- Chill the Dough: Shape dough into a disk, wrap in plastic, and refrigerate for at least 1 hour. This step helps cookies hold their shape during baking.
- Preheat Oven and Prepare Baking Sheet: Set oven to 350°F (175°C). Line baking sheets with parchment or silicone mats.
- Roll and Cut: Lightly flour your surface and roll dough to about ¼-inch (6 mm) thickness. Use star-shaped or round cookie cutters to cut out shapes. Place cookies about 2 inches apart on baking sheets.
- Bake: Bake for 8-10 minutes until edges are just golden. Don’t overbake; cookies should be soft in the center. Let them cool on baking sheet for 5 minutes, then transfer to wire racks to cool completely.
- Prepare Royal Icing: In a bowl, combine 3 cups sifted powdered sugar, 2 tablespoons meringue powder, and 5 tablespoons warm water. Beat on low speed until smooth, then increase speed and beat for 7-10 minutes until icing holds soft peaks.
- Adjust Consistency: For outlining, keep icing thicker (should hold a peak). For flooding, add a few drops of water to thin it so it flows smoothly but isn’t runny.
- Color Your Icing: Divide icing into small bowls, tint each with gel food coloring. Mix well.
- Decorate: Use piping bags fitted with small round tips to outline cookie shapes with thicker icing, then flood the inside with thinner icing. Add contrasting colors to create firework bursts by piping lines or dots radiating from the center. Let icing dry for 4-6 hours or overnight for best results.
Pro tip: If your royal icing crusts too fast while decorating, cover it with a damp cloth and keep unused icing covered tightly to prevent drying out. Also, don’t rush the drying process—patience really pays off with clean, crisp designs.
Cooking Tips & Techniques
Working with royal icing can intimidate a lot of folks, but honestly, once you get the hang of consistency, it’s pretty straightforward. I’ve learned a couple of things the hard way (like accidentally adding too much water and ending up with a puddle of icing), so here’s what helps me:
- Consistency is Everything: Use the “10-second rule” to test flooding icing—the icing should smooth out within 10 seconds after spreading. Thicker icing is for outlines and details.
- Keep Icing Covered: Royal icing dries fast when exposed to air. Cover bowls tightly with plastic wrap and keep piping bags sealed when not in use.
- Use Gel Colors: They provide vibrant color without thinning the icing like liquid dyes do.
- Practice Makes Perfect: Don’t stress about perfection on your first try. I often practice piping on parchment paper before decorating the cookies.
- Patience with Drying: Let decorated cookies dry completely on a flat surface. This prevents smudging and ensures that the icing hardens crisp.
- Multitasking: While cookies are baking, mix and color your icing. This saves time and keeps everything flowing smoothly.
One mistake I made early on was rushing the dough chilling step. Without proper chilling, cookies spread too much and lose those sharp edges, which makes decorating tricky. So don’t skip it, even if you’re tempted!
Variations & Adaptations
You can easily tweak this recipe to fit different tastes, dietary needs, or occasions:
- Flavor Twists: Add citrus zest (lemon or orange) to the dough for a bright zing that pairs beautifully with the sweet icing.
- Gluten-Free Version: Use a gluten-free all-purpose flour blend to make these safe for gluten-sensitive friends and family.
- Vegan Adaptation: Swap butter for coconut oil or vegan margarine and replace the egg with a flax egg (1 tablespoon ground flaxseed + 3 tablespoons water, chilled).
- Alternative Decorating: Instead of royal icing, try a simple glaze made with powdered sugar, milk, and food coloring for a softer finish.
- Seasonal Colors: Change up the icing colors to match holidays—red and green for Christmas (paired nicely with your Christmas sugar cookie cutouts), pastels for Easter, or orange and black for Halloween.
One version I adore is adding edible glitter over the royal icing just before it sets—it gives the cookies that extra sparkle, perfectly mimicking fireworks in the night sky.
Serving & Storage Suggestions
These firework sugar cookies are best served at room temperature, allowing the buttery flavor and delicate icing to shine. Present them on a festive platter or wrap them in clear cellophane tied with a ribbon for gifting—guaranteed to brighten anyone’s day.
Pair these cookies with a cold glass of milk, a cup of hot cocoa (maybe try the hot cocoa bombs recipe for a fun winter twist), or even a light tea for a delightful treat.
To store, place cookies in an airtight container and keep them at room temperature for up to 5 days. If you want to save them longer, freeze undecorated cookies in a single layer, wrapped tightly in plastic wrap, for up to 3 months. Decorated cookies freeze best after the icing has fully dried—place parchment between layers to avoid sticking.
When reheating, it’s best not to microwave—they’re really meant to be enjoyed as-is. Over time, the icing flavors deepen and the texture softens slightly, which is perfect for savoring slowly.
Nutritional Information & Benefits
Each cookie (depending on size) roughly contains:
| Calories | 150-180 kcal |
|---|---|
| Fat | 7-9 g (mostly from butter) |
| Carbohydrates | 22-25 g |
| Protein | 1-2 g |
The key ingredients like butter and eggs provide fat-soluble vitamins, while vanilla extract adds antioxidants. Of course, these cookies are a treat, but knowing they’re made from real, simple ingredients with no artificial preservatives is comforting.
For those mindful of allergens, this recipe contains gluten, dairy, and eggs. Substitutions mentioned earlier can help adapt it for various dietary needs.
From a wellness perspective, baking your own treats means you control the sweetness and quality, which is a small but meaningful step toward balanced eating—plus, baking can be a great stress reliever!
Conclusion
The perfect firework sugar cookies with royal icing are more than just a festive treat—they’re a little burst of joy you can create in your own kitchen. They bring color, flavor, and a sense of celebration to any occasion, without demanding hours of work or fancy ingredients.
Feel free to play around with colors, shapes, and flavors until you find the perfect combo that speaks to your style. I love how these cookies bring smiles to my family’s faces and how they’ve become a staple for any get-together, big or small.
If you try this recipe, I’d love to hear how your cookies turned out or if you added your own creative twist. Baking is always better when shared—even if just through stories and photos. Happy baking, and may your celebrations be sweet and sparkly!
FAQs
How long do sugar cookies with royal icing take to dry?
They usually need 4-6 hours to dry completely at room temperature, but overnight is best for firm, non-sticky icing.
Can I make the dough ahead of time?
Yes! The dough can be made and refrigerated for up to 3 days or frozen for up to 3 months. Just thaw and roll before baking.
What if I don’t have meringue powder for royal icing?
You can substitute with 2 large egg whites (pasteurized preferred) but be aware this changes the texture slightly and requires safe handling.
How do I prevent cookies from spreading too much?
Make sure to chill the dough well before rolling and baking, and avoid overworking the dough.
Can I use liquid food coloring instead of gel?
Gel coloring is best because it provides vibrant colors without thinning the icing. Liquid dyes can make icing too runny.
Pin This Recipe!
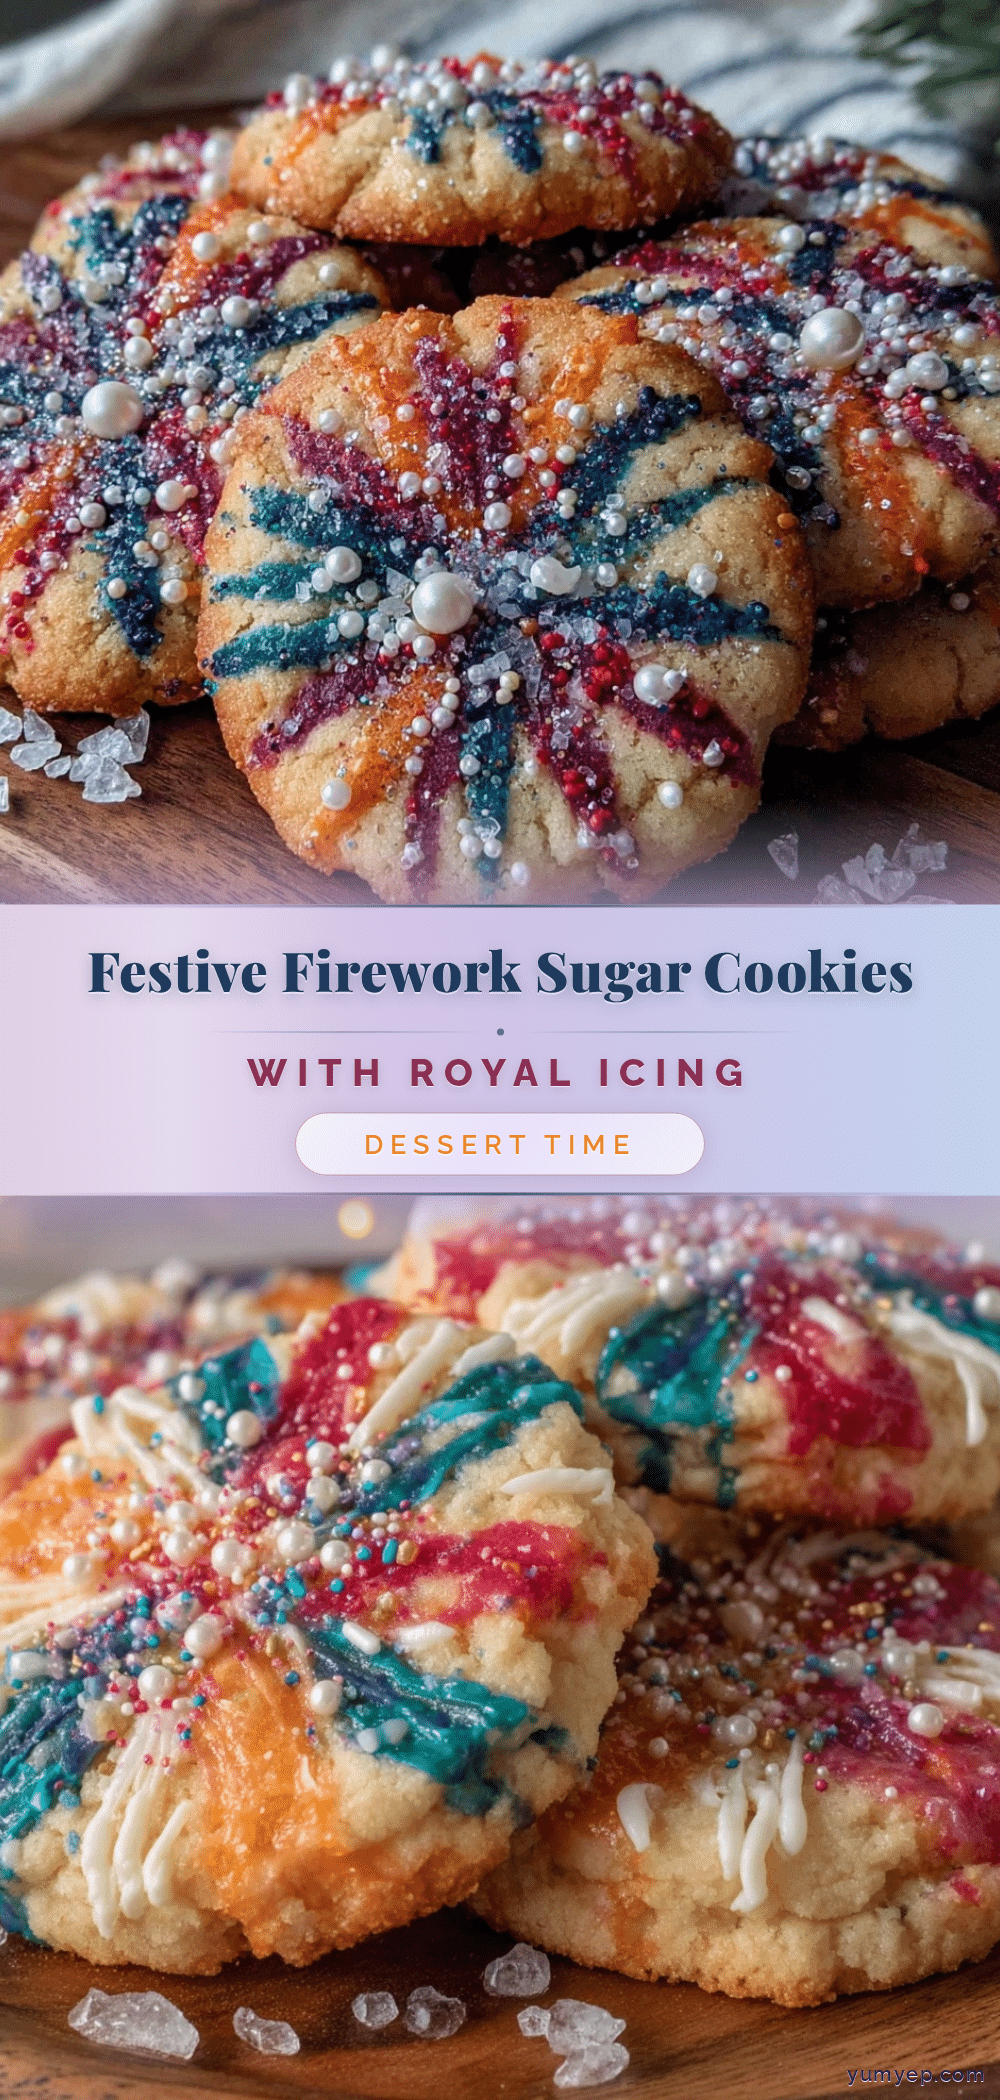
Perfect Firework Sugar Cookies Recipe Easy Festive Royal Icing Tutorial
These firework sugar cookies feature soft, buttery edges with vibrant royal icing that bursts like little fireworks. They are quick, easy, and perfect for festive celebrations.
- Prep Time: 15 minutes
- Cook Time: 10 minutes
- Total Time: 1 hour 25 minutes
- Yield: About 24 cookies 1x
- Category: Dessert
- Cuisine: American
Ingredients
- 2 ¾ cups (344 g) all-purpose flour, sifted
- 1 teaspoon baking powder
- ½ teaspoon salt
- 1 cup (227 g) unsalted butter, softened (room temperature)
- 1 ½ cups (300 g) granulated sugar
- 1 large egg, room temperature
- 1 teaspoon pure vanilla extract (or almond extract)
- 3 cups (360 g) powdered sugar, sifted
- 2 tablespoons meringue powder
- 5–6 tablespoons warm water
- Gel food coloring in red, blue, yellow, and white
- Optional: ½ teaspoon vanilla or lemon extract
Instructions
- Mix Dry Ingredients: In a medium bowl, whisk together 2 ¾ cups sifted flour, 1 teaspoon baking powder, and ½ teaspoon salt. Set aside.
- Cream Butter and Sugar: In a large bowl, beat 1 cup softened butter and 1 ½ cups granulated sugar with an electric mixer on medium speed until fluffy and pale, about 3-5 minutes.
- Add Egg and Vanilla: Beat in 1 large egg and 1 teaspoon vanilla extract until combined.
- Combine Wet and Dry: Gradually add the dry ingredients to the wet, mixing on low speed until the dough just comes together. Avoid overmixing.
- Chill the Dough: Shape dough into a disk, wrap in plastic, and refrigerate for at least 1 hour.
- Preheat Oven and Prepare Baking Sheet: Set oven to 350°F (175°C). Line baking sheets with parchment or silicone mats.
- Roll and Cut: Lightly flour your surface and roll dough to about ¼-inch (6 mm) thickness. Use star-shaped or round cookie cutters to cut out shapes. Place cookies about 2 inches apart on baking sheets.
- Bake: Bake for 8-10 minutes until edges are just golden. Let cool on baking sheet for 5 minutes, then transfer to wire racks to cool completely.
- Prepare Royal Icing: In a bowl, combine 3 cups sifted powdered sugar, 2 tablespoons meringue powder, and 5 tablespoons warm water. Beat on low speed until smooth, then increase speed and beat for 7-10 minutes until icing holds soft peaks.
- Adjust Consistency: For outlining, keep icing thicker. For flooding, add a few drops of water to thin it so it flows smoothly but isn’t runny.
- Color Your Icing: Divide icing into small bowls, tint each with gel food coloring. Mix well.
- Decorate: Use piping bags fitted with small round tips to outline cookie shapes with thicker icing, then flood the inside with thinner icing. Add contrasting colors to create firework bursts by piping lines or dots radiating from the center. Let icing dry for 4-6 hours or overnight.
Notes
Chill dough for at least 1 hour to prevent spreading and maintain sharp edges. Use gel food coloring for vibrant colors without thinning icing. Let decorated cookies dry for 4-6 hours or overnight for best results. Cover icing when not in use to prevent drying. Practice piping on parchment paper if new to decorating. Dough can be refrigerated up to 3 days or frozen up to 3 months. For gluten-free, use gluten-free flour blend; for vegan, substitute butter and egg accordingly.
Nutrition
- Serving Size: 1 cookie
- Calories: 150180
- Sugar: 1518
- Sodium: 80
- Fat: 79
- Saturated Fat: 5
- Carbohydrates: 2225
- Protein: 12
Keywords: sugar cookies, royal icing, firework cookies, festive cookies, easy sugar cookies, holiday cookies, cookie decorating


