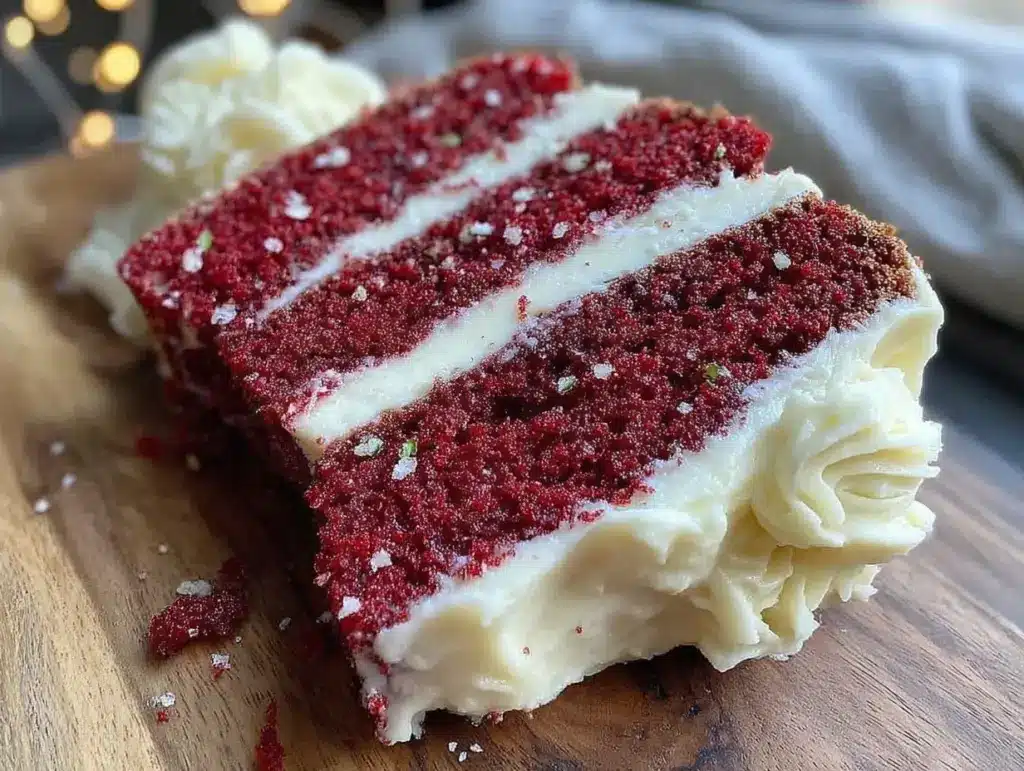
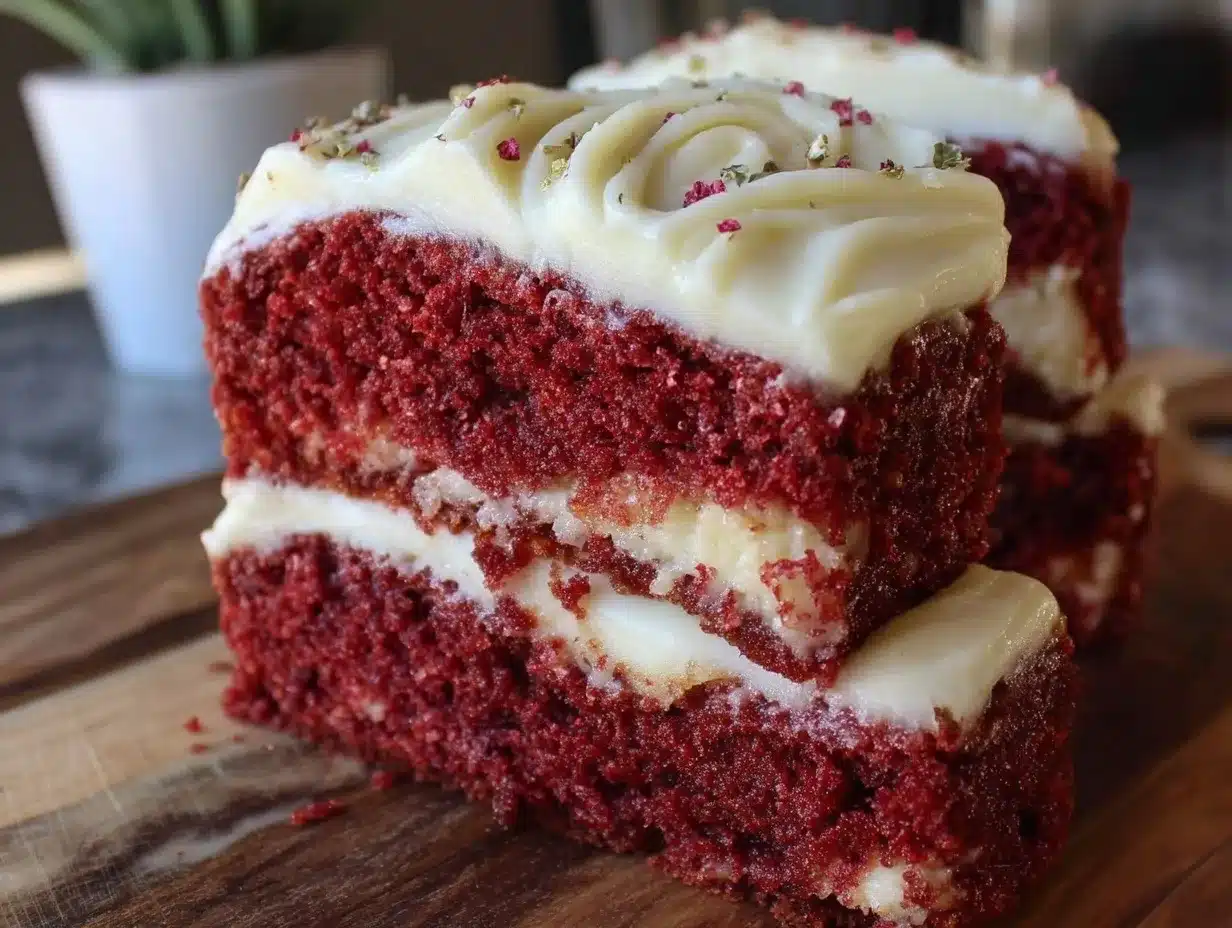
Velvety smooth layers of red cake, each slice revealing a vivid, almost velour-like texture — and that’s the whole point. The way this red velvet flag cake looks, with its sharp lines of cream cheese frosting slicing through the bold crimson layers, is exactly why I started making this recipe. I’ve always been obsessed with how desserts feel as much as how they taste. This cake’s surface is almost hypnotic, the frosting’s creamy peaks contrasting with the cake’s tender crumb. When you cut into it, the edges are soft but hold their shape, like a plush fabric you can almost touch through your screen. Honestly, I find myself staring at it longer than I should before digging in — the visual texture is just so compelling.
It wasn’t always about achieving a perfect red velvet flag cake for me. The first time I made something similar, the frosting blurred into the layers, and the colors ran together like a sloppy watercolor. But after a few tries (and a lot of patience), I realized that the texture — the clean, creamy lines and tender, moist crumb — was the magic I wanted to capture. I tweaked the batter and frosting balance until the cake felt just right to the touch and looked sharp enough to impress. This recipe stuck because it’s as much an experience for your fingers and eyes as it is for your taste buds.
There’s something quietly satisfying about serving a cake that looks this precise yet feels so soft and inviting. It’s not just dessert; it’s a tactile celebration, a little indulgence you can see and feel before you even taste it. That’s why I keep coming back to this perfect red velvet flag cake with cream cheese frosting — it’s a treat that invites you to slow down and appreciate every slice.
Why You’ll Love This Recipe
After testing countless red velvet cakes and frostings, this recipe has become a trusted favorite — and for good reasons. It’s not just about the striking flag pattern but how effortlessly it comes together, even for home bakers who aren’t professional decorators.
- Quick & Easy: This recipe takes about 1 hour and 30 minutes from start to finish, perfect for when you want an impressive dessert without spending all day in the kitchen.
- Simple Ingredients: You don’t need fancy or hard-to-find items — just pantry basics and a few fresh staples.
- Perfect for Celebrations: Whether it’s a holiday, birthday, or just a special weekend, this flag cake adds a festive, eye-catching centerpiece.
- Crowd-Pleaser: The classic cream cheese frosting flavor pairs beautifully with the rich, tender red velvet cake, winning over both kids and adults.
- Unbelievably Delicious: The balance of moist cake and tangy frosting is spot-on, with a texture that’s soft but stable enough for clean slices.
What really sets this apart is the frosting technique — spreading a creamy but firm cream cheese frosting between layers, then piping the perfect stripes to mimic a flag’s design. I learned that chilling the cake between steps is key to keeping those lines crisp and the layers intact. Plus, the subtle cocoa in the cake isn’t overpowering but adds depth to the classic red velvet flavor.
This recipe isn’t just another red velvet cake — it’s the one I trust when I want to impress without stress. It’s cozy, nostalgic, but with a polished look that says you care. Honestly, it’s the kind of cake you don’t just eat; you admire first.
What Ingredients You Will Need
This perfect red velvet flag cake recipe relies on straightforward, wholesome ingredients that come together to create that iconic moist crumb and creamy frosting. Most of these are pantry staples, with a couple of fresh items to make the frosting sing.
- For the Cake:
- All-purpose flour – 2 ½ cups (312g), sifted for lightness
- Granulated sugar – 1 ½ cups (300g)
- Unsweetened cocoa powder – 1 tablespoon (use Dutch-process for richer color)
- Baking soda – 1 teaspoon
- Salt – ½ teaspoon
- Vegetable oil – 1 cup (240ml), keeps cake moist (can substitute light olive oil)
- Buttermilk – 1 cup (240ml), room temperature (adds tenderness and tang)
- Large eggs – 2, room temperature
- Red food coloring – 2 tablespoons (gel color works best for vibrancy)
- Vanilla extract – 1 teaspoon
- White vinegar – 1 teaspoon (reacts with baking soda for lift)
- For the Cream Cheese Frosting:
- Cream cheese – 16 ounces (450g), softened (I recommend Philadelphia for smooth texture)
- Unsalted butter – ½ cup (115g), softened (adds richness)
- Powdered sugar – 4 cups (480g), sifted to avoid lumps
- Vanilla extract – 1 teaspoon
- Pinch of salt (balances sweetness)
If you’re looking to make this gluten-free, swapping the all-purpose flour with a blend like Bob’s Red Mill gluten-free flour works well, but be sure to adjust the liquids slightly to keep the cake moist. For a dairy-free version, try using coconut cream cheese and a plant-based butter alternative; just expect a subtle flavor difference.
You’ll notice the red food coloring really makes this cake pop — it’s the signature look of red velvet. If you prefer natural coloring, beet juice powder is an option, but it might mute the vibrancy slightly.
Equipment Needed
- Two 9-inch (23cm) round cake pans – non-stick or well-greased is best for clean release
- Mixing bowls – at least two, medium and large
- Electric mixer – stand or hand-held, for smooth batter and frosting
- Measuring cups and spoons – for accuracy
- Sifter – to aerate flour and powdered sugar
- Rubber spatula – for folding ingredients delicately
- Offset spatula or butter knife – to smooth frosting layers
- Piping bag with medium round tip – optional, for creating the flag stripes
- Cooling racks – to cool cake layers evenly
If you don’t have a piping bag, a sturdy zip-top plastic bag with a small corner snipped off works just fine for the frosting stripes. I’ve also used springform pans when I was in a pinch, but the round cake pans give the best shape.
Personally, I prefer using a stand mixer for the frosting — it whips up the cream cheese and butter to a fluffy perfection that hand mixers sometimes can’t match. Just make sure your cream cheese is fully softened to avoid lumps. And, a good sifter makes a world of difference when it comes to smooth powdered sugar incorporation.
Preparation Method
- Preheat and Prep: Preheat your oven to 350°F (175°C). Grease and flour two 9-inch round cake pans or line them with parchment paper. This helps the cake release flawlessly after baking. (5 minutes)
- Mix Dry Ingredients: In a medium bowl, sift together 2 ½ cups (312g) all-purpose flour, 1 ½ cups (300g) sugar, 1 tablespoon cocoa powder, 1 teaspoon baking soda, and ½ teaspoon salt. Set aside. The sifting here is key for a tender crumb and to avoid lumps. (5 minutes)
- Combine Wet Ingredients: In a large bowl, whisk 1 cup (240ml) vegetable oil, 1 cup (240ml) buttermilk, 2 large eggs, 2 tablespoons red food coloring, 1 teaspoon vanilla extract, and 1 teaspoon white vinegar until smooth and well combined. The vinegar reacts with the baking soda to help the cake rise and keeps the red color bright. (5 minutes)
- Mix Batter: Gradually add the dry ingredients into the wet, mixing on low speed just until combined. Avoid over-mixing — stop when the batter looks uniform but still light. Overworking the batter can make the cake dense. The batter should be smooth, thick, and bright red. (3 minutes)
- Divide and Bake: Pour the batter evenly into the two prepared pans and smooth the tops with a spatula. Bake for 25–30 minutes, or until a toothpick inserted in the center comes out clean with a few moist crumbs. The cake should spring back slightly when touched. (25–30 minutes)
- Cool Completely: Let the cakes cool in their pans for 10 minutes, then run a knife around the edges and invert onto cooling racks. Cool completely before frosting — this step is crucial to avoid melting your frosting. (1 hour)
- Prepare Frosting: Using an electric mixer, beat 16 ounces (450g) softened cream cheese and ½ cup (115g) softened butter until creamy and smooth. Gradually add 4 cups (480g) sifted powdered sugar, then 1 teaspoon vanilla and a pinch of salt. Beat on medium-high speed until light and fluffy, about 3–4 minutes. (10 minutes)
- Assemble Cake: Place one cake layer on your serving plate. Spread a thick, even layer of cream cheese frosting on top (about ¾ cup). Add the second cake layer and gently press down to secure. Spread a thin crumb coat of frosting all over the cake to lock in crumbs. Chill for 20 minutes to set. (20 minutes)
- Create Flag Design: After chilling, spread a smooth, even layer of frosting over the cake. Using a piping bag fitted with a medium round tip, pipe horizontal stripes across the cake to mimic the flag stripes. Alternate a thicker stripe with a thinner one for contrast. Chill again for 10 minutes to firm up the design. (15 minutes)
- Final Touches: If desired, add small piped stars or dots in one corner using some leftover frosting for that authentic flag look. Return to the fridge until serving. (Optional)
Some personal tips: make sure your cream cheese is truly softened, or your frosting will be lumpy. Also, chilling between frosting steps is key — it keeps everything neat and prevents colors from blurring. I learned these the hard way after a few messy attempts. And, when slicing, use a sharp knife dipped in hot water and wiped dry between cuts — clean, smooth slices every time.
Cooking Tips & Techniques
Red velvet cake can be tricky if you’re chasing that perfect texture and color, but these tips will save you headaches.
- Don’t Skip the Buttermilk: It tenderizes the crumb and adds just the right tang to balance the sweetness. If you don’t have buttermilk, mix 1 cup milk with 1 tablespoon white vinegar and let sit for 5 minutes.
- Use Gel Food Coloring: Liquid dyes can thin your batter and dull the color. Gel or paste colors pack more pigment with less liquid, giving you that vibrant red everyone expects.
- Mix Gently: Overmixing the batter develops gluten, making the cake tough instead of tender. Fold in the dry ingredients until just combined.
- Chill the Cake: After crumb coating and final frosting, chilling the cake firms it up and makes spreading and piping easier and cleaner.
- Frosting Consistency: If your cream cheese frosting feels too soft, pop it in the fridge for 15 minutes before piping. If too stiff, beat in a teaspoon of milk or cream.
I once tried piping the flag design with frosting that was too warm — disaster. The frosting drooped and the stripes blurred into one another. From then on, I always keep my frosting chilled between steps. Also, timing matters; don’t rush cooling the cakes. If the layers are even slightly warm, your frosting will slide off or melt.
Finally, multitasking during baking really helps — while the cake cools, whip up your frosting and clean your workspace. It makes assembly smooth and stress-free.
Variations & Adaptations
This red velvet flag cake is a wonderful base for creativity and dietary tweaks. Here are a few of my favorite variations:
- Chocolate Lover’s Twist: Add ½ cup (45g) mini chocolate chips to the batter for a surprise crunch inside each layer.
- Gluten-Free Version: Substitute all-purpose flour with a gluten-free blend, like King Arthur Gluten-Free Flour, and add 1 teaspoon xanthan gum if your blend doesn’t include it.
- Dairy-Free Cream Cheese Frosting: Use vegan cream cheese and dairy-free butter alternatives, such as Miyoko’s, for a plant-based option.
- Seasonal Flair: Swap out the red food coloring for natural beetroot powder in fall or winter to add an earthy note, or add a teaspoon of orange zest to the frosting for a citrus lift.
- Spiced Red Velvet: Add ½ teaspoon ground cinnamon and ¼ teaspoon ground nutmeg to the dry ingredients for a cozy spice profile reminiscent of holiday treats.
I once made a smaller version of this cake for a summer barbecue and swapped the cream cheese frosting for a whipped mascarpone topping with fresh berries. It was a fresh, lighter take that still impressed visually and flavor-wise.
Serving & Storage Suggestions
This cake is best served slightly chilled or at cool room temperature to keep the frosting firm but soft enough to melt in your mouth. I like slicing it with a sharp serrated knife warmed under hot water and wiped dry between cuts to keep the edges clean and precise.
Pair the cake with a cup of strong coffee or a mild black tea — the bitterness balances the sweetness perfectly. For a festive touch, serve alongside homemade snowball cookies or a fresh fruit salad.
To store, wrap the cake tightly with plastic wrap and keep it refrigerated. It stays fresh for up to 4 days. For longer storage, freeze the cake layers (unfrosted) wrapped well in plastic and foil for up to 2 months. Thaw overnight in the fridge before frosting and serving.
When reheating slices, let them come to room temperature for the best texture. The flavors actually deepen and meld beautifully after a day or two in the fridge, making it a perfect make-ahead dessert.
Nutritional Information & Benefits
Each serving of this red velvet flag cake contains approximately 400 calories, 22g fat, 50g carbohydrates, and 4g protein. The cream cheese frosting adds a rich source of calcium, while the buttermilk in the cake offers probiotics that aid digestion.
This cake is naturally gluten-containing unless you use a gluten-free flour blend. It contains dairy and eggs, so it’s not suitable for vegan diets unless adapted. The recipe is free from nuts, making it a safer choice for nut allergies.
From a wellness perspective, I appreciate that this recipe balances indulgence with simple ingredients — no artificial preservatives or stabilizers. The use of buttermilk and cream cheese provides a smooth, moist texture without relying on excessive butter or oil.
Conclusion
This perfect red velvet flag cake with cream cheese frosting is one of those recipes that feels both special and approachable. It’s the kind of cake you want to pull out for celebrations or whenever you need a little something to impress without fuss. The striking red color, smooth frosting, and delicate crumb come together in a way that makes every slice feel like a treat.
Feel free to make it your own — swap colors, add spices, or try a dairy-free frosting. I love how this recipe invites creativity while delivering reliable results every time. Personally, it reminds me of quiet afternoons spent baking with a friend, focusing on the textures and details instead of rushing to the finish.
If you try this recipe, I’d love to hear how it turned out or what variations you made. Share your thoughts and photos — there’s something truly satisfying about seeing this cake through your eyes.
FAQs
How do I get the best red color in my red velvet cake?
Use gel or paste red food coloring for the most vibrant color without thinning your batter. Also, Dutch-process cocoa powder helps deepen the red tone.
Can I make this cake ahead of time?
Yes! You can bake the layers up to 2 days in advance and store them wrapped in the fridge. Frost the cake the day you plan to serve it for the best texture.
What if I don’t have buttermilk?
Mix 1 cup milk with 1 tablespoon white vinegar or lemon juice. Let it sit for 5 minutes to curdle, then use as a buttermilk substitute.
How do I keep the cream cheese frosting from melting?
Make sure your cream cheese and butter are well chilled before frosting. Also, refrigerate the cake after frosting and serve it cool or at room temperature.
Can I freeze the frosted cake?
It’s best to freeze unfrosted cake layers. If you freeze a frosted cake, wrap it tightly and thaw in the fridge overnight before serving.
Pin This Recipe!
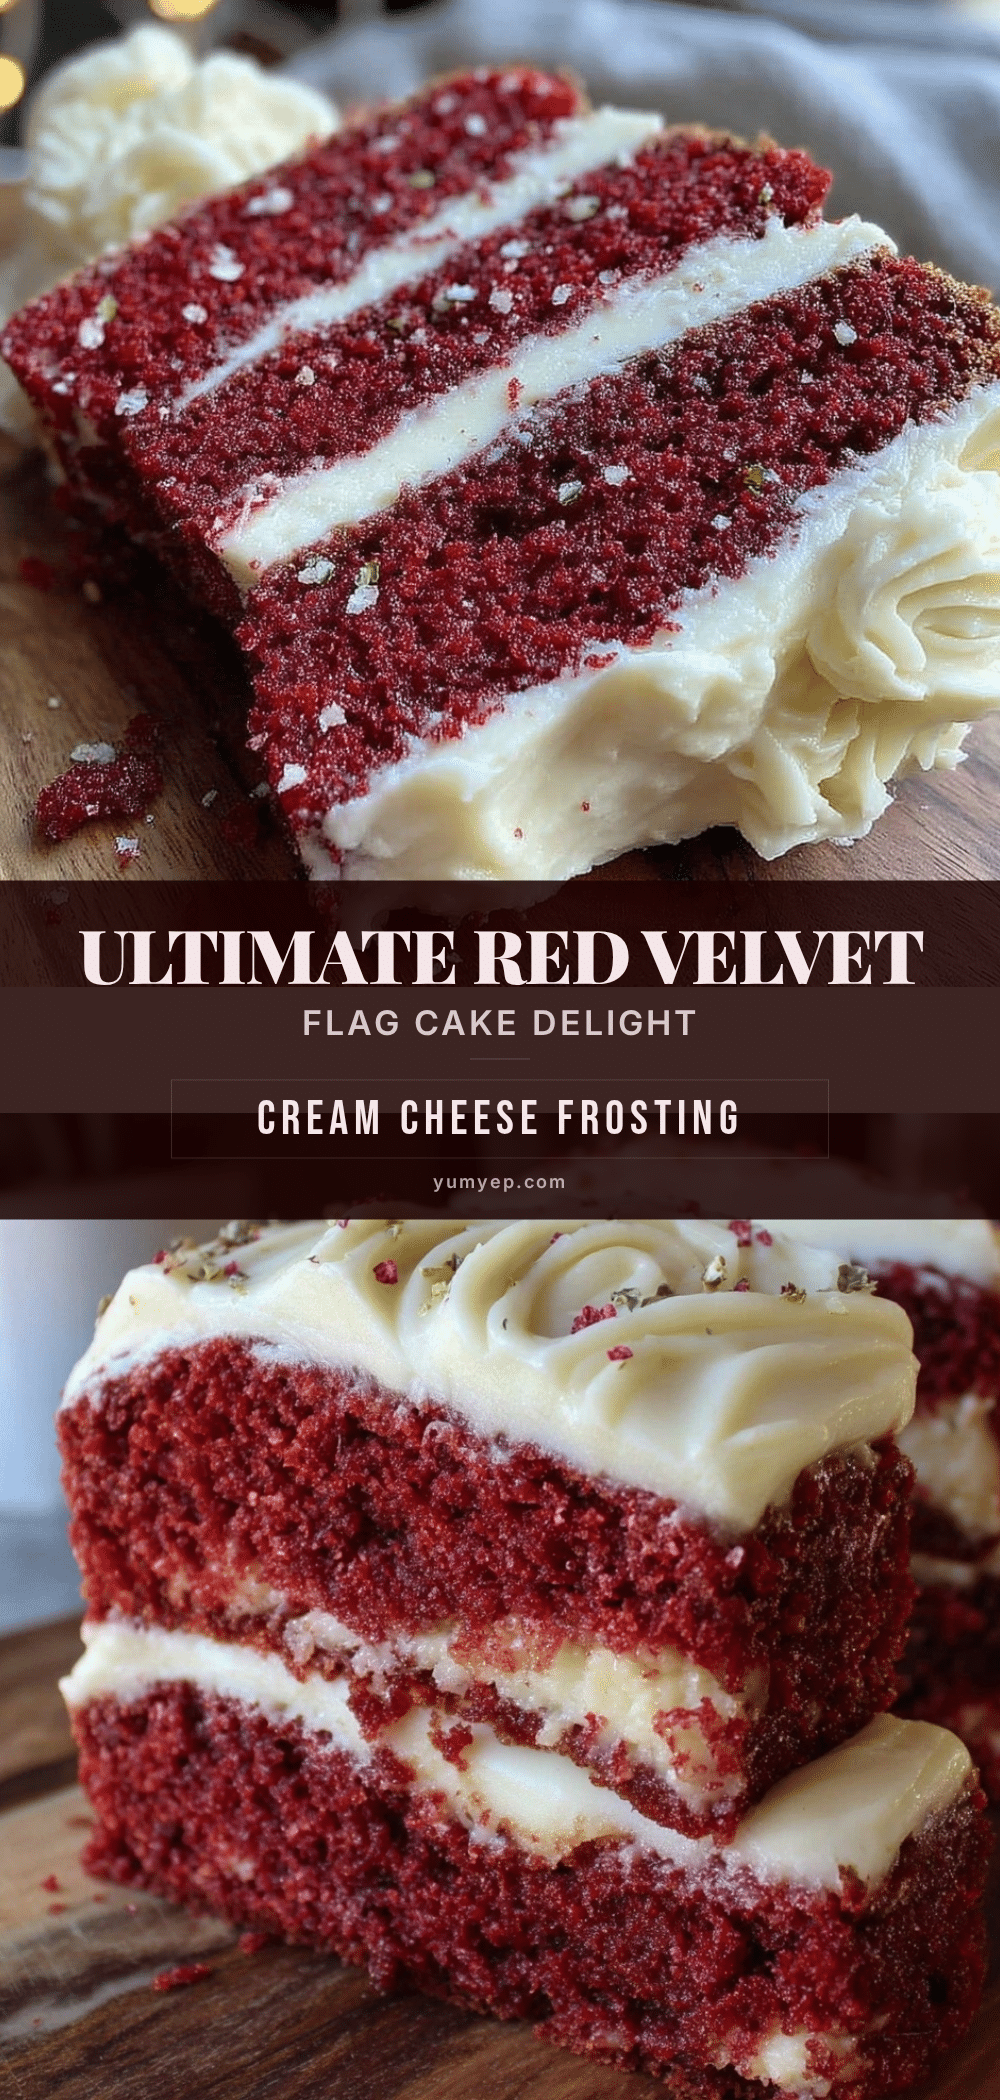
Perfect Red Velvet Flag Cake Recipe Easy Homemade Cream Cheese Frosting Tutorial

A visually striking red velvet flag cake with velvety smooth layers and creamy homemade cream cheese frosting, perfect for celebrations and impressing guests.
- Prep Time: 20 minutes
- Cook Time: 30 minutes
- Total Time: 1 hour 30 minutes
- Yield: 12 servings 1x
- Category: Dessert
- Cuisine: American
Ingredients
- 2 ½ cups (312g) all-purpose flour, sifted
- 1 ½ cups (300g) granulated sugar
- 1 tablespoon unsweetened cocoa powder (Dutch-process recommended)
- 1 teaspoon baking soda
- ½ teaspoon salt
- 1 cup (240ml) vegetable oil (can substitute light olive oil)
- 1 cup (240ml) buttermilk, room temperature
- 2 large eggs, room temperature
- 2 tablespoons red food coloring (gel color preferred)
- 1 teaspoon vanilla extract
- 1 teaspoon white vinegar
- 16 ounces (450g) cream cheese, softened
- ½ cup (115g) unsalted butter, softened
- 4 cups (480g) powdered sugar, sifted
- 1 teaspoon vanilla extract (for frosting)
- Pinch of salt (for frosting)
Instructions
- Preheat oven to 350°F (175°C). Grease and flour two 9-inch round cake pans or line with parchment paper.
- In a medium bowl, sift together flour, sugar, cocoa powder, baking soda, and salt.
- In a large bowl, whisk together vegetable oil, buttermilk, eggs, red food coloring, vanilla extract, and white vinegar until smooth.
- Gradually add dry ingredients to wet ingredients, mixing on low speed just until combined. Avoid over-mixing.
- Divide batter evenly between prepared pans and smooth tops. Bake for 25–30 minutes or until a toothpick inserted in the center comes out clean.
- Cool cakes in pans for 10 minutes, then invert onto cooling racks and cool completely before frosting.
- Beat cream cheese and butter until creamy and smooth. Gradually add powdered sugar, vanilla, and salt. Beat until light and fluffy, about 3–4 minutes.
- Place one cake layer on serving plate. Spread about ¾ cup frosting evenly on top. Add second layer and press gently. Apply a thin crumb coat over entire cake and chill for 20 minutes.
- Spread a smooth layer of frosting over the cake. Using a piping bag with medium round tip, pipe horizontal stripes to mimic flag stripes, alternating thick and thin lines. Chill for 10 minutes to set.
- Optionally, pipe small stars or dots in one corner for an authentic flag look. Refrigerate until serving.
Notes
Chill the cake between frosting steps to keep lines crisp and prevent colors from blurring. Use gel food coloring for vibrant red color. Use a sharp knife dipped in hot water and wiped dry between cuts for clean slices. If frosting is too soft, chill before piping; if too stiff, add a teaspoon of milk or cream.
Nutrition
- Serving Size: 1 slice (1/12th of c
- Calories: 400
- Fat: 22
- Carbohydrates: 50
- Protein: 4
Keywords: red velvet cake, cream cheese frosting, flag cake, homemade cake, celebration cake, easy red velvet, baking tutorial


