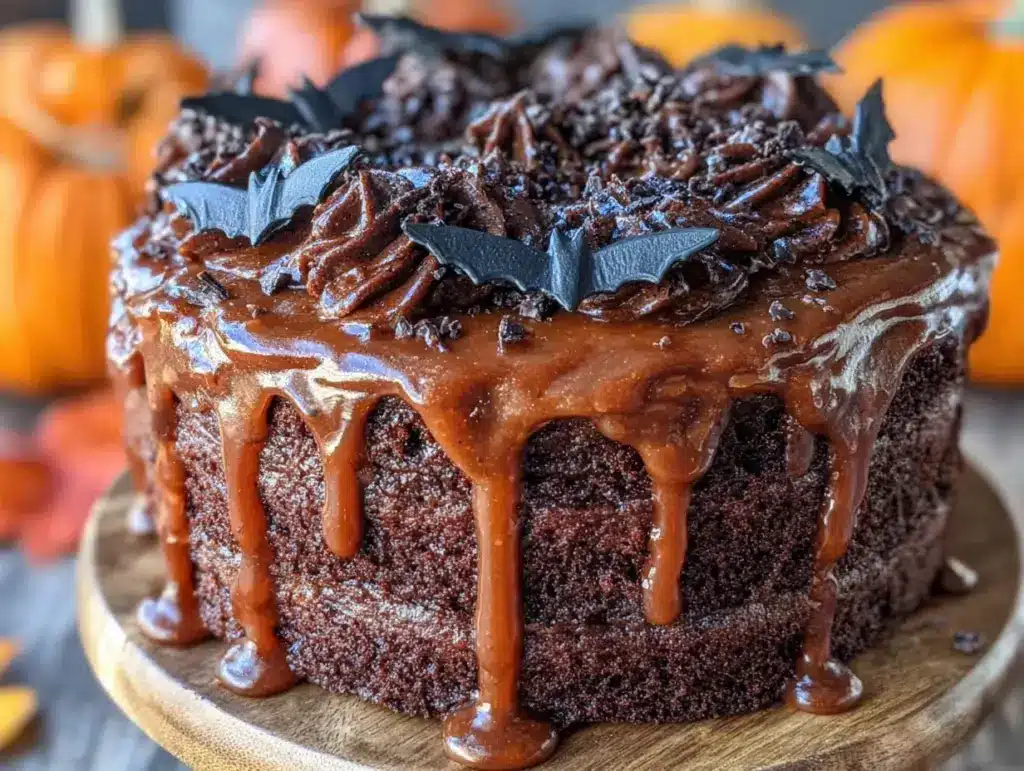
That sharp, almost metallic scent of dark cocoa mingled with the faintest hint of vanilla — the kind that hits you before you even open the oven door — still takes me straight to the kitchen where I first attempted the perfect spooky Halloween birthday cake with black buttercream and gold drip. It was late October, and the house was humming with the energy of impending celebrations. The flicker of candlelight casting eerie shadows on the walls, the rustle of autumn leaves outside, and the soft thump of the mixer all blurred into a moment that felt both thrilling and oddly comforting.
I remember how the black buttercream seemed almost otherworldly, thick and glossy like midnight captured in frosting. The gold drip, shiny and regal, made the cake feel like a treasure from some haunted treasure chest. Honestly, this wasn’t just a cake—it was a little spell I cast to mark a birthday that landed right on Halloween night. And while the look was dramatic, the taste was quietly indulgent, with a rich chocolate base that had just enough sweetness to balance the boldness of the black frosting.
There’s something about creating a cake like this that feels like more than baking. It’s crafting a moment, a memory that lingers long after the last candle is blown out. This recipe stuck with me because it’s approachable for home cooks who want to impress without stress, and it carries that perfect spooky vibe without tipping into gimmick territory. If you’ve ever wanted to make a Halloween birthday cake that’s as delicious as it is striking, you’ll understand why this one feels like a little magic in every bite.
Why You’ll Love This Recipe
After many attempts and tests (and a few frosting disasters), this spooky Halloween birthday cake recipe came together as one of my favorite creations to date. Here’s why it’s worth carving out some time to make this cake yourself:
- Quick & Easy: The black buttercream comes together in under 15 minutes, and the cake itself bakes in just about 30. Perfect for last-minute spooky celebrations or birthday surprises.
- Simple Ingredients: You won’t need to hunt down exotic spices or specialty items. Most ingredients are pantry staples, and the gold drip is made with edible gold paint or luster dust you can find easily online or at baking stores.
- Perfect for Halloween & Birthdays: This cake hits the sweet spot for that October 31st birthday vibe—dramatic enough to wow guests, yet delicious enough to be a true birthday treat.
- Crowd-Pleaser: Kids and adults alike love the rich chocolate flavor paired with the smooth, creamy buttercream. The black frosting adds an unexpected twist that sparks curiosity and compliments.
- Unbelievably Delicious: The moist chocolate cake paired with the silky black buttercream and shimmering gold drip is comfort food with a spooky twist—trust me, you’ll close your eyes after the first bite.
What really sets this recipe apart is the way the black buttercream is made super smooth and deeply colored without being bitter or artificial-tasting. Plus, the gold drip adds just the right touch of glam—it’s like a little tribute to the eerie elegance of Halloween night. It’s not just another spooky cake; it’s a recipe I’ve refined through trial, error, and a lot of frosting tasting sessions.
What Ingredients You Will Need
This cake brings together straightforward ingredients that work in harmony to create that bold look and delicious flavor. Most of these are pantry basics, with a couple of special touches to achieve the perfect spooky effect.
- For the Chocolate Cake:
- All-purpose flour (2 ½ cups / 320 g)
- Granulated sugar (2 cups / 400 g)
- Unsweetened cocoa powder (¾ cup / 75 g) — I prefer Dutch-processed for a smoother, deeper flavor
- Baking powder (1 ½ tsp)
- Baking soda (1 ½ tsp)
- Salt (1 tsp)
- Large eggs (3, room temperature)
- Whole milk (1 cup / 240 ml) — you can swap with almond or oat milk if needed
- Vegetable oil (½ cup / 120 ml)
- Boiling water (1 cup / 240 ml) — intensifies the chocolate flavor
- Pure vanilla extract (2 tsp)
- For the Black Buttercream:
- Unsalted butter (1 cup / 227 g, softened)
- Powdered sugar (4 cups / 480 g), sifted
- Heavy cream (2-3 tbsp / 30-45 ml) — adjust for consistency
- Pure vanilla extract (1 tsp)
- Black gel food coloring (1 tsp or as needed) — gel works best for rich, dark color without thinning the buttercream
- Optional: a pinch of cocoa powder to deepen the chocolate undertones
- For the Gold Drip:
- White chocolate or candy melts (½ cup / 90 g), melted
- Edible gold luster dust or gold edible paint (1-2 tsp)
- A tiny splash of vegetable oil to thin the drip if needed
If you want to swap the all-purpose flour for gluten-free flour, I’ve found that a 1:1 blend with xanthan gum works well here. For dairy-free, simply substitute the butter and milk with plant-based options. For a seasonal twist, try adding a teaspoon of pumpkin pie spice to the batter to echo fall flavors.
Equipment Needed
- Two 8-inch (20 cm) round cake pans — I’ve tried this in 9-inch pans, but 8-inch gives a taller, more dramatic cake
- Electric mixer (stand or handheld) — whisking the buttercream by hand is possible but takes longer and less smooth
- Mixing bowls — one large for the batter, one medium for the buttercream
- Measuring cups and spoons — precision matters, especially for the cocoa and leavening agents
- Offset spatula — essential for smooth buttercream application
- Bench scraper or cake scraper — helps with even sides
- Microwave-safe bowl or double boiler for melting chocolate
- Small paintbrush or piping bag for applying the gold drip — I prefer a tiny brush for control
- Cooling racks — for letting the cake cool completely before frosting
If you don’t have an offset spatula, a butter knife or the back of a spoon can work in a pinch but expect less smooth results. For budget-friendly options, basic silicone spatulas and plastic scrapers do the trick just fine. Keeping your tools clean and dry is key to a flawless finish, especially when working with buttercream.
Preparation Method
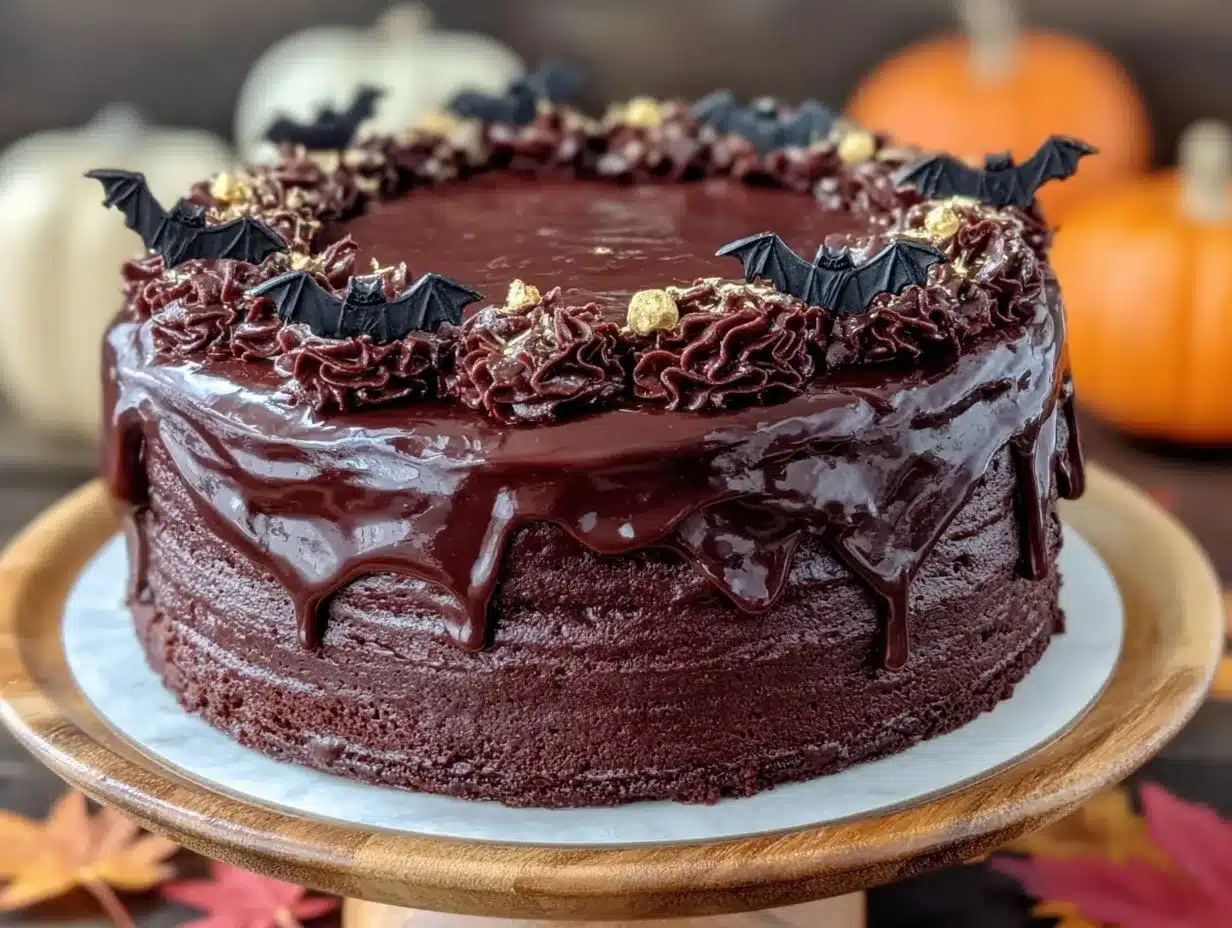
- Prepare your pans and preheat the oven: Grease two 8-inch round pans with butter or baking spray, then line the bottoms with parchment paper circles. Preheat your oven to 350°F (175°C). This step ensures the cakes release easily after baking.
- Mix dry ingredients: In a large bowl, sift together 2 ½ cups (320 g) all-purpose flour, 2 cups (400 g) granulated sugar, ¾ cup (75 g) Dutch-processed cocoa powder, 1 ½ tsp baking powder, 1 ½ tsp baking soda, and 1 tsp salt. Whisk well to combine; this helps distribute the leavening evenly.
- Combine wet ingredients: In a separate bowl, lightly beat 3 large eggs, then add 1 cup (240 ml) whole milk, ½ cup (120 ml) vegetable oil, and 2 tsp vanilla extract. Mix until smooth.
- Mix batter: Gradually add the wet ingredients to the dry mixture, stirring gently with a spatula or mixer on low speed. Slowly pour in 1 cup (240 ml) boiling water while stirring carefully; the batter will be thin, but that’s perfect for moist cake.
- Bake the cakes: Divide batter evenly between the two pans. Bake for 30-35 minutes, or until a toothpick inserted in the center comes out clean. Rotate the pans halfway through baking if your oven tends to cook unevenly.
- Cool completely: Let cakes cool in the pans for 10 minutes, then turn out onto cooling racks. Cooling fully before frosting prevents melting or sliding buttercream.
- Make the black buttercream: Beat 1 cup (227 g) softened unsalted butter on medium speed until creamy, about 2 minutes. Gradually add 4 cups (480 g) sifted powdered sugar, mixing on low to combine. Add 2-3 tbsp (30-45 ml) heavy cream, 1 tsp vanilla, and a pinch of cocoa powder if using. Beat on high for 3 minutes until fluffy. Add black gel food coloring a little at a time until you reach a deep, even black. Scrape down the bowl to mix thoroughly.
- Assemble the cake: Level the tops of the cakes with a serrated knife if needed. Place one layer on your cake board or serving plate. Spread a thick, even layer of black buttercream (about ½ cup) on top. Place the second layer on top and cover the entire cake with a thin crumb coat of buttercream. Chill for 20 minutes to set.
- Apply the final coat: Add a generous layer of buttercream all over, smoothing with an offset spatula and bench scraper. Chill again for 10-15 minutes to firm up the frosting.
- Prepare the gold drip: Melt ½ cup (90 g) white chocolate or candy melts in a microwave-safe bowl in 20-second bursts, stirring in between until smooth. Stir in 1-2 tsp edible gold luster dust or paint. Thin with a tiny splash of vegetable oil if needed for drip consistency.
- Drip the cake: Using a small spoon or paintbrush, carefully drip the gold chocolate around the edges of the cake so it cascades down the sides in uneven drips. Let the cake sit until the drip sets, about 20-30 minutes.
Pro tip: If your buttercream feels too soft while frosting, chill it for 10 minutes and then continue. For the best black color, gel food coloring is your friend—liquid colors tend to thin the frosting and dull the tone. Also, don’t rush the drip—wait for the chocolate to cool slightly before applying to avoid melting the buttercream.
Cooking Tips & Techniques
Making a cake this dramatic means paying attention to a few key details that really make the difference:
- Getting the black buttercream just right: It’s tempting to dump in lots of black food coloring, but that can sometimes taste bitter or thin out the frosting. Add gel coloring slowly and beat well to fully incorporate. Adding a bit of cocoa powder helps deepen the chocolate notes, balancing the color with flavor.
- Smooth and stable frosting: Sifting your powdered sugar prevents lumps. Use room temperature butter for creamy, easy-to-whip frosting. If it feels too stiff, add cream a teaspoon at a time to loosen without losing structure.
- Even cake layers: Level your cakes with a serrated knife before assembling. Uneven layers can make the cake look wobbly and harder to frost cleanly.
- Chill between frosting steps: Crumb coats seal in loose crumbs and give a smooth base. Chilling after crumb coat and final frosting helps set the buttercream, making it easier to apply the gold drip without smudging.
- Gold drip finesse: The drip chocolate needs to be cool but still pourable. Too hot, and it melts the frosting; too cold, and it won’t drip. Test on the side of a bowl first to get the right consistency.
I once tried rushing the drip step and ended up with a melted mess that looked more like a horror story than a birthday cake. Patience is key. Also, mixing the drip with a tiny bit of oil helps it flow beautifully but doesn’t change the flavor.
Variations & Adaptations
This recipe is a great canvas for personal tweaks and dietary needs. Here are some ways to make it your own:
- Flavor twist: Add orange zest to the cake batter or a splash of espresso to intensify the chocolate. For a seasonal feel, try a pinch of cinnamon or pumpkin pie spice in the batter.
- Dietary swaps: Use almond or oat milk to make the cake dairy-free. Swap butter for vegan margarine and powdered sugar for a vegan brand to make the black buttercream plant-based.
- Different drip colors: Instead of gold, use silver luster dust or even blood-red colored white chocolate for a truly spooky Halloween effect.
- Decorations: Top the cake with edible Halloween sprinkles, candy eyes, or fondant spiders to amp up the spooky vibe.
- Alternative cake bases: This black buttercream pairs beautifully with a red velvet or even a moist pumpkin cake—try it for a festive fall birthday.
Once, I made this cake with a pumpkin roll filling inside for a surprise seasonal burst. It was a hit and surprisingly easy to pull off if you’re comfortable rolling cakes!
Serving & Storage Suggestions
Serve this cake at room temperature so the black buttercream is soft and luscious. The gold drip adds a lovely contrast that catches the light perfectly under dim Halloween lighting. I like to present it on a dark or metallic cake stand to keep the spooky-chic vibe going.
This cake pairs wonderfully with a simple cup of coffee or a rich hot chocolate — you might even want to try it alongside some hot cocoa bombs for a full cozy fall treat experience.
Store leftover cake covered loosely with plastic wrap at room temperature for up to two days. For longer storage, refrigerate for up to 5 days or freeze individual slices wrapped tightly in plastic and foil for up to 3 months. Thaw in the fridge overnight and bring to room temperature before serving.
Flavors tend to deepen after a day, so if you can resist, letting the cake sit overnight actually improves the taste. Just be sure to keep it covered so it doesn’t dry out.
Nutritional Information & Benefits
Here’s an approximate breakdown per serving (based on 12 servings):
| Calories | 420 kcal |
|---|---|
| Fat | 22 g |
| Carbohydrates | 54 g |
| Protein | 5 g |
| Sugar | 38 g |
While this cake is a treat, it includes real cocoa powder which provides antioxidants and a small dose of iron. Using whole milk and butter adds richness but can be swapped for plant-based alternatives to fit dietary preferences.
This recipe is naturally gluten-based but can be adjusted with gluten-free flour blends if needed. It contains eggs and dairy, so those with allergies should substitute accordingly.
From a wellness perspective, making a cake like this at home means controlling ingredients and avoiding artificial additives found in many store-bought options. Plus, the joy of creating and sharing a cake is nourishment for the soul — especially when it’s as fun and festive as this one.
Conclusion
There’s just something about the perfect spooky Halloween birthday cake with black buttercream and gold drip that makes celebrations feel special and a little mysterious. This recipe brings together rich chocolate, smooth and glossy black frosting, and a shimmering gold finish that’s both striking and delicious.
Feel free to customize it with your favorite flavors or decorations, but know that even the base recipe is enough to impress and delight. I love this cake because it marries spooky elegance with homey warmth, making it a unique tradition for October birthdays or Halloween parties.
Give it a try, and when you do, I’d love to hear how it turned out or any twists you added. Share your spooky baking stories and let’s keep the magic of homemade celebrations alive!
FAQs
- Can I make the black buttercream without gel food coloring?
You can use liquid food coloring, but gel is best for achieving a deep black without thinning the frosting. Adding a bit of cocoa powder helps too. - How do I prevent the gold drip from melting the buttercream?
Let the melted chocolate cool slightly before dripping. It should be pourable but not hot enough to soften the buttercream. - Can I freeze this cake?
Yes, wrap it tightly and freeze for up to 3 months. Thaw overnight in the fridge and bring to room temperature before serving. - What can I use instead of edible gold dust?
Silver luster dust or colored candy melts work as alternatives. You could also skip the drip and decorate with Halloween-themed toppers. - Is this recipe suitable for beginners?
Absolutely! The steps are straightforward, and with basic baking tools, even novice bakers can create a stunning spooky cake.
Pin This Recipe!
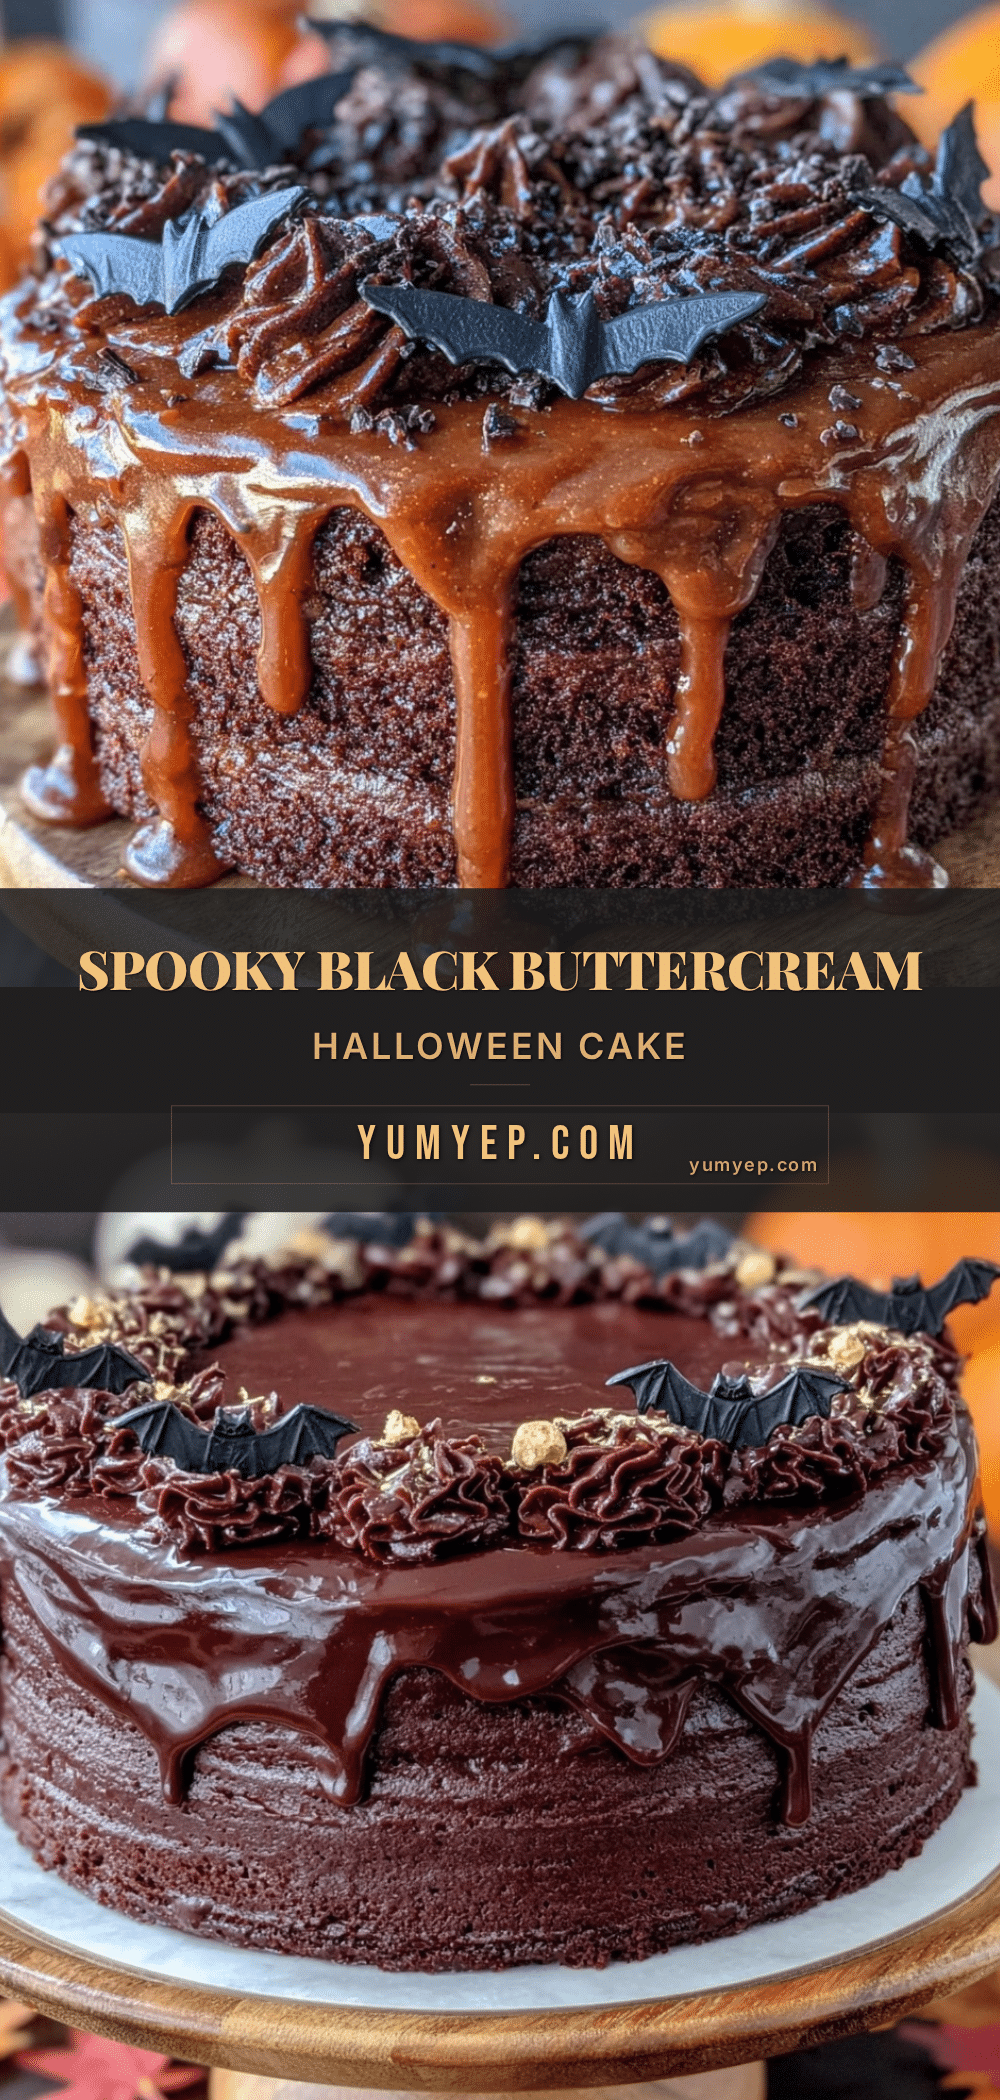
Perfect Spooky Halloween Birthday Cake Recipe with Easy Black Buttercream and Gold Drip Tutorial
A rich chocolate cake with smooth black buttercream and a shimmering gold drip, perfect for Halloween birthdays. This recipe is approachable for home cooks and delivers a dramatic yet delicious treat.
- Prep Time: 20 minutes
- Cook Time: 30-35 minutes
- Total Time: 1 hour 5 minutes
- Yield: 12 servings 1x
- Category: Dessert
- Cuisine: American
Ingredients
- 2 ½ cups (320 g) all-purpose flour
- 2 cups (400 g) granulated sugar
- ¾ cup (75 g) Dutch-processed unsweetened cocoa powder
- 1 ½ tsp baking powder
- 1 ½ tsp baking soda
- 1 tsp salt
- 3 large eggs, room temperature
- 1 cup (240 ml) whole milk (or almond/oat milk)
- ½ cup (120 ml) vegetable oil
- 1 cup (240 ml) boiling water
- 2 tsp pure vanilla extract
- 1 cup (227 g) unsalted butter, softened
- 4 cups (480 g) powdered sugar, sifted
- 2–3 tbsp (30–45 ml) heavy cream
- 1 tsp pure vanilla extract
- 1 tsp black gel food coloring (or as needed)
- Pinch of cocoa powder (optional)
- ½ cup (90 g) white chocolate or candy melts, melted
- 1–2 tsp edible gold luster dust or gold edible paint
- A tiny splash of vegetable oil (to thin drip if needed)
Instructions
- Grease two 8-inch round pans with butter or baking spray and line bottoms with parchment paper. Preheat oven to 350°F (175°C).
- Sift together flour, sugar, cocoa powder, baking powder, baking soda, and salt in a large bowl. Whisk to combine.
- In a separate bowl, lightly beat eggs, then add milk, vegetable oil, and vanilla extract. Mix until smooth.
- Gradually add wet ingredients to dry ingredients, stirring gently. Slowly pour in boiling water while stirring; batter will be thin.
- Divide batter evenly between pans and bake for 30-35 minutes or until a toothpick comes out clean. Rotate pans halfway through baking.
- Cool cakes in pans for 10 minutes, then turn out onto cooling racks to cool completely.
- Beat softened butter on medium speed until creamy (~2 minutes). Gradually add powdered sugar on low speed. Add heavy cream, vanilla, and optional cocoa powder. Beat on high for 3 minutes until fluffy.
- Add black gel food coloring gradually until deep black color is achieved. Scrape bowl to mix thoroughly.
- Level cake tops if needed. Place one layer on serving plate, spread about ½ cup black buttercream evenly on top. Add second layer and cover entire cake with thin crumb coat. Chill 20 minutes.
- Apply a generous final coat of buttercream, smooth with offset spatula and bench scraper. Chill 10-15 minutes to firm frosting.
- Melt white chocolate or candy melts in microwave-safe bowl in 20-second bursts, stirring until smooth. Stir in edible gold luster dust or paint. Thin with a tiny splash of vegetable oil if needed.
- Using a small spoon or paintbrush, drip gold chocolate around cake edges to create uneven drips. Let set for 20-30 minutes.
Notes
Use gel food coloring for best black color without thinning frosting. Chill buttercream if too soft while frosting. Let melted chocolate cool slightly before dripping to avoid melting buttercream. Sift powdered sugar to prevent lumps. Level cake layers for even frosting. Chill between frosting steps for smooth finish.
Nutrition
- Serving Size: 1 slice (1/12 of cak
- Calories: 420
- Sugar: 38
- Fat: 22
- Carbohydrates: 54
- Protein: 5
Keywords: Halloween cake, birthday cake, black buttercream, gold drip, chocolate cake, spooky cake, easy cake recipe