
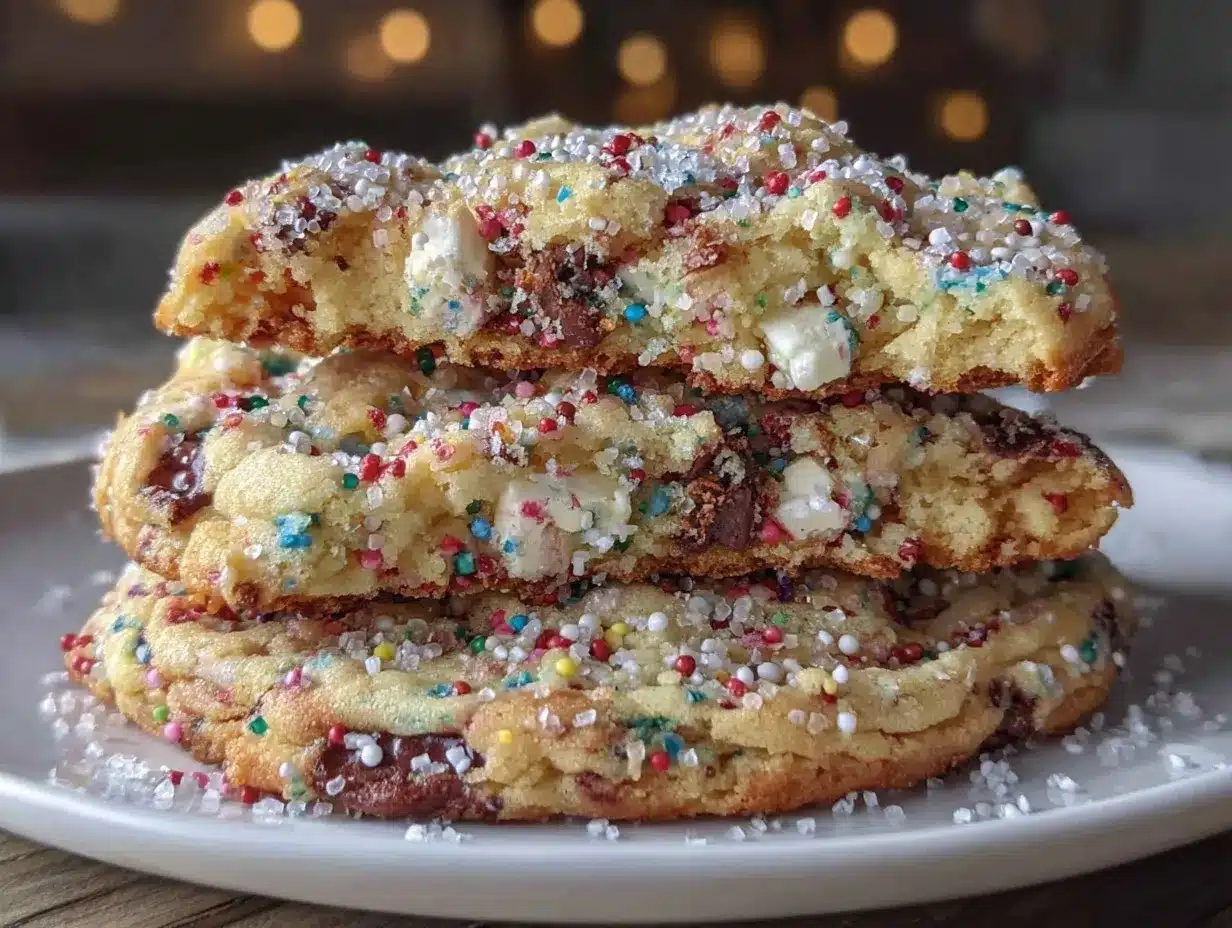
“You’ve got to try these cookies,” my coworker said with a mischievous grin, sliding a slightly crumbled, rainbow-speckled cookie across the break room table. Honestly, I was skeptical at first. Birthday cake-flavored cookies? Really? But I took a bite, and that moment quickly shut down any doubts. Thick and chewy, with a buttery crumb that just melts in your mouth—these Milk Bar-style birthday cake cookies tasted like a nostalgic party in every bite. The sprinkles? Not just for show; they added a playful crunch that made the experience feel downright joyful.
I ended up making these cookies three times that very week. The recipe was forgiving yet precise, and while the first batch came out a little flat (rookie move—don’t skip chilling the dough!), the next two were spot on. It’s funny how a simple cookie can become a little celebration, no matter the day. I’ve since brought them to weekend brunches and even swapped them for my usual red velvet crinkle cookies at holiday parties, and people always ask for the recipe again.
What stuck with me, beyond the fun colors and chewy texture, was how these cookies manage to feel both indulgent and comforting. They’re not just sweets—you know, they’re like a small, edible hug. So, here’s the recipe I trust for thick and chewy Milk Bar-style birthday cake cookies that are easy enough to whip up for parties but special enough to feel like a treat just for you.
Why You’ll Love This Recipe
Having tested plenty of cookie recipes over the years, this one stands out for so many reasons. I’ve tweaked it a bit to get that iconic thick and chewy texture, and I believe it’s the best version out there. Here’s why you’ll want to keep this recipe close:
- Quick & Easy: You can have these cookies on the table in under 30 minutes of active prep, with a bit of waiting time for chilling—perfect for last-minute parties or casual cravings.
- Simple Ingredients: No need for fancy or hard-to-find items. Most are pantry staples you probably already have, like unsalted butter, cake flour, and sprinkles.
- Perfect for Parties: These cookies bring that birthday vibe without the fuss of a cake. Great for potlucks, kid’s birthdays, or even grown-up celebrations craving a nostalgic twist.
- Crowd-Pleaser: Kids and adults alike rave about these. The texture is soft but substantial, and the sprinkles bring a dash of whimsy that’s hard to resist.
- Unbelievably Delicious: The trick is the cake flour and browned butter combo, which gives the cookies a rich, almost caramelized flavor and that signature chewy bite.
This isn’t just another cookie recipe—it’s my go-to when I want to impress without stress. The browned butter adds a depth you don’t always find in birthday cake sweets, and the sprinkle mix isn’t just for looks—it adds a texture that makes every bite interesting. Plus, I love that these cookies remind me of simpler times but with a grown-up edge.
What Ingredients You Will Need
This recipe uses simple, wholesome ingredients to deliver bold flavor and satisfyingly chewy texture without the fuss. Here’s what you’ll need to get that Milk Bar magic going:
- Unsalted butter, 1 cup (227 g), browned and cooled (adds rich, nutty flavor)
- Granulated sugar, ¾ cup (150 g)
- Light brown sugar, ½ cup (100 g), packed (for moisture and chewiness)
- Large eggs, 2, room temperature (helps bind and tenderize)
- Pure vanilla extract, 2 teaspoons (look for Nielsen-Massey for best flavor)
- Cake flour, 2 ¼ cups (270 g) (key for that tender crumb)
- Baking powder, 1 teaspoon (for a slight lift)
- Baking soda, ½ teaspoon (balances acidity)
- Salt, ½ teaspoon (enhances sweetness)
- Rainbow sprinkles, ¾ cup (choose sturdy ones that can hold up to baking)
Optional:
- White chocolate chips or milk chocolate chips, ½ cup (for extra gooey pockets)
- Almond flour to swap ¼ cup of cake flour for a subtle nutty flavor and a touch more chew
Pro tip: I recommend using cake flour over all-purpose here because it lightens the dough and produces that signature tender, chewy texture you want. For a dairy-free option, swap butter for a plant-based margarine and ensure your sprinkles are vegan-friendly.
Equipment Needed
Here’s what you’ll want to have handy to make these thick and chewy Milk Bar-style birthday cake cookies without a hitch:
- A medium saucepan or heavy-bottomed skillet for browning butter (a wooden spoon helps to stir and prevent burning)
- Large mixing bowl (or stand mixer with paddle attachment if you prefer less elbow grease)
- Measuring cups and spoons (precision matters for baking!)
- Whisk or fork for combining wet ingredients
- Sifter or fine mesh strainer for cake flour (to keep the texture light and clump-free)
- Rubber spatula for folding in sprinkles gently
- Baking sheets lined with parchment paper or silicone mats (prevents sticking and promotes even baking)
- Cookie scoop (about 2 tablespoons size) to portion dough evenly for uniform cookies
- Cooling racks to prevent sogginess after baking
If you don’t have a stand mixer, no worries—mixing by hand works just fine here. A budget-friendly tip: silicone baking mats are a reusable alternative to parchment paper and make cleanup a breeze. Also, I learned the hard way that browning butter takes patience; keep your heat medium-low and stir often to avoid burnt bits.
Preparation Method
- Browning the butter (10 minutes): Place 1 cup (227 g) unsalted butter in a medium saucepan over medium heat. Stir constantly with a wooden spoon. The butter will foam, then begin to brown and smell nutty. When you see golden flecks and smell that toasty aroma, remove from heat immediately and transfer to a heatproof bowl to cool slightly (about 10 minutes). This step gives the cookies their signature rich, caramel-like flavor.
- Mixing sugars and eggs (5 minutes): In a large bowl, whisk together ¾ cup (150 g) granulated sugar and ½ cup (100 g) light brown sugar. Add 2 large eggs, one at a time, beating well after each addition. Stir in 2 teaspoons pure vanilla extract. The mixture should be smooth and slightly fluffy.
- Combine browned butter (2 minutes): Slowly pour the cooled browned butter into the sugar-egg mixture, whisking continuously until fully incorporated. The batter may look a little glossy—that’s perfect.
- Sift dry ingredients (3 minutes): In a separate bowl, sift together 2 ¼ cups (270 g) cake flour, 1 teaspoon baking powder, ½ teaspoon baking soda, and ½ teaspoon salt. Sifting prevents clumps and ensures even rising.
- Combine wet and dry ingredients (3 minutes): Gradually add the dry ingredients to the wet mixture. Use a rubber spatula to fold gently until just combined. Avoid overmixing to keep the cookies tender and chewy.
- Fold in sprinkles (2 minutes): Add ¾ cup rainbow sprinkles and, if using, ½ cup white or milk chocolate chips. Fold gently to distribute evenly without breaking the sprinkles or coloring the dough.
- Chill the dough (at least 1 hour): Cover the bowl with plastic wrap and refrigerate. Chilling firms up the dough, preventing spreading and helping achieve that thick, chewy texture. If you’re short on time, 30 minutes will do, but longer is better.
- Preheat oven and prepare baking sheets (10 minutes): Preheat your oven to 350°F (175°C). Line baking sheets with parchment paper or silicone mats.
- Portion and bake (12-15 minutes per batch): Use a cookie scoop (about 2 tablespoons) to drop mounds of dough onto the prepared sheets, spacing them 2 inches apart. Bake for 12 to 15 minutes, until edges are just set but centers look slightly soft—the cookies will continue to firm up as they cool.
- Cool on racks (10 minutes): Transfer cookies to cooling racks to prevent sogginess. Resist the urge to eat right off the tray; patience rewards with the best chew and flavor.
Pro tip: If your dough feels too sticky to scoop, a quick chill in the freezer for 10 minutes helps. And if you want extra thickness, gently press the dough mounds up a bit before baking.
Cooking Tips & Techniques
Getting that perfect thick and chewy texture isn’t magic—it’s about the little details. Here’s what I learned after a few batches:
- Don’t skip browning the butter. It adds a deep, toasty flavor that plain melted butter just can’t match. Just watch carefully so it doesn’t burn.
- Use cake flour. I once tried all-purpose and ended up with dense cookies that lacked that tender crumb. Cake flour makes a noticeable difference.
- Chill your dough. This step is crucial. I tried baking fresh dough once, and the cookies spread out too thin and lost that chewy center.
- Don’t overmix. When you add the dry ingredients, fold gently. Overmixing develops gluten, which can make cookies tough.
- Watch your bake time. The edges should be set but centers still soft. If you bake too long, the cookies lose that chewy magic and become crunchy.
- Multitasking tip: While the dough chills, prep your baking sheets and measure ingredients for your next batch or even try a quick side like crispy candied pecans to add to salads or snacks.
Variations & Adaptations
These birthday cake cookies are a fantastic base to customize. Here are some of my favorite tweaks:
- Gluten-free version: Swap cake flour for a gluten-free baking blend, and reduce baking powder by half. Add a tablespoon of xanthan gum for structure.
- Vegan adaptation: Use plant-based butter and replace eggs with flax eggs (1 tablespoon ground flaxseed + 3 tablespoons water per egg). Use vegan sprinkles to keep the celebration cruelty-free.
- Flavor twists: Mix in lemon zest and white chocolate chips for a bright, tangy version. Or try a dash of cinnamon and nutmeg for a cozy fall vibe.
- Baking method: For a softer, cakier cookie, bake at 325°F (160°C) for a slightly longer time. For a crispier edge, bake at 375°F (190°C) but watch carefully to avoid burning.
- Personal favorite: I once folded in mini marshmallows and crushed graham crackers to mimic a s’mores birthday cake cookie. It was a hit at our summer cookout!
Serving & Storage Suggestions
These cookies are best served at room temperature, fresh out of the oven or after cooling on racks. The chewy texture softens a bit as they sit, making them perfect for packing into lunchboxes or serving at gatherings.
Pair them with cold milk, a creamy coffee, or even a fruity iced tea for a delightful treat. If you’re planning a party, these cookies work beautifully alongside other fun bites like snowball cookies for variety and visual appeal.
To store, place cookies in an airtight container at room temperature for up to 4 days. For longer storage, freeze them in a single layer on a baking sheet, then transfer to a freezer-safe bag for up to 3 months. Thaw at room temperature and warm slightly in the oven for that fresh-baked feel.
Flavors can mellow and deepen after a day, so if you can, make the cookies a day ahead to enjoy that richer birthday cake essence.
Nutritional Information & Benefits
Each thick and chewy Milk Bar-style birthday cake cookie contains approximately:
| Nutrient | Amount per cookie (1 of 24) |
|---|---|
| Calories | 150-170 kcal |
| Fat | 8 g |
| Carbohydrates | 20 g |
| Protein | 2 g |
| Sugar | 12 g |
Key ingredients like butter and eggs provide essential fats and protein, while cake flour offers a lighter texture compared to all-purpose flour. Though these cookies are treats, they can be part of a balanced diet when enjoyed in moderation.
Note: Contains gluten, dairy, and eggs. For allergen-friendly options, see the variations section.
Conclusion
Thick and chewy Milk Bar-style birthday cake cookies are proof that you can have party-worthy treats without the fuss of baking a whole cake. With a handful of simple ingredients and a little patience for chilling dough, you get these colorful, nostalgic cookies that feel like celebrations in every bite.
I love how versatile they are—perfect for a quick sweet fix, a potluck favorite, or a whimsical gift. They remind me that sometimes the best desserts are the ones that bring joy simply by being fun and approachable.
Go ahead, give this recipe a try and make it your own. Whether you stick to the classic or add your twist, these cookies are bound to bring smiles around the table. I’d love to hear how yours turn out or any creative spins you’ve put on them!
Frequently Asked Questions
- Can I use all-purpose flour instead of cake flour? You can, but the cookies will be denser and less tender. For best results, sift the all-purpose flour and consider adding a tablespoon of cornstarch to mimic cake flour’s lightness.
- How important is chilling the dough? Very! Chilling solidifies the fats and prevents the cookies from spreading too thin, giving you that thick, chewy texture.
- Can I make the dough ahead and freeze it? Absolutely. Freeze the dough balls on a tray, then transfer to a bag. Bake from frozen, adding a couple of extra minutes to the baking time.
- What kind of sprinkles should I use? Use sturdy, non-edible glitter sprinkles. Avoid very thin or rainbow jimmies that can bleed color and affect dough texture.
- How do I keep the cookies chewy longer? Store them in an airtight container with a slice of bread to maintain moisture, and avoid the fridge which can dry them out.
Pin This Recipe!
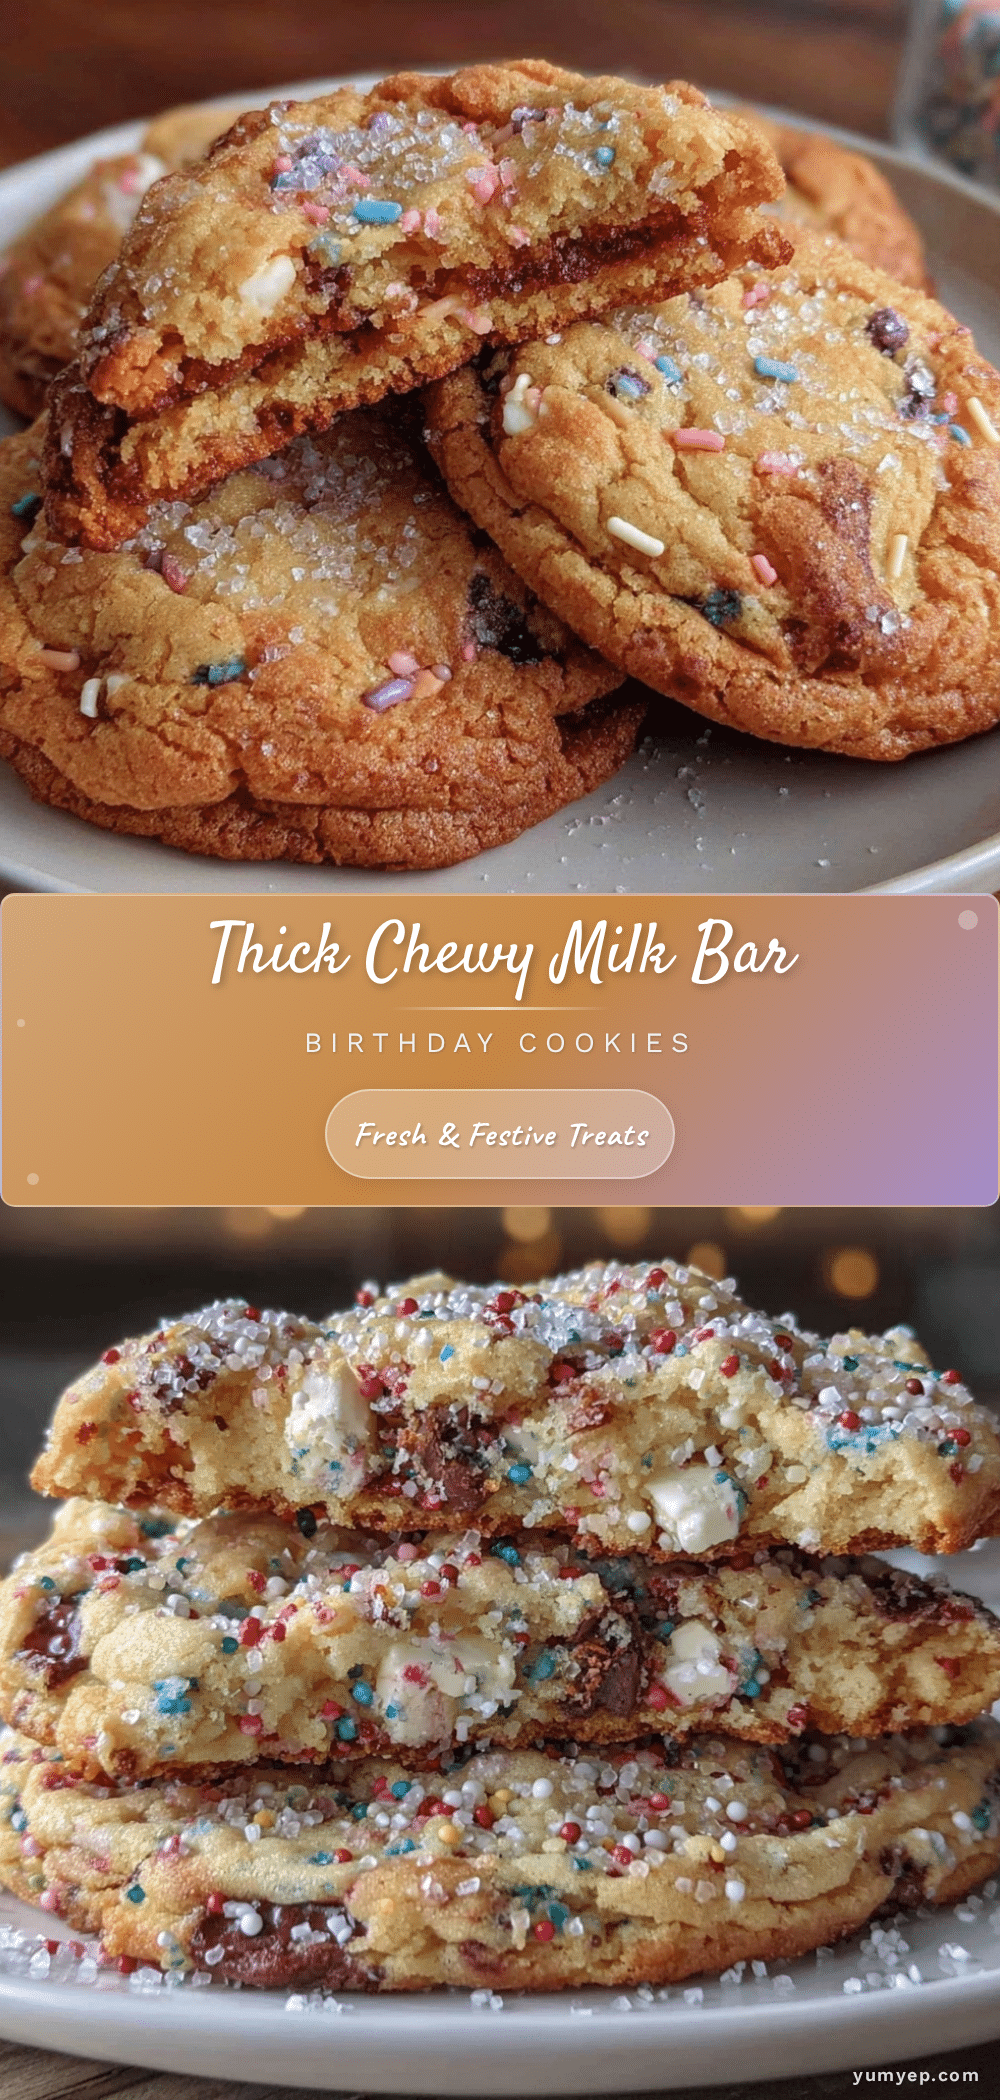
Thick and Chewy Milk Bar-Style Birthday Cake Cookies

These thick and chewy Milk Bar-style birthday cake cookies are easy to make and perfect for parties, featuring a nostalgic buttery crumb and playful rainbow sprinkles.
- Prep Time: 25 minutes
- Cook Time: 15 minutes
- Total Time: 1 hour 40 minutes
- Yield: 24 cookies 1x
- Category: Dessert
- Cuisine: American
Ingredients
- 1 cup (227 g) unsalted butter, browned and cooled
- 3/4 cup (150 g) granulated sugar
- 1/2 cup (100 g) light brown sugar, packed
- 2 large eggs, room temperature
- 2 teaspoons pure vanilla extract
- 2 1/4 cups (270 g) cake flour
- 1 teaspoon baking powder
- 1/2 teaspoon baking soda
- 1/2 teaspoon salt
- 3/4 cup rainbow sprinkles
- Optional: 1/2 cup white chocolate chips or milk chocolate chips
- Optional: Substitute 1/4 cup cake flour with almond flour
Instructions
- Brown the butter: Place 1 cup unsalted butter in a medium saucepan over medium heat. Stir constantly with a wooden spoon until butter foams, browns, and smells nutty. Remove from heat and cool about 10 minutes.
- Mix sugars and eggs: In a large bowl, whisk together granulated sugar and light brown sugar. Add eggs one at a time, beating well after each. Stir in vanilla extract until smooth and slightly fluffy.
- Combine browned butter: Slowly pour cooled browned butter into sugar-egg mixture, whisking continuously until fully incorporated and glossy.
- Sift dry ingredients: In a separate bowl, sift together cake flour, baking powder, baking soda, and salt.
- Combine wet and dry ingredients: Gradually add dry ingredients to wet mixture. Fold gently with a rubber spatula until just combined; avoid overmixing.
- Fold in sprinkles and optional chocolate chips: Gently fold in rainbow sprinkles and chocolate chips if using, distributing evenly without breaking sprinkles.
- Chill dough: Cover bowl with plastic wrap and refrigerate for at least 1 hour (30 minutes minimum).
- Preheat oven and prepare baking sheets: Preheat oven to 350°F (175°C). Line baking sheets with parchment paper or silicone mats.
- Portion and bake: Use a 2-tablespoon cookie scoop to drop dough mounds 2 inches apart on baking sheets. Bake 12-15 minutes until edges are set but centers are slightly soft.
- Cool on racks: Transfer cookies to cooling racks for about 10 minutes before serving.
Notes
Do not skip browning the butter for rich flavor. Chill dough to prevent spreading and achieve thick chewy texture. Avoid overmixing to keep cookies tender. Bake until edges are set but centers remain soft for best chew. Use sturdy sprinkles to avoid color bleeding. Store with a slice of bread in an airtight container to keep cookies chewy longer.
Nutrition
- Serving Size: 1 cookie
- Calories: 150170
- Sugar: 12
- Fat: 8
- Carbohydrates: 20
- Protein: 2
Keywords: birthday cake cookies, Milk Bar cookies, thick chewy cookies, party cookies, sprinkles cookies, easy cookie recipe


