“You won’t believe how easy this is,” my cousin chuckled, holding up a massive sheet pan covered in rich, glossy chocolate. It was graduation day, and the backyard was buzzing with cousins, neighbors, and that one aunt who’s always ready to critique the desserts. Honestly, I was skeptical at first—how good could a sheet pan chocolate cake really be? But as soon as a fork hit that moist crumb and the chocolate frosting melted on my tongue, I got it. This Ultimate Texas Sheet Pan Chocolate Cake had quietly stolen the show.
I’d never considered baking a cake this size before, especially not for a family gathering where I’d expect a million little cupcakes or a fancy layered cake. But this recipe, born from a no-fuss, all-hands-on-deck kind of day, turned out to be the perfect crowd-pleaser. No slicing awkwardly, no juggling dozens of plates. Just one giant, fudgy, chocolate masterpiece that felt like a celebration on its own.
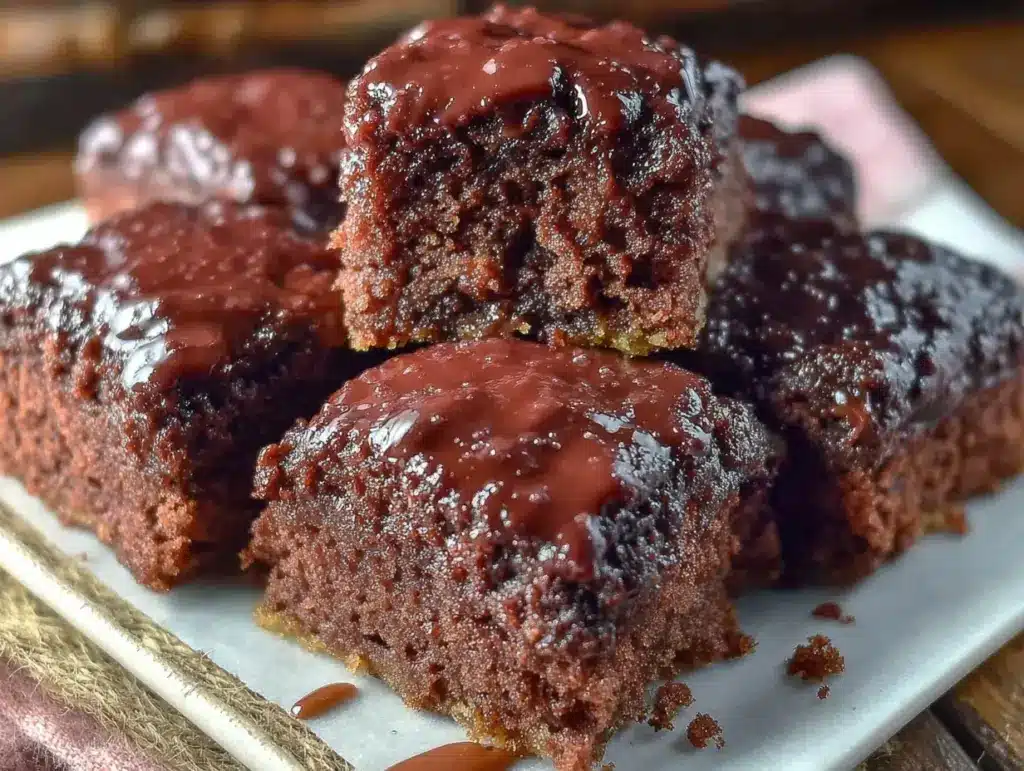
That afternoon, between the hum of lawn chairs scraping on the patio and the chatter of proud parents, I found myself sneaking piece after piece. The cake’s texture was something to savor — dense but not heavy, and that deep cocoa flavor paired with a perfectly creamy frosting made it feel like a little indulgence worth every calorie. The best part? It came together with everyday ingredients and zero stress. It’s stuck with me since, a go-to whenever a big moment calls for something sweet and uncomplicated.
So, if you’re looking for a dessert that’ll fill a crowd and make people ask for seconds without any fuss, this cake is your answer. It’s not just a recipe; it’s a little celebration in itself.
Why You’ll Love This Recipe
This Ultimate Texas Sheet Pan Chocolate Cake is a total game-changer for graduation celebrations or any big gathering where dessert matters but time doesn’t. Here’s why I keep coming back to it:
- Quick & Easy: It bakes in one large pan, cutting down prep and cleanup time dramatically—less stress, more celebrating.
- Simple Ingredients: You likely have everything already—flour, cocoa, eggs, sugar—and no need for specialty items or hard-to-find ingredients.
- Perfect for Celebrations: Whether it’s a graduation party, birthday, or just a weekend get-together, this cake feeds a crowd with zero fuss.
- Crowd-Pleaser: Kids, adults, chocolate lovers, and skeptics alike have all gone back for seconds (and thirds, don’t judge).
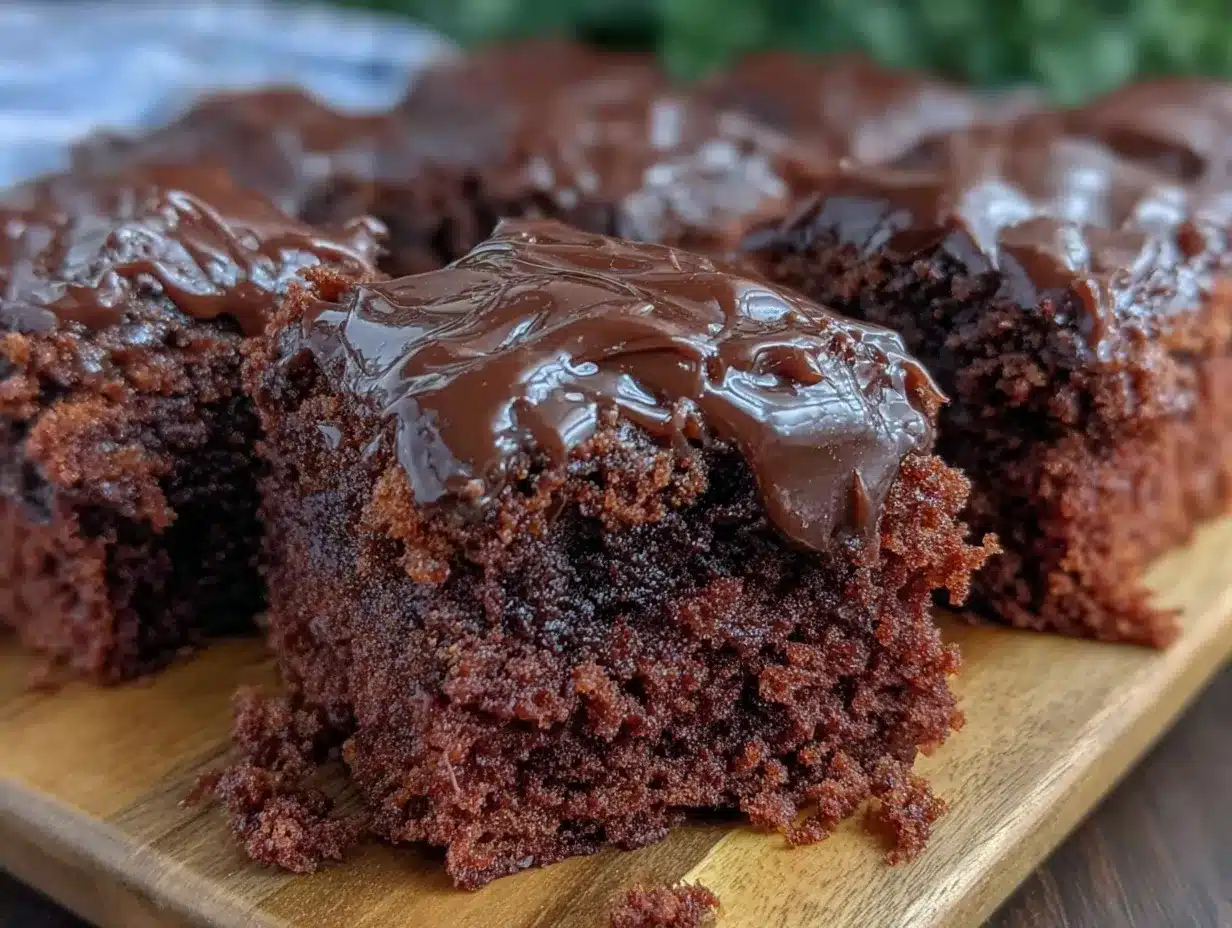
- Unbelievably Delicious: The texture is moist and tender, with a chocolate frosting that’s creamy but not too sweet—balanced in all the right ways.
What sets this apart from other chocolate sheet cakes is the frosting technique. Instead of the usual spread-on style, this recipe calls for a glossy, almost pourable chocolate frosting that sets just right, giving the cake a luscious finish. Plus, the cake’s crumb is surprisingly light considering its size, thanks to a careful mix of ingredients and baking time. I’ve tested this recipe over multiple celebrations, tweaking the cocoa blend and baking duration until it hit that perfect note.
It’s a recipe that comforts and impresses simultaneously—the kind that invites you to close your eyes after one bite and just savor the moment. And honestly, it’s one I trust to show up consistently for any party or potluck, whether you’re a seasoned baker or just someone who appreciates a great chocolate cake without the headache.
What Ingredients You Will Need
This recipe uses straightforward, pantry-friendly ingredients to create a rich and satisfying chocolate cake with a smooth, velvety frosting. You don’t need anything fancy, just basics that work together to build layers of flavor.
- All-purpose flour – 3 cups (360g) (for structure; make sure to measure properly by spooning into the cup and leveling off)
- Cocoa powder – 1 cup (85g), unsweetened Dutch-process preferred for a smoother, deeper chocolate taste
- Baking soda – 1½ teaspoons (helps the cake rise and stay tender)
- Baking powder – 1 teaspoon (balances leavening)
- Salt – 1 teaspoon (enhances chocolate flavor)
- Granulated sugar – 2½ cups (500g) (a mix of white and light brown sugar works well for moistness; I like Domino brand)
- Unsalted butter – 1 cup (227g), softened (adds richness and a tender crumb)
- Large eggs – 4, at room temperature (for structure and moisture)
- Buttermilk – 1 cup (240ml), or whole milk with 1 tablespoon lemon juice as a substitute (adds acidity for tenderness)
- Vanilla extract – 2 teaspoons (for depth of flavor)
- Boiling water – 1 cup (240ml) (intensifies cocoa flavor and creates a moist crumb)
For the frosting:
- Unsalted butter – ¾ cup (170g), softened
- Cocoa powder – ¾ cup (65g), unsweetened Dutch-process
- Powdered sugar – 4 cups (480g), sifted
- Whole milk or heavy cream – ⅓ cup (80ml), plus more if needed for consistency
- Vanilla extract – 1 teaspoon
- Salt – a pinch (balances sweetness)
Feel free to swap to dairy-free milk and butter alternatives if needed, and if you want a gluten-free version, almond or oat flour can work with some texture differences. I find that this recipe stays forgiving when making small substitutions, which is a huge plus during busy days like graduation.
Equipment Needed
To make this cake, you’ll want a few essentials on hand, but nothing too specialized:
- Sheet pan: A standard 18×13-inch (46×33 cm) rimmed baking sheet works perfectly. I prefer a heavy-gauge metal pan for even heat distribution.
- Mixing bowls: One large bowl for dry ingredients and another for the wet components.
- Electric mixer: A hand mixer or stand mixer helps get the batter smooth and fluffy, but whisking by hand works if you’re patient.
- Measuring cups and spoons: For accuracy, especially with flour and cocoa powder.
- Rubber spatula: Essential for folding ingredients and scraping the bowl.
- Wire rack: For cooling the cake evenly before frosting.
If you don’t have a large sheet pan, two smaller pans can be used, but the baking time will vary slightly—just keep a close eye. For frosting, a sturdy spatula or offset spatula makes spreading easier, but a simple butter knife works in a pinch. I’ve used budget-friendly tools for this recipe many times, and it never fails to impress.
Preparation Method
- Preheat your oven to 350°F (175°C). Grease and flour your 18×13-inch sheet pan, or line it with parchment paper for easier cleanup. This step helps prevent sticking and ensures the cake edges stay tender.
- Mix dry ingredients: In a large bowl, sift together 3 cups (360g) all-purpose flour, 1 cup (85g) cocoa powder, 1½ teaspoons baking soda, 1 teaspoon baking powder, and 1 teaspoon salt. Whisk to combine evenly. This helps the cake rise uniformly and prevents lumps.
- Cream butter and sugars: Using a mixer, beat 1 cup (227g) softened unsalted butter with 2½ cups (500g) sugar until light and fluffy, about 3-4 minutes on medium speed. The texture should look creamy and pale—this aerates the batter for a tender crumb.
- Add eggs and vanilla: Beat in 4 large eggs one at a time, mixing well after each addition. Stir in 2 teaspoons vanilla extract. If the mixture looks curdled, don’t worry—it will come together with the wet ingredients.
- Combine wet and dry: Alternately add dry ingredients and 1 cup (240ml) buttermilk to the butter mixture, starting and ending with dry. Mix gently on low speed until just combined. Overmixing can toughen the cake, so stop as soon as no flour streaks remain.
- Incorporate boiling water: Carefully stir in 1 cup (240ml) boiling water. The batter will be thin—that’s expected and helps create a moist, tender crumb. Use a spatula to scrape down the bowl.
- Bake: Pour batter into the prepared sheet pan, smoothing the top with a spatula. Bake for 30-35 minutes, or until a toothpick inserted near the center comes out with a few moist crumbs. Avoid overbaking to keep the cake soft.
- Cool completely: Let the cake cool in the pan on a wire rack for at least 1 hour. This helps the frosting set properly when applied.
- Prepare frosting: Beat ¾ cup (170g) softened butter until creamy. Add ¾ cup (65g) cocoa powder and mix well. Gradually add 4 cups (480g) powdered sugar alternated with ⅓ cup (80ml) milk or cream, beating until smooth and spreadable. Stir in 1 teaspoon vanilla and a pinch of salt.
- Frost the cake: Using a spatula, spread the frosting evenly over the cooled cake. For a glossy finish, smooth the top gently without overworking.
- Serve: Cut into generous squares and enjoy! This cake is best enjoyed the same day but keeps well too.
Quick tip: If your frosting feels too thick, add a splash more milk; too thin, add a bit more powdered sugar until you get that perfect spreadability. Also, keep an eye on your baking time—oven variations can make a difference, so start checking a few minutes before.
Cooking Tips & Techniques
Making a big sheet pan cake can feel intimidating, but a few tricks make this process smooth and reliable:
- Room temperature ingredients: Butter, eggs, and buttermilk should be at room temp to blend seamlessly, avoiding lumps and curdling.
- Measuring flour correctly: Too much flour can dry out the cake. Spoon flour into your measuring cup and level with a knife instead of scooping directly.
- Mixing order matters: Creaming butter and sugar well traps air, which lightens the cake. Adding eggs slowly prevents the batter from breaking.
- Don’t skip the boiling water: It might seem odd, but it intensifies the chocolate taste and keeps the crumb moist—trust the process!
- Frost when fully cool: Applying frosting on warm cake can cause it to melt and slide off, so patience is key.
- Use an offset spatula: It makes frosting smoother and easier to spread, especially on a large surface like this sheet cake.
- Watch your bake time: Ovens vary. Start checking at 30 minutes; a few moist crumbs on a toothpick is perfect.
I’ve learned the hard way that rushing or skipping steps can lead to dense or crumbly cake. One time, I added eggs too quickly and ended up with a lumpy batter that baked unevenly. Taking it slow pays off. Also, multitasking works well here—while the cake bakes, whip up the frosting to save time. That way, everything comes together perfectly when the cake cools.
Variations & Adaptations
This recipe is flexible and welcomes tweaks depending on your needs or mood:
- Gluten-Free: Swap all-purpose flour for a gluten-free blend like Bob’s Red Mill 1-to-1. The texture will be slightly different but still delicious.
- Dairy-Free: Use plant-based milk (almond, oat) and dairy-free butter substitutes. I’ve made this with coconut milk and vegan butter with great results.
- Flavor Twists: Add a teaspoon of instant espresso powder to the batter for a mocha boost, or swirl in some peanut butter before baking for a rich surprise.
- Seasonal Touch: Top with fresh berries or sprinkle chopped nuts like the crispy candied pecans for crunch and flavor contrast.
- Baking Method: If you don’t have a sheet pan, two 9×13-inch pans work fine—reduce baking time by 5-7 minutes and check for doneness.
One of my favorite personal adaptations was turning this into a layered cake by baking the batter in round pans and filling it with a whipped chocolate ganache between layers. It’s a bit more work but perfect for smaller, more formal celebrations.
Serving & Storage Suggestions
This cake shines when served at room temperature, allowing the frosting to be soft and creamy. I like to cut it into generous squares and plate it with a dollop of whipped cream or a scoop of vanilla ice cream for added indulgence.
For a full celebration spread, pair it with light, fresh sides like a crisp salad or fruit platter to balance the richness. If you’re planning a brunch event, it complements savory dishes like the cinnamon roll casserole beautifully.
Store leftovers covered at room temperature for up to 2 days. For longer storage, wrap tightly in plastic wrap and refrigerate for up to 5 days or freeze in an airtight container for up to 3 months. When reheating, let frozen slices thaw fully, then warm gently in the oven at 300°F (150°C) for 10 minutes to refresh that freshly baked feel.
Over time, the flavors meld and intensify, so sometimes I actually prefer it a day later when the chocolate tastes even more pronounced.
Nutritional Information & Benefits
Per serving (based on 24 servings), this cake delivers approximately:
| Calories | 320 |
|---|---|
| Fat | 15g |
| Saturated Fat | 9g |
| Carbohydrates | 42g |
| Sugar | 30g |
| Protein | 4g |
While it’s undeniably a treat, key ingredients like cocoa powder are rich in antioxidants and may provide heart-healthy benefits. Using buttermilk adds a bit of calcium and tang that balances sweetness. For those monitoring gluten or dairy, the recipe adapts well without losing its signature flavor.
From my perspective, this cake is about enjoying moments with loved ones, where a little indulgence nourishes more than just the body—it fuels memories and celebration.
Conclusion
This Ultimate Texas Sheet Pan Chocolate Cake isn’t just any dessert; it’s the kind of recipe that shows up reliably for life’s big moments and turns them into sweet memories. Whether you’re throwing a graduation party, a casual get-together, or just craving a massive chocolate fix, it’s a simple, straightforward way to impress without the fuss.
Feel free to tweak the frosting, swap ingredients, or add your own signature touches—the recipe welcomes your creativity. I love how it brings people together, sparking those “Wow, this is so good!” moments that make celebrations truly special.
If you try it, I’d love to hear how it turned out or what variations you came up with. Sharing these little kitchen wins keeps the joy alive and the chocolate flowing.
Here’s to many more celebrations filled with laughter, love, and lots of chocolate cake.
FAQs
Can I make this cake ahead of time?
Yes! Bake it a day ahead, store covered at room temperature, and frost just before serving for the freshest taste.
What if I don’t have buttermilk?
Mix 1 cup (240ml) milk with 1 tablespoon lemon juice or vinegar, let sit 5 minutes, then use as a buttermilk substitute.
How do I know when the cake is done?
Insert a toothpick near the center; it should come out with a few moist crumbs but not wet batter. Avoid overbaking to keep it tender.
Can I freeze the unfrosted cake?
Absolutely. Wrap tightly and freeze up to 3 months. Thaw fully before frosting and serving.
Is this recipe suitable for beginners?
Definitely! The steps are straightforward and forgiving, making it a great choice even if you’re not a seasoned baker.
Pin This Recipe!
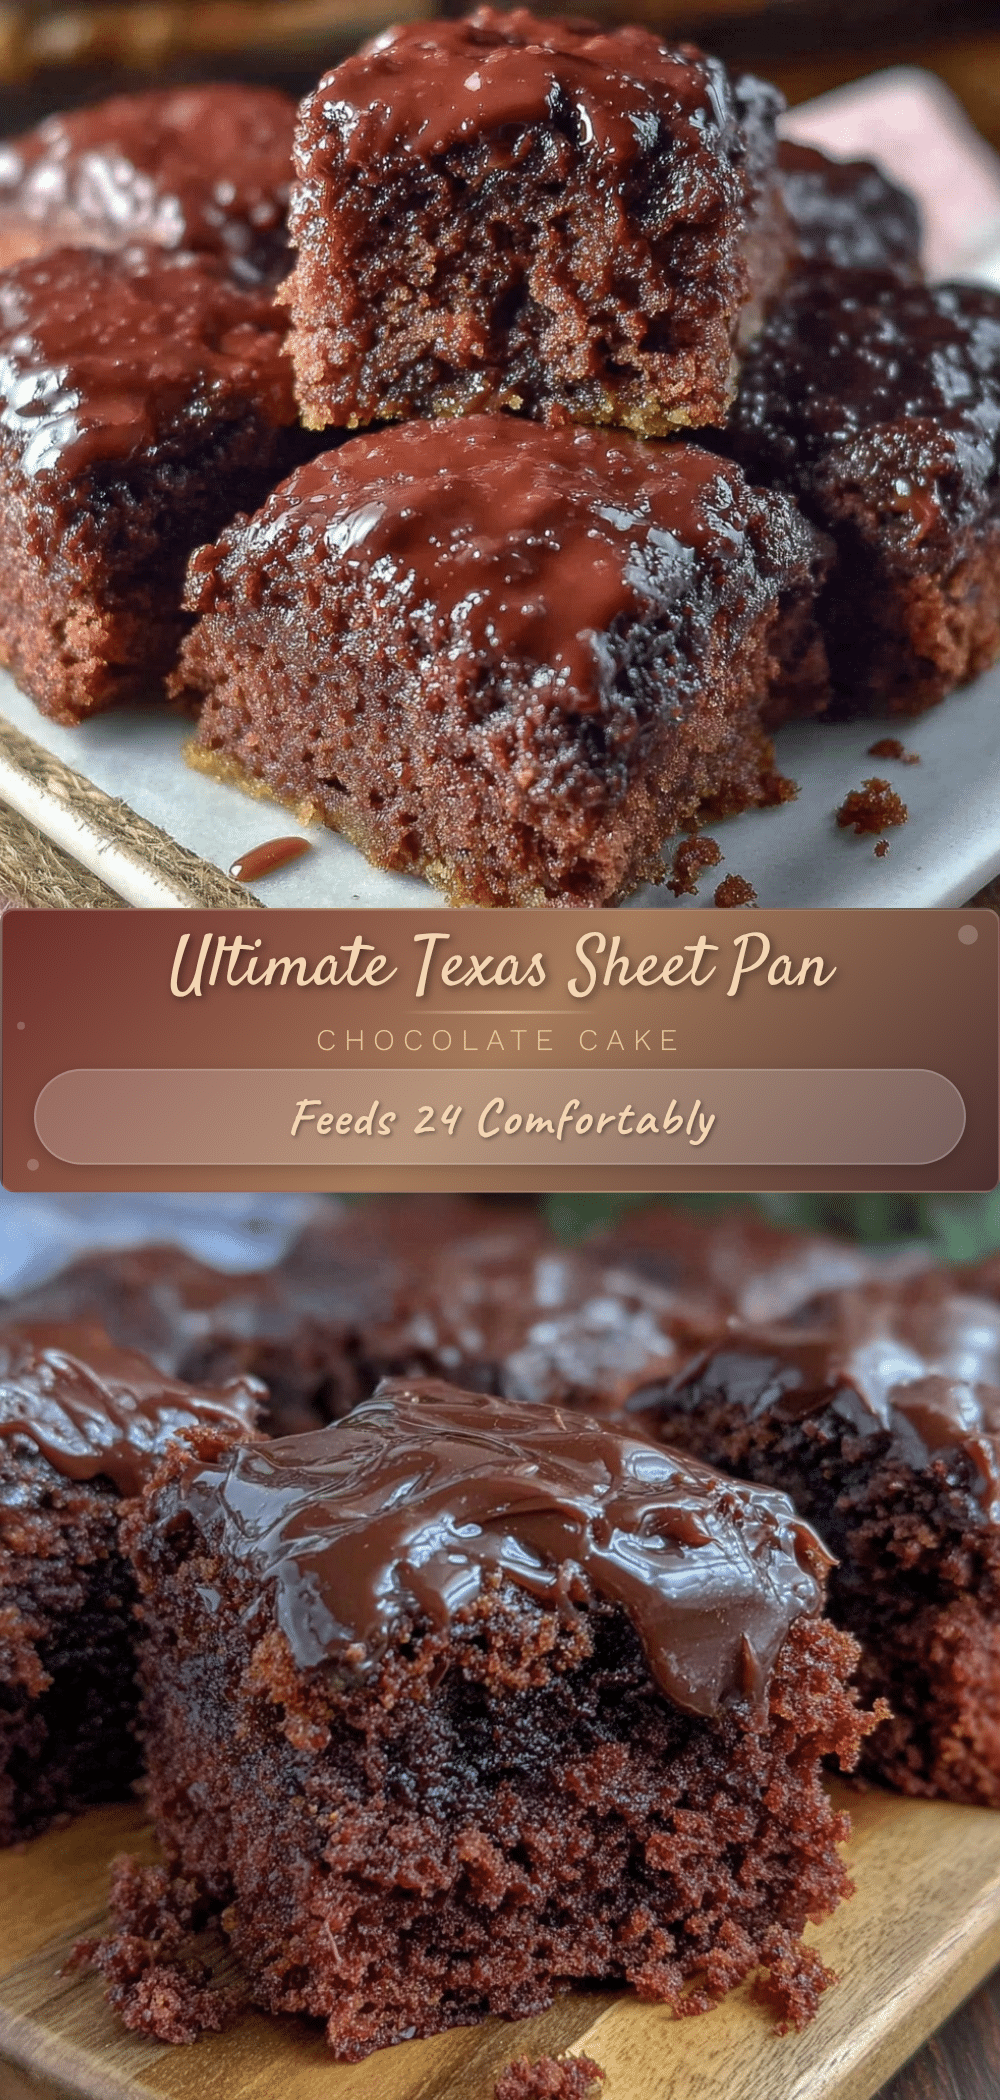
Ultimate Texas Sheet Pan Chocolate Cake

A moist, fudgy chocolate sheet cake perfect for large gatherings and celebrations, featuring a glossy, pourable chocolate frosting.
- Prep Time: 20 minutes
- Cook Time: 30-35 minutes
- Total Time: 1 hour 55 minutes
- Yield: 24 servings 1x
- Category: Dessert
- Cuisine: American
Ingredients
- 3 cups (360g) all-purpose flour
- 1 cup (85g) unsweetened Dutch-process cocoa powder
- 1½ teaspoons baking soda
- 1 teaspoon baking powder
- 1 teaspoon salt
- 2½ cups (500g) granulated sugar (mix of white and light brown sugar)
- 1 cup (227g) unsalted butter, softened
- 4 large eggs, at room temperature
- 1 cup (240ml) buttermilk (or whole milk with 1 tablespoon lemon juice as substitute)
- 2 teaspoons vanilla extract
- 1 cup (240ml) boiling water
- For the frosting:
- ¾ cup (170g) unsalted butter, softened
- ¾ cup (65g) unsweetened Dutch-process cocoa powder
- 4 cups (480g) powdered sugar, sifted
- ⅓ cup (80ml) whole milk or heavy cream, plus more if needed
- 1 teaspoon vanilla extract
- A pinch of salt
Instructions
- Preheat oven to 350°F (175°C). Grease and flour an 18×13-inch sheet pan or line with parchment paper.
- In a large bowl, sift together flour, cocoa powder, baking soda, baking powder, and salt. Whisk to combine.
- Using a mixer, beat softened butter and sugar until light and fluffy, about 3-4 minutes on medium speed.
- Beat in eggs one at a time, mixing well after each addition. Stir in vanilla extract.
- Alternately add dry ingredients and buttermilk to the butter mixture, starting and ending with dry ingredients. Mix gently on low speed until just combined.
- Carefully stir in boiling water; batter will be thin. Scrape down the bowl with a spatula.
- Pour batter into prepared sheet pan and smooth the top.
- Bake for 30-35 minutes or until a toothpick inserted near the center comes out with a few moist crumbs.
- Cool cake completely in the pan on a wire rack for at least 1 hour.
- For frosting, beat softened butter until creamy. Add cocoa powder and mix well.
- Gradually add powdered sugar alternated with milk or cream, beating until smooth and spreadable.
- Stir in vanilla extract and a pinch of salt.
- Spread frosting evenly over cooled cake with a spatula for a glossy finish.
- Cut into generous squares and serve.
Notes
Use room temperature ingredients for best results. Measure flour by spooning and leveling to avoid dryness. Start checking cake at 30 minutes to avoid overbaking. If frosting is too thick, add more milk; if too thin, add more powdered sugar. Cake keeps well covered at room temperature for 2 days, refrigerated for 5 days, or frozen for up to 3 months.
Nutrition
- Serving Size: 1 generous square (1
- Calories: 320
- Sugar: 30
- Fat: 15
- Saturated Fat: 9
- Carbohydrates: 42
- Protein: 4
Keywords: Texas sheet cake, chocolate cake, sheet pan cake, graduation cake, easy chocolate cake, crowd-pleaser dessert


