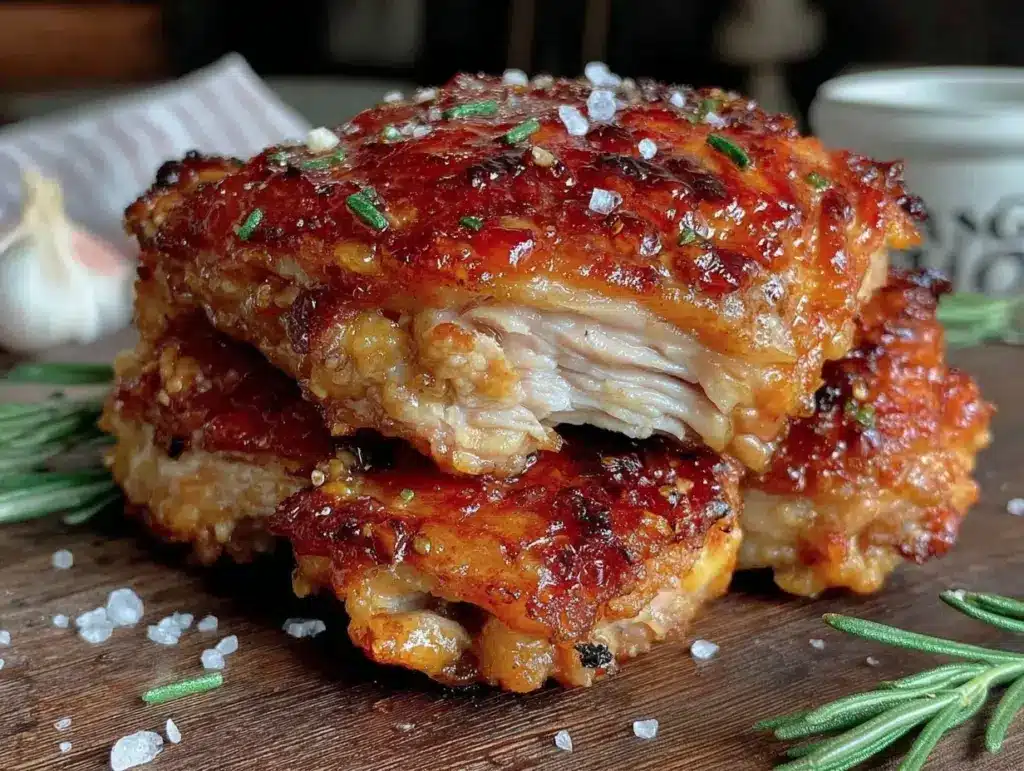
“Wait, did you seriously bake these without frying?” my friend asked, eyeing the golden, crackling skin on my plate like it was some kind of kitchen magic. I chuckled, knowing full well that this recipe for crispy baked chicken thighs with juicy tender meat wasn’t a trick—just a lucky accident on a particularly chaotic weeknight.
I was rushing to get dinner ready after a long day, and honestly, frying chicken felt like a hassle I just didn’t have time for. So I tossed some chicken thighs on a baking sheet, sprinkled a little seasoning, and slid them into the oven, half expecting a soggy disappointment. But what came out? Perfectly crisp skin that snapped with every bite and meat so tender it practically melted away. That night, my skeptical self turned into a full-blown believer.
Since then, this recipe has become my go-to comfort food—especially on nights when I want something fuss-free but satisfying. The smell of roasting chicken skin filling the kitchen is the kind of cozy that makes you pause for a moment and just breathe. It’s straightforward, approachable, and, well, ridiculously good.
What’s stuck with me, beyond the taste, is how forgiving this recipe feels. You don’t need fancy ingredients or complicated steps, and yet the results have a way of surprising guests and family alike. I remember serving these crispy thighs alongside creamy lemon chicken piccata at a recent dinner party—talk about a chicken lover’s dream. They disappeared fast, and the compliments kept rolling in.
There’s a quiet satisfaction in knowing that a simple sheet pan and a few pantry staples stand between you and a dinner that checks all the boxes: crispy, juicy, effortless. Honestly, it’s a recipe that proves sometimes the best meals come from the simplest ideas, and it’s one I trust whenever the day feels too long.
Why You’ll Love This Recipe
This crispy baked chicken thighs recipe has been tested over and over in my kitchen, and I’ve learned a few things that make it stand out from the rest. Here’s why it should be on your regular rotation:
- Quick & Easy: The whole process takes about 40 minutes, including prep. Perfect for those busy weeknights when you need dinner on the table fast.
- Simple Ingredients: No need for specialty items—just chicken thighs, basic spices, and pantry staples. I usually keep these on hand, so no last-minute grocery runs.
- Perfect for Any Occasion: Whether you’re cooking for a casual family dinner or a relaxed weekend get-together, this recipe hits the spot every time.
- Crowd-Pleaser: The crispy skin and juicy meat combo is a universal favorite. Kids and adults alike have never complained (and the leftovers are great for lunches too).
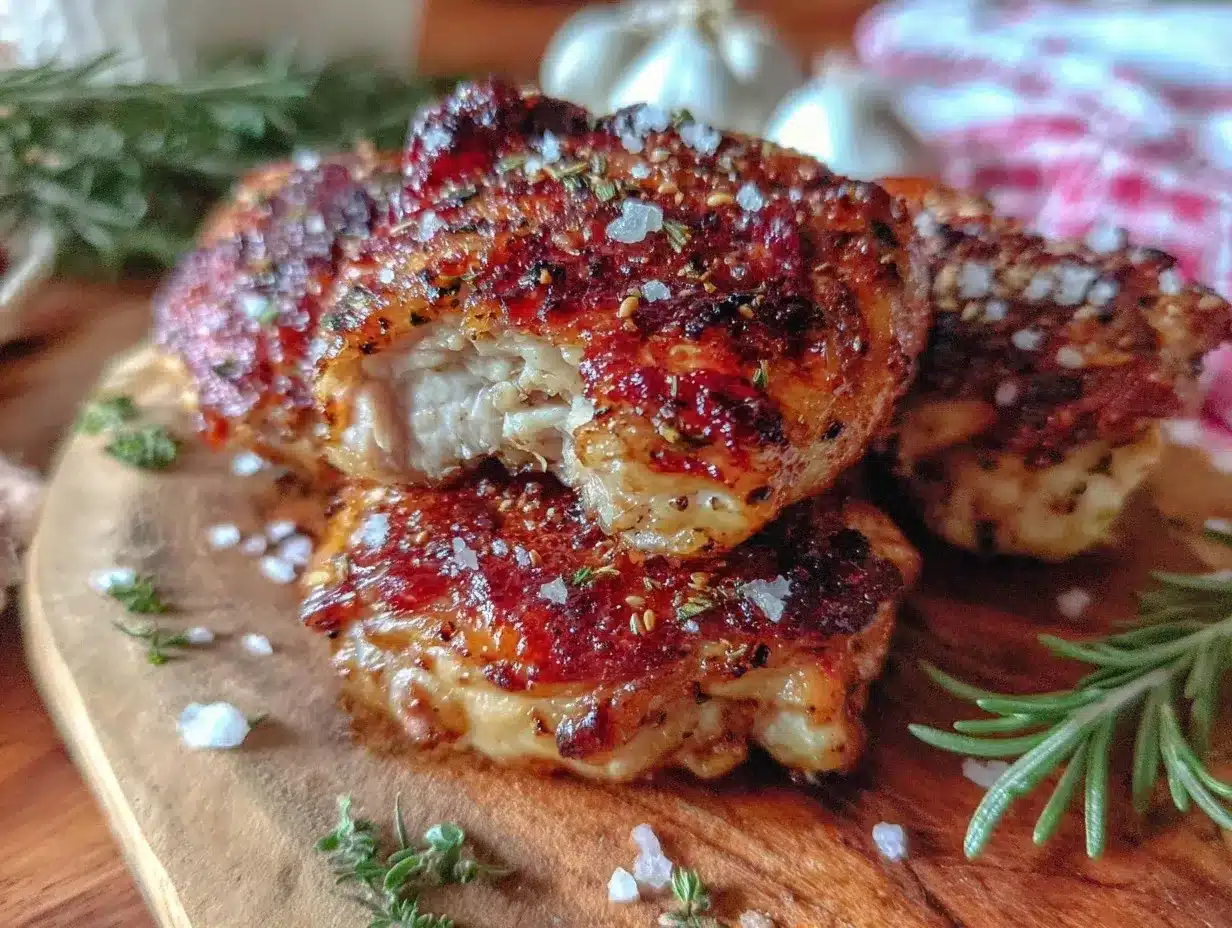
- Unbelievably Delicious: The secret to this recipe is the balance between the crispy skin and the tender meat underneath, which comes from baking at the right temperature and letting the chicken rest before serving.
What makes this version different? It’s the little details—like patting the chicken dry to get that ultra-crisp skin and seasoning generously without overcomplicating the flavor. You don’t have to be a pro chef to get restaurant-quality chicken thighs at home. Also, I sometimes swap in smoked paprika or a touch of garlic powder to add a subtle twist that’s just enough to keep things interesting.
In the end, this recipe is about comfort food done right—simple, soulful, and satisfying. It’s the kind of dish that makes you close your eyes after the first bite and quietly appreciate a well-cooked meal. If you’re looking for a no-fuss chicken recipe that delivers on flavor and texture, this one’s got your name on it.
What Ingredients You Will Need
This recipe uses simple, wholesome ingredients to deliver bold flavor and satisfying texture without fuss. Most are pantry staples, so you won’t need a special trip to the store.
- Bone-in, skin-on chicken thighs: About 4-6 pieces (roughly 2 pounds / 900 grams). This cut keeps the meat juicy and the skin crisps up beautifully. I prefer organic or free-range when possible.
- Olive oil: 1-2 tablespoons to help crisp the skin and prevent sticking. Extra virgin works fine here.
- Salt: 1 teaspoon kosher salt (or to taste). Patting salt on the skin is key for that satisfying crunch.
- Black pepper: Freshly ground, about ½ teaspoon.
- Garlic powder: 1 teaspoon for a subtle savory depth.
- Smoked paprika: 1 teaspoon adds a mild smoky flavor and beautiful color (optional but recommended).
- Onion powder: ½ teaspoon for a gentle aromatic lift.
- Dried herbs (optional): such as thyme or oregano, about ½ teaspoon, if you want a little herbal note.
Ingredient tips: Pat the chicken thighs very dry before seasoning—that’s the trick to crispy skin. If you want to switch things up, skinless chicken thighs can work but the texture won’t be quite as crispy. For a gluten-free version, all ingredients here are naturally gluten-free, so no worries.
For a twist, you can swap smoked paprika for regular paprika or a pinch of cayenne pepper if you like some heat. And if you’re curious about more chicken recipes that balance crispiness and juiciness, you might find the sheet pan chicken fajitas recipe an excellent companion.
Equipment Needed
- Baking sheet or rimmed roasting pan: A sturdy pan with a rim helps catch drippings and keeps the chicken elevated if you use a wire rack.
- Wire rack (optional but recommended): Placing the chicken on a wire rack allows air to circulate under the thighs, helping crisp up all sides. If you don’t have one, placing chicken directly on the pan works fine, but flip halfway through baking.
- Paper towels: For drying chicken skin thoroughly.
- Tongs: Handy for flipping chicken and handling hot pieces safely.
- Instant-read thermometer: To check internal temperature for perfectly cooked thighs (165°F / 74°C is the safe zone).
Personally, I’ve tried baking these thighs on cast iron pans too, which gives a nice sear on the skin before baking, but a regular sheet pan works just as well and is easier to clean. If you’re on a budget, a simple rimmed baking sheet lined with parchment paper can do the trick. Just be sure it’s sturdy enough not to warp under high heat.
Preparation Method
- Preheat your oven to 425°F (220°C). This high heat is essential for crisping the skin while keeping the meat juicy inside. Get your rack positioned in the middle of the oven.
- Pat the chicken thighs dry. Use paper towels to blot away as much moisture as possible. This step is non-negotiable if you want that crackly skin.
- Season the chicken. In a small bowl, mix salt, black pepper, garlic powder, smoked paprika, onion powder, and dried herbs (if using). Rub the olive oil all over the chicken thighs, then sprinkle the seasoning evenly on both sides, pressing gently to adhere.
- Arrange the thighs skin-side up. Place them spaced out on a wire rack set over a baking sheet. If you don’t have a rack, lay them skin-side up directly on a parchment-lined sheet pan, leaving enough space between pieces.
- Bake for 35–40 minutes. Check at 35 minutes—the skin should be golden brown and crispy. If you used a rack, it’s usually perfect then; if not, flip the thighs and bake for an additional 5 minutes to crisp the other side.
- Check internal temperature. Use an instant-read thermometer inserted into the thickest part of the thigh (avoiding bone). It should reach 165°F (74°C). If not, pop back in for a few more minutes.
- Rest the chicken. Let the thighs rest for 5 minutes before serving. This helps the juices redistribute, keeping the meat tender and juicy.
Tips: If the skin isn’t crisping as much as you want, you can broil for 1-2 minutes at the end—just watch closely. I learned this the hard way after a soggy first batch! Also, don’t crowd the pan; giving thighs room ensures even heat and crispiness.
Cooking Tips & Techniques
Getting crispy baked chicken thighs just right is part art, part science—and a few tricks I’ve picked up over time make a world of difference.
- Dry skin is your best friend. Moisture kills crispiness. Always pat your chicken dry thoroughly before seasoning.
- High heat is key. Baking at 425°F (220°C) renders fat quickly and crisps the skin without drying out the meat.
- Don’t skip the rest. Resting lets the juices settle, so the meat stays tender and juicy when you cut in.
- Use a wire rack if you can. It lifts the chicken and allows air to circulate, crisping all sides evenly.
- Season generously. Under-seasoned chicken tastes flat. Trust the salt and spices—they form the flavorful crust.
- Watch the skin closely near the end. If it’s not quite there, a quick broil can finish the job but don’t walk away.
- Don’t overcrowd your pan. Chicken pieces need space for the skin to crisp rather than steam.
- Measure temperature for safety. Overcooking dries out thighs; undercooking is unsafe. A thermometer is worth it.
One time, I left the chicken in too long because I was distracted (can we all relate?), and the meat dried out. Lesson learned: timing matters, but even then, the skin stayed crispy enough to salvage dinner. And if you want a little more flavor, marinating the chicken briefly in buttermilk or a simple spice blend can add tenderness and complexity.
Variations & Adaptations
This recipe is a great base to tweak depending on your mood or dietary needs.
- Spicy kick: Add cayenne pepper or chili powder to the seasoning mix for a smoky heat that wakes up the palate.
- Herb-infused: Toss in fresh rosemary or thyme sprigs around the chicken before baking for an aromatic touch.
- Gluten-free option: The recipe is naturally gluten-free, but if you want a crispy coating, dust the thighs lightly with gluten-free flour or almond flour before seasoning.
- Low-sodium version: Cut back on salt and boost flavor with lemon zest or garlic-infused olive oil.
- Oven vs. Air Fryer: You can make these thighs in an air fryer at 400°F (200°C) for about 20-25 minutes, flipping halfway. The air fryer yields even crispier skin in less time.
Personally, I once tried a honey-mustard glaze halfway through baking for a sticky-sweet contrast—and it was a hit at brunch, paired with cranberry orange bread. It’s fun to play around, but the classic seasoning never fails.
Serving & Storage Suggestions
Serve these crispy baked chicken thighs hot from the oven for the best crunch. They pair beautifully with simple sides like roasted vegetables, creamy mashed potatoes, or a fresh green salad. For a cozy dinner, I love them alongside a creamy side like parmesan creamed spinach.
If you have leftovers, store them in an airtight container in the refrigerator for up to 3 days. To reheat, place the thighs on a baking sheet in a 375°F (190°C) oven for 10-15 minutes to bring back the crisp skin. Avoid microwaving if you want to keep that texture intact.
Over time, flavors deepen, and the meat remains juicy, but the skin will soften in storage—so best to enjoy fresh when you can. These thighs also freeze well—wrap tightly and defrost overnight in the fridge before reheating.
Nutritional Information & Benefits
Here’s an estimate per serving (1 chicken thigh):
| Nutrient | Amount |
|---|---|
| Calories | 250 kcal |
| Protein | 22 g |
| Fat | 18 g |
| Carbohydrates | 0 g |
| Sodium | 400 mg (varies with salt added) |
Chicken thighs provide a great source of protein and essential nutrients like iron and zinc. The skin adds fat, which contributes to flavor and satiety. Using olive oil instead of butter keeps the fats healthier, and the simple spices add antioxidants without calories.
This recipe is naturally low-carb and gluten-free, making it suitable for a variety of diets. For those watching sodium, adjust the salt accordingly or swap for a salt substitute.
Conclusion
Crispy baked chicken thighs with juicy tender meat are the kind of meal you can rely on time and again. They satisfy that craving for comfort food without demanding hours in the kitchen or complicated ingredients. The crispy skin paired with juicy meat is a texture combo that feels indulgent but is surprisingly easy to achieve.
Feel free to customize the seasoning to suit your taste buds or dietary needs—whether that’s adding heat, herbs, or a touch of sweetness. I love that this recipe feels both familiar and flexible, and it’s become a quiet staple in my cooking repertoire.
If you try it, I’d love to hear how you make it your own. Drop a comment below or share your favorite twist. Cooking should be fun, after all, and this recipe makes a great place to start.
Frequently Asked Questions
Can I use boneless chicken thighs instead of bone-in?
Yes, but boneless thighs tend to cook faster and might not stay as juicy. Reduce baking time by about 5-10 minutes and check for doneness carefully.
How do I get the skin extra crispy?
Pat the skin very dry and bake at a high temperature (425°F / 220°C). Using a wire rack helps air circulate around the chicken for even crisping.
Can I prepare this recipe ahead of time?
You can season the chicken and refrigerate it uncovered for a few hours or overnight to dry the skin further. Bake just before serving.
Is it safe to cook chicken thighs at this temperature?
Yes, baking at 425°F is safe and helps render fat fast. Just make sure the internal temperature reaches 165°F (74°C) before eating.
What sides go well with crispy baked chicken thighs?
Roasted veggies, mashed potatoes, salads, or creamy sides like creamed spinach complement this chicken beautifully.
Pin This Recipe!
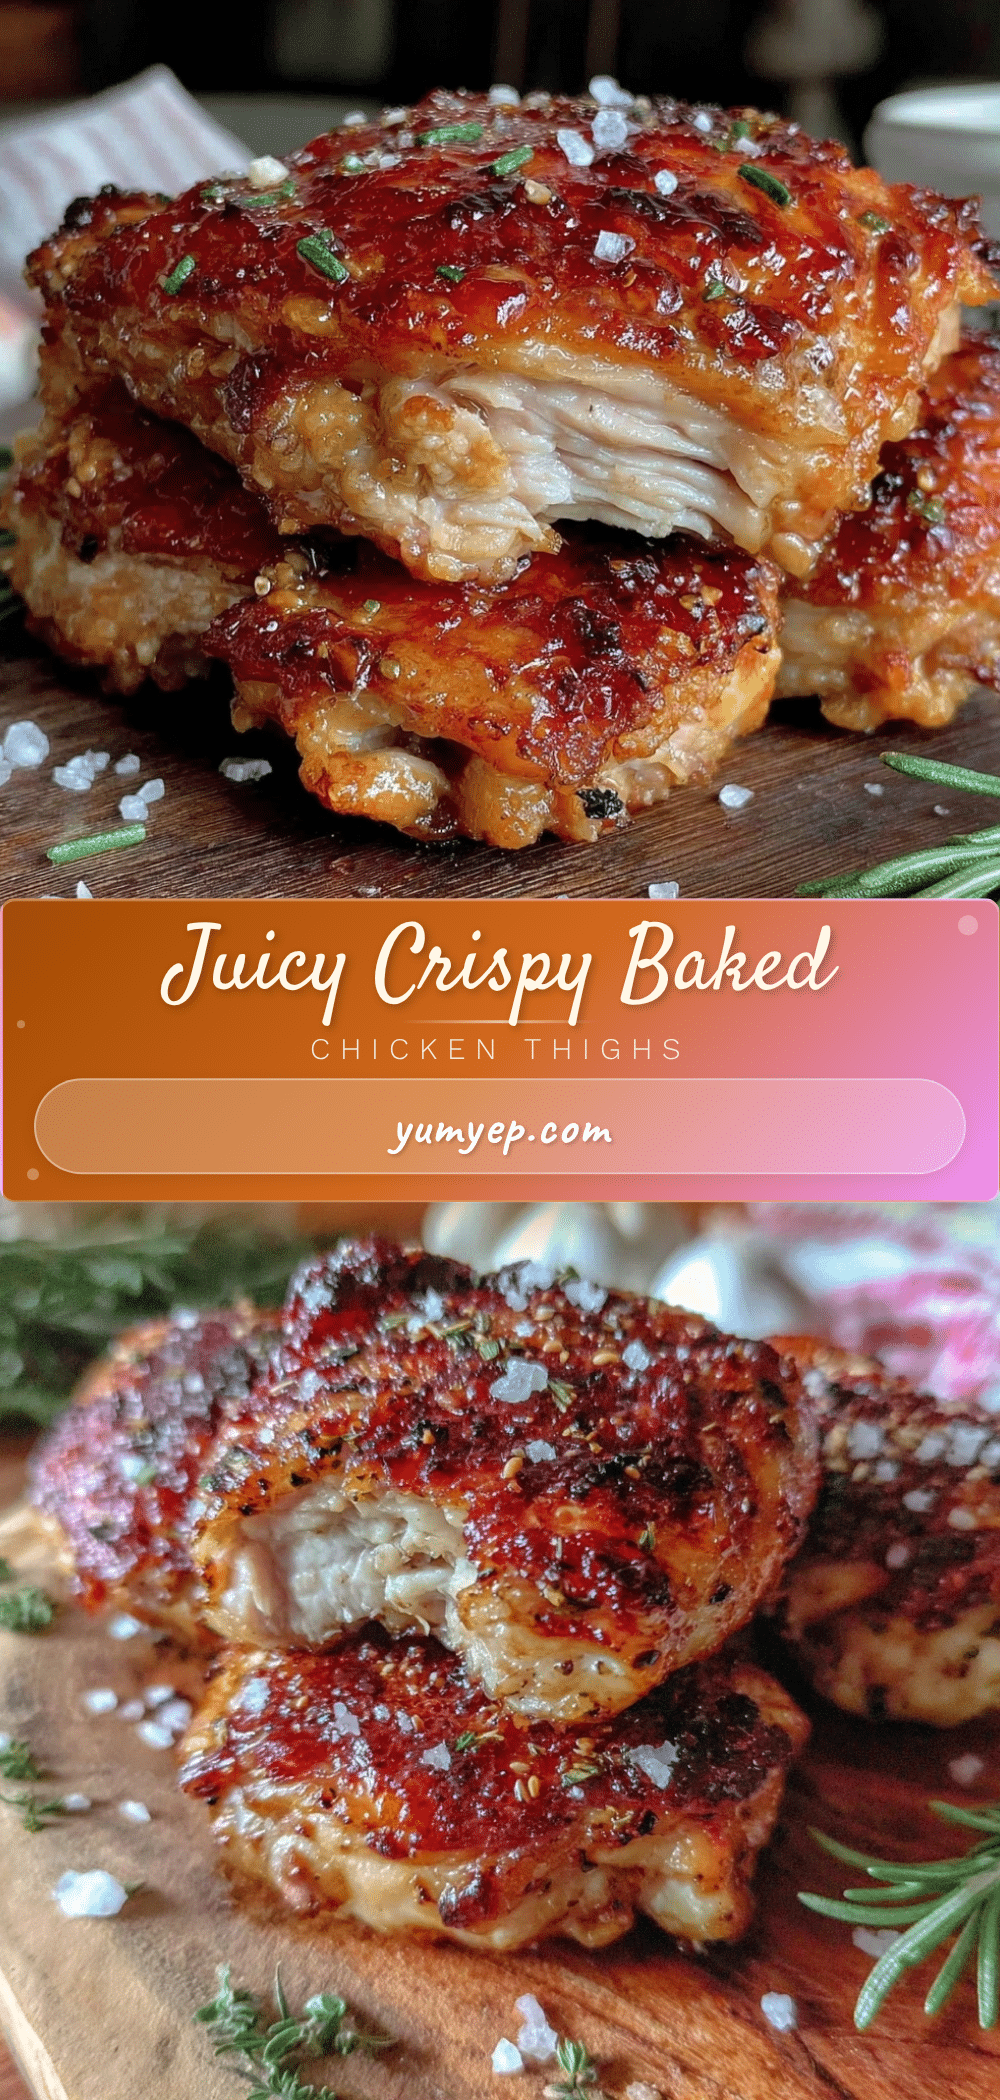
Crispy Baked Chicken Thighs

This recipe delivers crispy skin and juicy tender meat using simple ingredients and an easy baking method. Perfect for quick weeknight dinners or casual gatherings.
- Prep Time: 10 minutes
- Cook Time: 35-40 minutes
- Total Time: 45-50 minutes
- Yield: 4-6 servings 1x
- Category: Main Course
- Cuisine: American
Ingredients
- 4–6 bone-in, skin-on chicken thighs (about 2 pounds / 900 grams)
- 1–2 tablespoons olive oil (extra virgin recommended)
- 1 teaspoon kosher salt (or to taste)
- ½ teaspoon freshly ground black pepper
- 1 teaspoon garlic powder
- 1 teaspoon smoked paprika (optional but recommended)
- ½ teaspoon onion powder
- ½ teaspoon dried herbs such as thyme or oregano (optional)
Instructions
- Preheat your oven to 425°F (220°C) and position the rack in the middle.
- Pat the chicken thighs very dry with paper towels to remove moisture.
- In a small bowl, mix salt, black pepper, garlic powder, smoked paprika, onion powder, and dried herbs if using.
- Rub olive oil all over the chicken thighs, then evenly sprinkle the seasoning mixture on both sides, pressing gently to adhere.
- Arrange the thighs skin-side up on a wire rack set over a baking sheet. If no rack is available, place skin-side up directly on a parchment-lined baking sheet, spacing pieces apart.
- Bake for 35–40 minutes. Check at 35 minutes; skin should be golden and crispy. If using a rack, it should be done; if not, flip thighs and bake an additional 5 minutes to crisp the other side.
- Check internal temperature with an instant-read thermometer inserted into the thickest part (avoid bone). It should reach 165°F (74°C). If not, bake a few more minutes.
- Let the chicken rest for 5 minutes before serving to allow juices to redistribute.
Notes
Patting the chicken dry is essential for crispy skin. Using a wire rack helps air circulate and crisp all sides. If skin isn’t crispy enough, broil for 1-2 minutes at the end, watching closely. Do not overcrowd the pan. Rest chicken before serving to keep meat juicy. For variations, add cayenne for heat or fresh herbs for aroma. Can be made in an air fryer at 400°F for 20-25 minutes, flipping halfway.
Nutrition
- Serving Size: 1 chicken thigh
- Calories: 250
- Sodium: 400
- Fat: 18
- Protein: 22
Keywords: crispy baked chicken thighs, easy chicken recipe, juicy chicken thighs, baked chicken, weeknight dinner, comfort food, gluten-free chicken


