Introduction
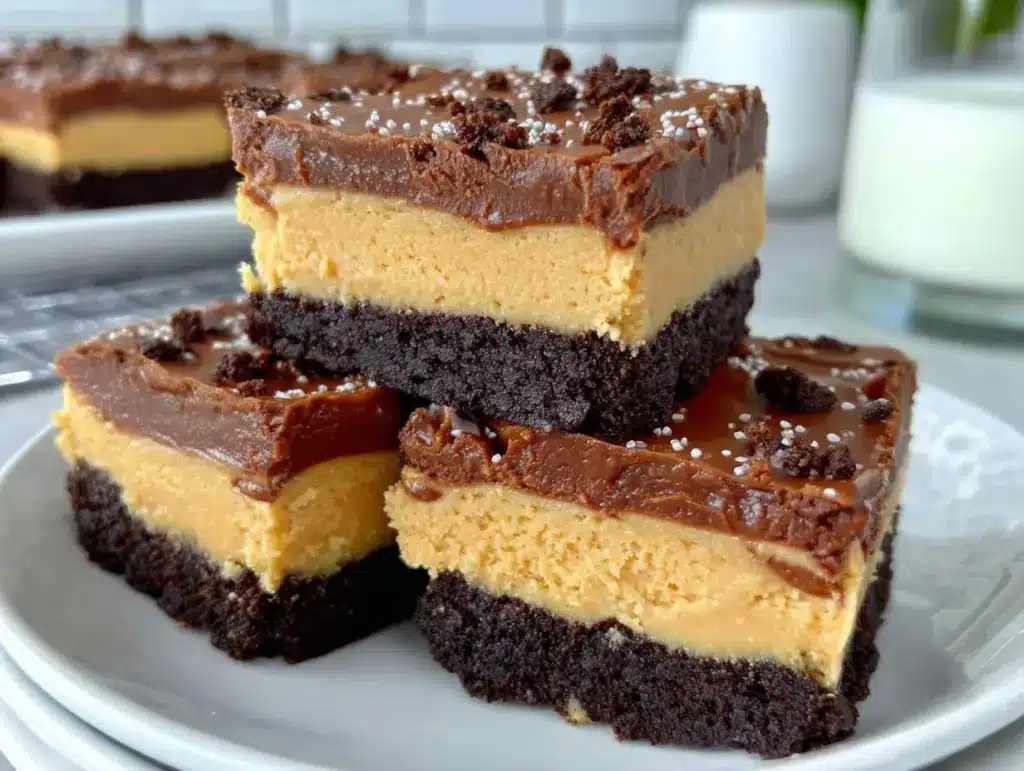
Picture this: the rich, chocolatey aroma of crushed Oreos blending with the creamy, nutty scent of peanut butter, all coming together in a heavenly dessert that’s almost too good to share. The first time I made these Oreo Peanut Butter Bars, I knew I’d stumbled upon something magical. You know that moment when you take the first bite, pause, and let out a little “mmm” because it’s just that good? That’s exactly what happened.
This recipe was born on a quiet Saturday afternoon when my pantry was calling for some creativity. I had a pack of Oreos, a jar of peanut butter, and a craving for something indulgent. It’s safe to say this creation has since become a family favorite. My kids practically fight over the last piece, and honestly, I don’t blame them!
What I love most about these bars is how versatile they are. Whether you’re looking for a dessert to brighten up a potluck table or just need a sweet treat for a cozy movie night, Oreo Peanut Butter Bars hit the spot. They’re dangerously easy to make, ridiculously delicious, and perfect for gifting (if you can resist keeping them all to yourself). Bookmark this recipe—it’s about to become your go-to!
Why You’ll Love This Recipe
- Quick & Easy: Made with just a handful of ingredients, these bars come together in no time.
- Simple Ingredients: Oreos, peanut butter, and a few kitchen staples—no fancy shopping needed.
- Perfect for Any Occasion: Great for potlucks, birthday parties, or just treating yourself!
- Crowd-Pleaser: Kids, adults, and everyone in between will rave about these bars.
- Unbelievably Delicious: The combination of creamy peanut butter and crunchy Oreos is pure bliss.
Unlike other recipes, these bars don’t require baking or complicated steps. They’re easy, fun, and customizable. Whether you’re a peanut butter fanatic or an Oreo lover, this recipe blends the best of both worlds. Let’s face it—you don’t just make these bars, you fall in love with them.
What Ingredients You Will Need
This recipe uses simple, pantry-friendly ingredients to deliver bold flavor and satisfying texture. Here’s what you’ll need:
- Oreos: About 24 cookies, crushed into fine crumbs (use a food processor or crush them in a zip-top bag with a rolling pin).
- Unsalted Butter: Melted and cooled slightly (adds richness).
- Peanut Butter: Creamy works best for that smooth, luscious texture.
- Powdered Sugar: For sweetness and structure in the filling.
- Chocolate Chips: Semi-sweet or milk chocolate for the topping.
- Coconut Oil: Optional, but helps create a glossy finish for the chocolate layer.
If you want to make this recipe gluten-free, you can substitute gluten-free chocolate sandwich cookies. Trust me, the flavor is just as amazing!
Equipment Needed
You don’t need fancy equipment to make these Oreo Peanut Butter Bars! Here’s what you’ll need:
- Food Processor: To crush the Oreos into fine crumbs. A zip-top bag and rolling pin work too.
- Mixing Bowls: Various sizes for mixing the ingredients.
- 9×9-inch Baking Pan: Perfect for shaping the bars.
- Spatula: For spreading layers evenly.
- Microwave-Safe Bowl: For melting the chocolate.
Don’t have a food processor? No worries—just place the Oreos in a sturdy bag, seal it, and use a rolling pin to crush them into crumbs. It’s a great way to let out some stress!
Preparation Method
- Prepare the pan: Line a 9×9-inch baking pan with parchment paper, leaving a bit of overhang on the sides for easy removal.
- Crush the Oreos: Place the Oreos in a food processor and pulse until they become fine crumbs. Alternatively, crush them manually using a zip-top bag and rolling pin.
- Make the base: In a mixing bowl, combine the Oreo crumbs and melted butter. Stir until the mixture resembles wet sand. Press the mixture firmly into the prepared pan to form the base.
- Prepare the peanut butter layer: In another bowl, mix the peanut butter and powdered sugar until smooth and creamy. Spread this mixture evenly over the Oreo base.
- Melt the chocolate: In a microwave-safe bowl, melt the chocolate chips and coconut oil in 30-second increments, stirring after each interval, until smooth.
- Finish the bars: Pour the melted chocolate over the peanut butter layer and spread evenly with a spatula. Chill the bars in the refrigerator for at least 2 hours or until firm.
- Slice and serve: Use the parchment overhang to lift the bars out of the pan. Slice into squares or rectangles and enjoy!
Pro tip: To get clean slices, run your knife under hot water, dry it off, and cut through the bars. Repeat between slices for picture-perfect results!
Cooking Tips & Techniques
- Room Temperature Ingredients: Using room temperature peanut butter makes it easier to mix and spread.
- Chill for Best Results: Don’t rush the chilling process—give the bars enough time to firm up for clean slices.
- Use Quality Chocolate: High-quality chocolate chips or baking chocolate will make the topping taste even better.
- Avoid Crumbly Base: Press the Oreo mixture firmly into the pan to ensure a sturdy base.
- Customize Sweetness: If you prefer a less sweet dessert, reduce the powdered sugar slightly in the peanut butter layer.
Trust me, these tips have saved me from a few mishaps over the years. A little patience and attention to detail go a long way!
Variations & Adaptations
Want to switch things up? Here are some fun variations:
- Nut-Free Option: Swap peanut butter for sunflower seed butter or cookie butter.
- Seasonal Twist: Add crushed peppermint candies to the chocolate topping for a holiday vibe.
- Chocolate Lovers’ Dream: Mix chocolate chips into the peanut butter layer for extra richness.
- Gluten-Free Version: Use gluten-free chocolate sandwich cookies instead of Oreos.
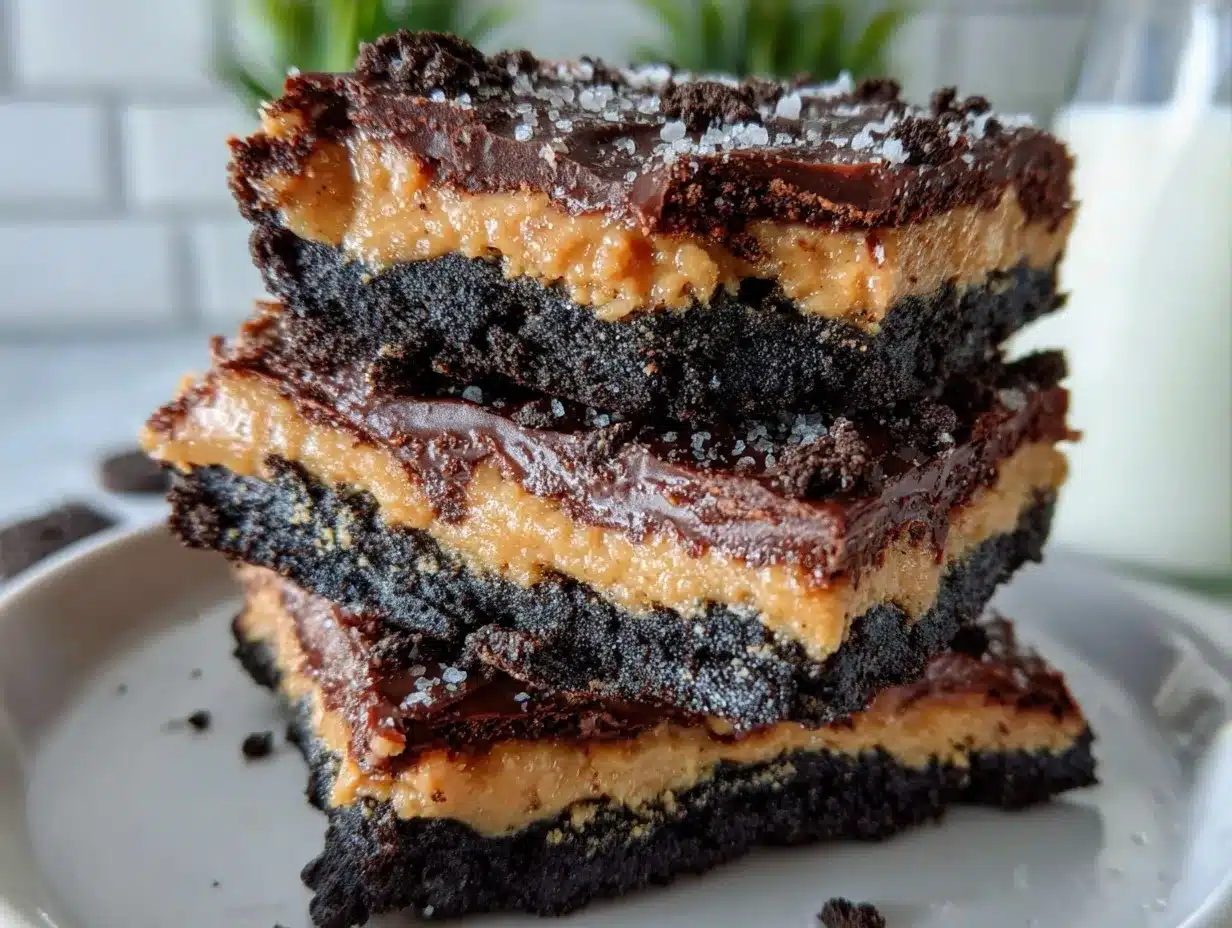
- Flavor Boost: Stir in a pinch of sea salt to the peanut butter layer for a sweet-salty combo.
Personally, I love adding a drizzle of white chocolate on top for an extra-fancy look. It’s all about making the recipe your own!
Serving & Storage Suggestions
These Oreo Peanut Butter Bars are best served chilled, straight from the fridge. The chocolate topping stays firm, and the layers hold together beautifully. Pair them with a glass of cold milk or a cup of hot coffee for the ultimate treat!
To store, cover the bars tightly and keep them in the refrigerator for up to 5 days. For longer storage, wrap individual bars in plastic wrap and freeze in an airtight container for up to 2 months. To thaw, simply move them to the fridge overnight.
Pro tip: If you’re serving these at a party, cut them into bite-sized pieces for easy grabbing. They’ll disappear in minutes!
Nutritional Information & Benefits
While these bars are definitely indulgent, they do offer some nutritional perks:
- Peanut Butter: A great source of healthy fats and protein.
- Dark Chocolate: Contains antioxidants and adds rich flavor.
- Customizable Options: Make them gluten-free or adjust the sweetness to suit your diet.
- Portion Control: Cut into small squares for a satisfying but moderate treat.
Keep in mind, these are a sweet indulgence, so enjoy them as part of a balanced diet!
Conclusion
If you’re looking for a dessert that’s easy, delicious, and guaranteed to impress, these Oreo Peanut Butter Bars are it. They’re a snap to make, endlessly customizable, and just plain fun to eat. Whether you stick with the classic recipe or put your own spin on it, these bars are sure to become a favorite in your home.
So, what are you waiting for? Grab your Oreos and peanut butter, and let’s get started! Don’t forget to share your creations in the comments below—I’d love to hear how you’ve made this recipe your own. And if you’re as obsessed with these bars as I am, be sure to pin this recipe for later!
Happy baking, friends!
FAQs
Can I use crunchy peanut butter instead of creamy?
Absolutely! Crunchy peanut butter will add a nice texture to the filling.
Do I need to refrigerate these bars?
Yes, chilling helps the layers set properly and makes slicing easier.
Can I use white chocolate for the topping?
Yes, white chocolate works beautifully and gives a sweet, creamy finish.
How long will these bars keep?
Stored in the fridge, they’ll last up to 5 days. You can freeze them for up to 2 months.
Can I make this recipe vegan?
Yes! Use vegan sandwich cookies, dairy-free butter, and plant-based chocolate chips to make it vegan-friendly.
Pin This Recipe!
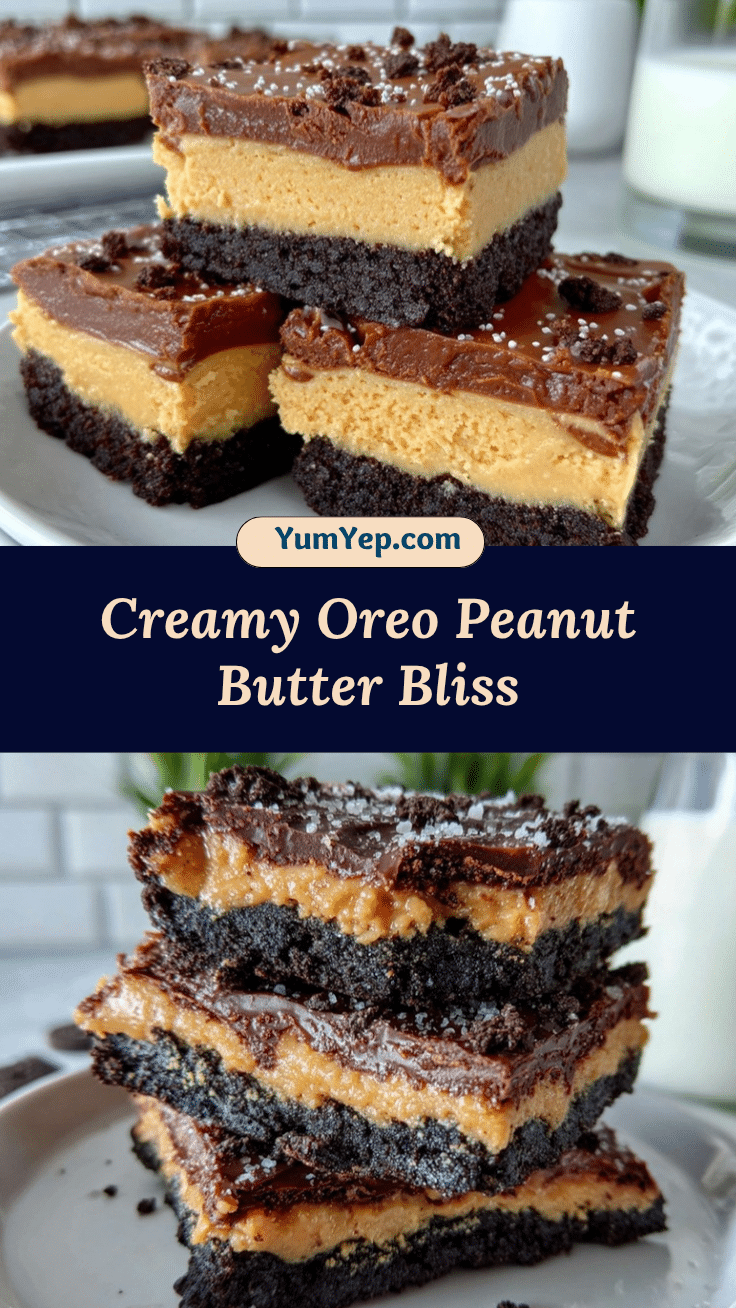
Oreo Peanut Butter Bars Recipe Easy Sweet Treat

Rich, chocolatey Oreo crumbs combined with creamy peanut butter create a heavenly dessert that’s quick, easy, and perfect for any occasion.
- Prep Time: 15 minutes
- Cook Time: 2 hours (chilling time)
- Total Time: 2 hours 15 minutes
- Yield: 12 servings 1x
- Category: Dessert
- Cuisine: American
Ingredients
- 24 Oreos, crushed into fine crumbs
- 1/2 cup unsalted butter, melted and cooled slightly
- 1 cup creamy peanut butter
- 1 cup powdered sugar
- 1 cup semi-sweet or milk chocolate chips
- 1 tablespoon coconut oil (optional)
Instructions
- Line a 9×9-inch baking pan with parchment paper, leaving a bit of overhang on the sides for easy removal.
- Place the Oreos in a food processor and pulse until they become fine crumbs. Alternatively, crush them manually using a zip-top bag and rolling pin.
- In a mixing bowl, combine the Oreo crumbs and melted butter. Stir until the mixture resembles wet sand. Press the mixture firmly into the prepared pan to form the base.
- In another bowl, mix the peanut butter and powdered sugar until smooth and creamy. Spread this mixture evenly over the Oreo base.
- In a microwave-safe bowl, melt the chocolate chips and coconut oil in 30-second increments, stirring after each interval, until smooth.
- Pour the melted chocolate over the peanut butter layer and spread evenly with a spatula. Chill the bars in the refrigerator for at least 2 hours or until firm.
- Use the parchment overhang to lift the bars out of the pan. Slice into squares or rectangles and enjoy!
Notes
[‘Use room temperature peanut butter for easier mixing and spreading.’, ‘Chill the bars for at least 2 hours to ensure firm layers and clean slicing.’, ‘Use high-quality chocolate for a better-tasting topping.’, ‘Press the Oreo mixture firmly into the pan to avoid a crumbly base.’, ‘Reduce powdered sugar slightly for a less sweet dessert.’]
Nutrition
- Serving Size: 1 bar
- Calories: 250
- Sugar: 20
- Sodium: 120
- Fat: 15
- Saturated Fat: 8
- Carbohydrates: 28
- Fiber: 2
- Protein: 4
Keywords: Oreo, Peanut Butter, Dessert, Easy Recipe, No-Bake, Sweet Treat, Chocolate


